I recently wrote about creating a Nutanix Cluster via cli. Nutanix Cluster Create Cli
Setting up a new Nutanix Cluster? These are the parameters.
cluster --dns_servers=172.16.30.30,172.16.30.32 -s 172.16.70.39,172.16.70.51,172.16.70.53,172.16.70.56 --cluster_name=lab2 --cluster_external_ip=172.16.70.60 create
I wanted to follow up with the next steps after login.
Now because I deployed the current version, I can’t show how to upgrade AOS or the Hypervisor. we can cover that in a later post.
Lets start!
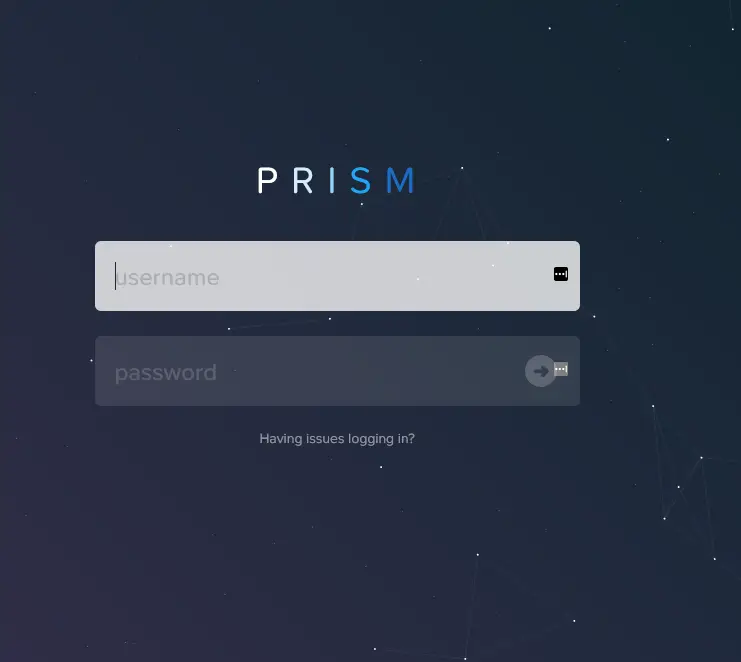
Go to https://IPaddressordnsname:9440/
Go ahead and login with the defaults. admin and Nutanix/4u
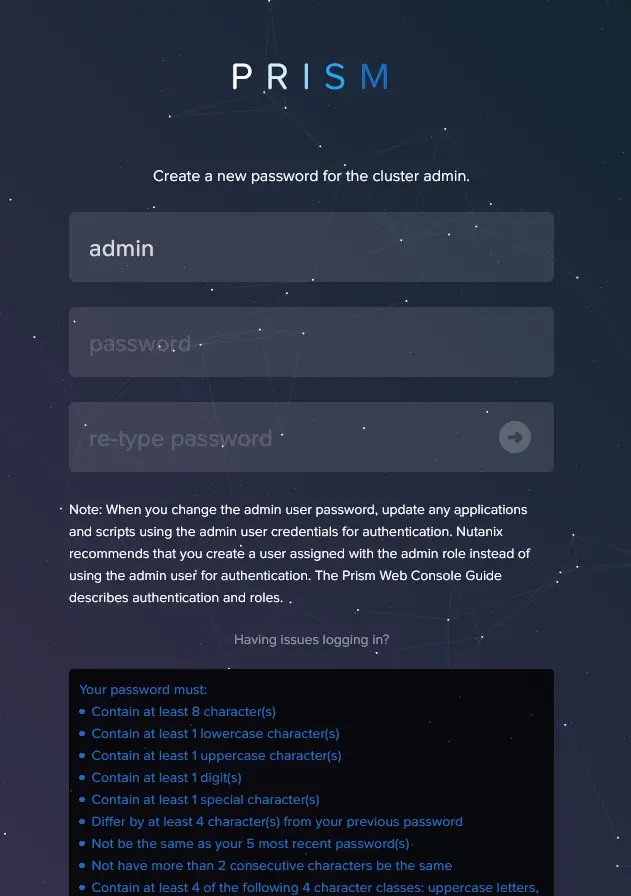
Next, it will prompt you with a password change.
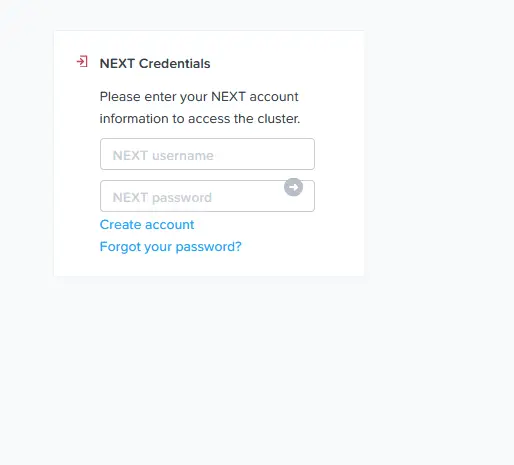
Now you need to login with a Nutanix Account.
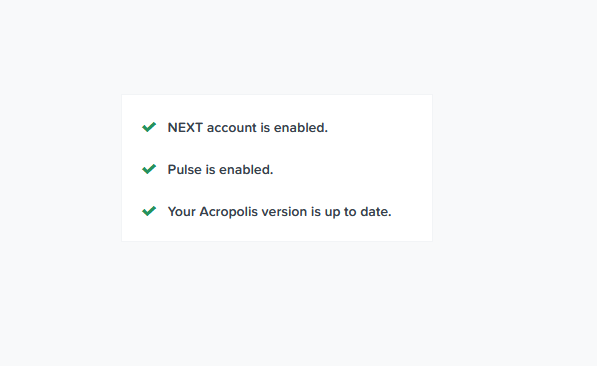
Boom, we have a dashboard.
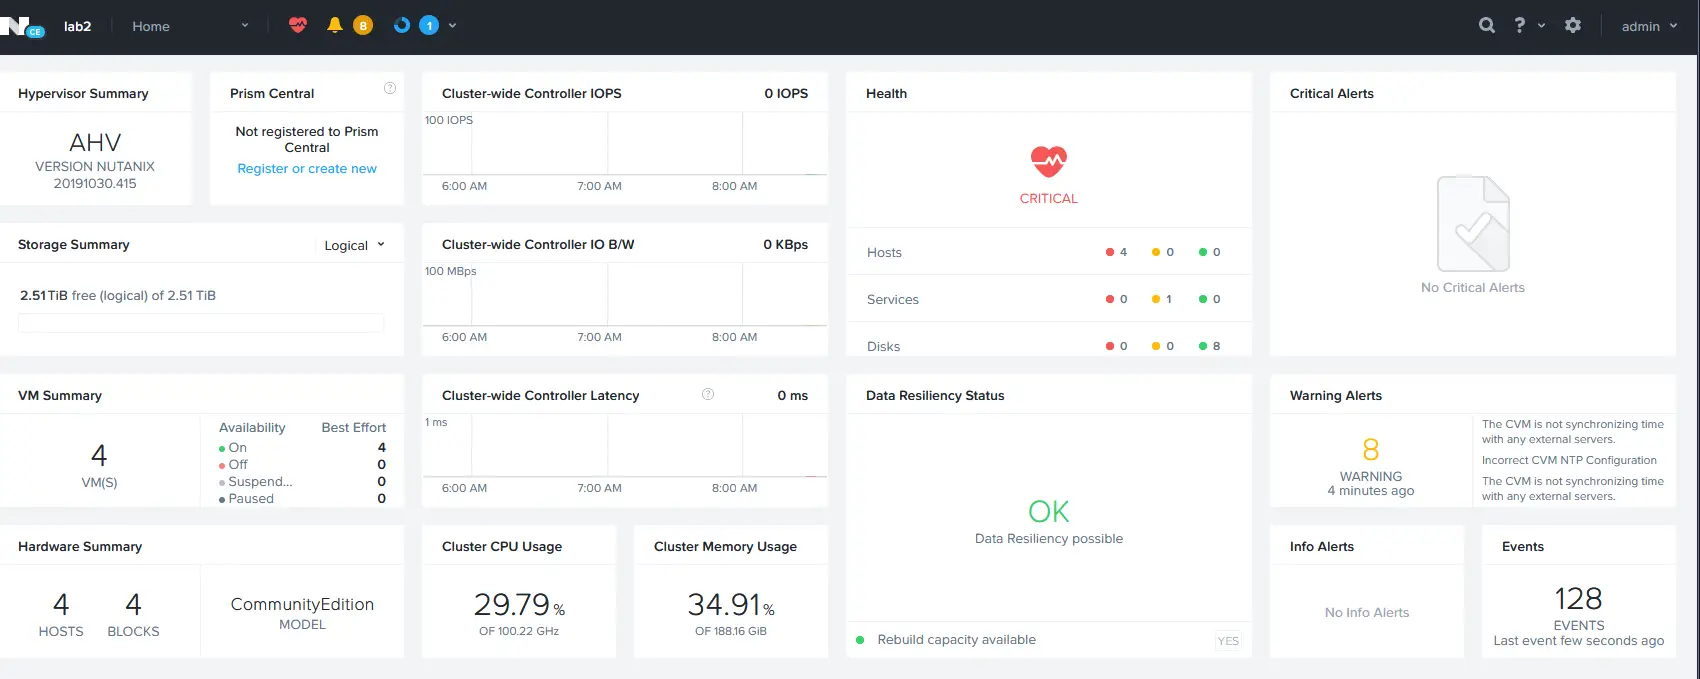
Lets go head and click the gear in the upper right.

Now on the left, Click upgrade software.
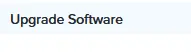
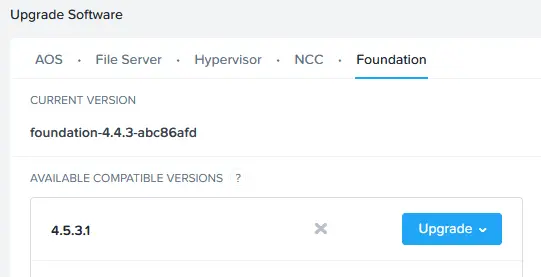
Click on Foundation.
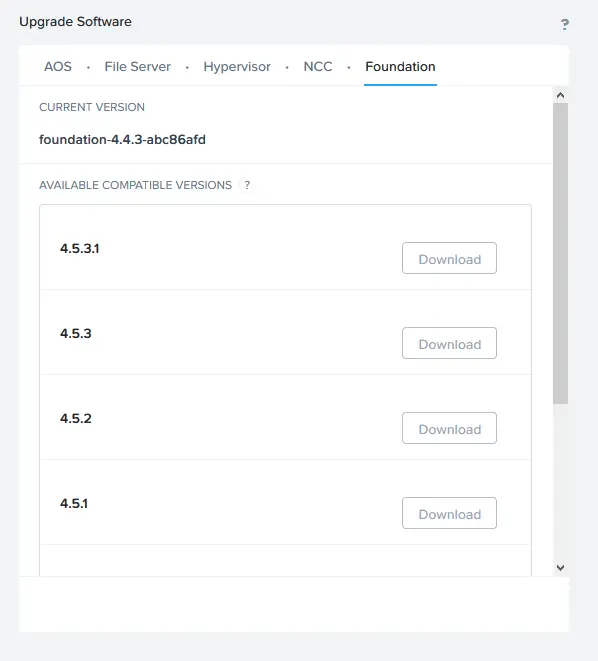
Click on download.
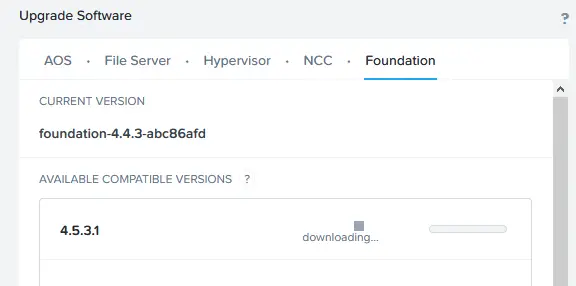
Once done, go ahead and click on upgrade.
Then once that finishes lets click on NCC.
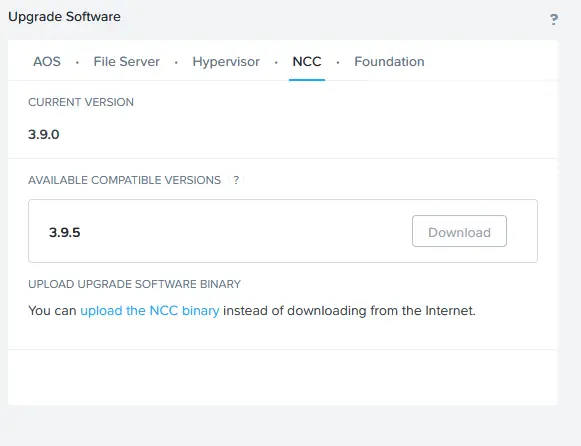
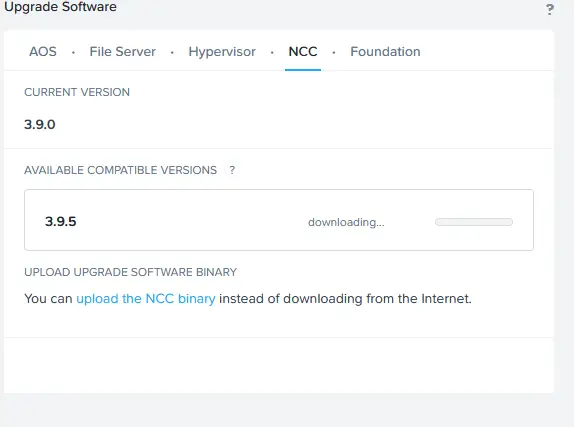
And lets click on download.
And then click on upgrade.
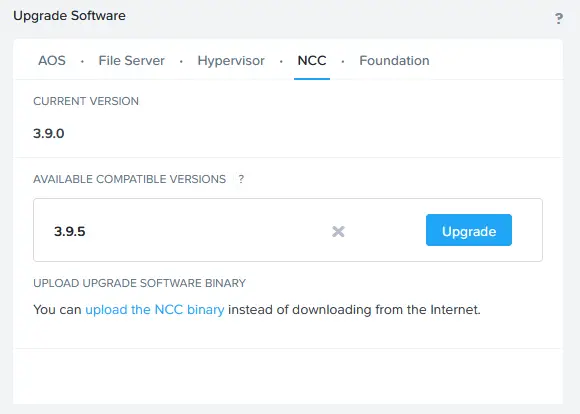

OK, now we are on a current version.
