I recently got fed up with the mediocre coverage and speeds of my home wireless network even after throwing DD-WRT on the pair of APs (Netgear and Linksys .11n) to eek out all the performance I could. So I decided to take the plunge and go up market a bit with a couple APs from Ubiquiti Networks.
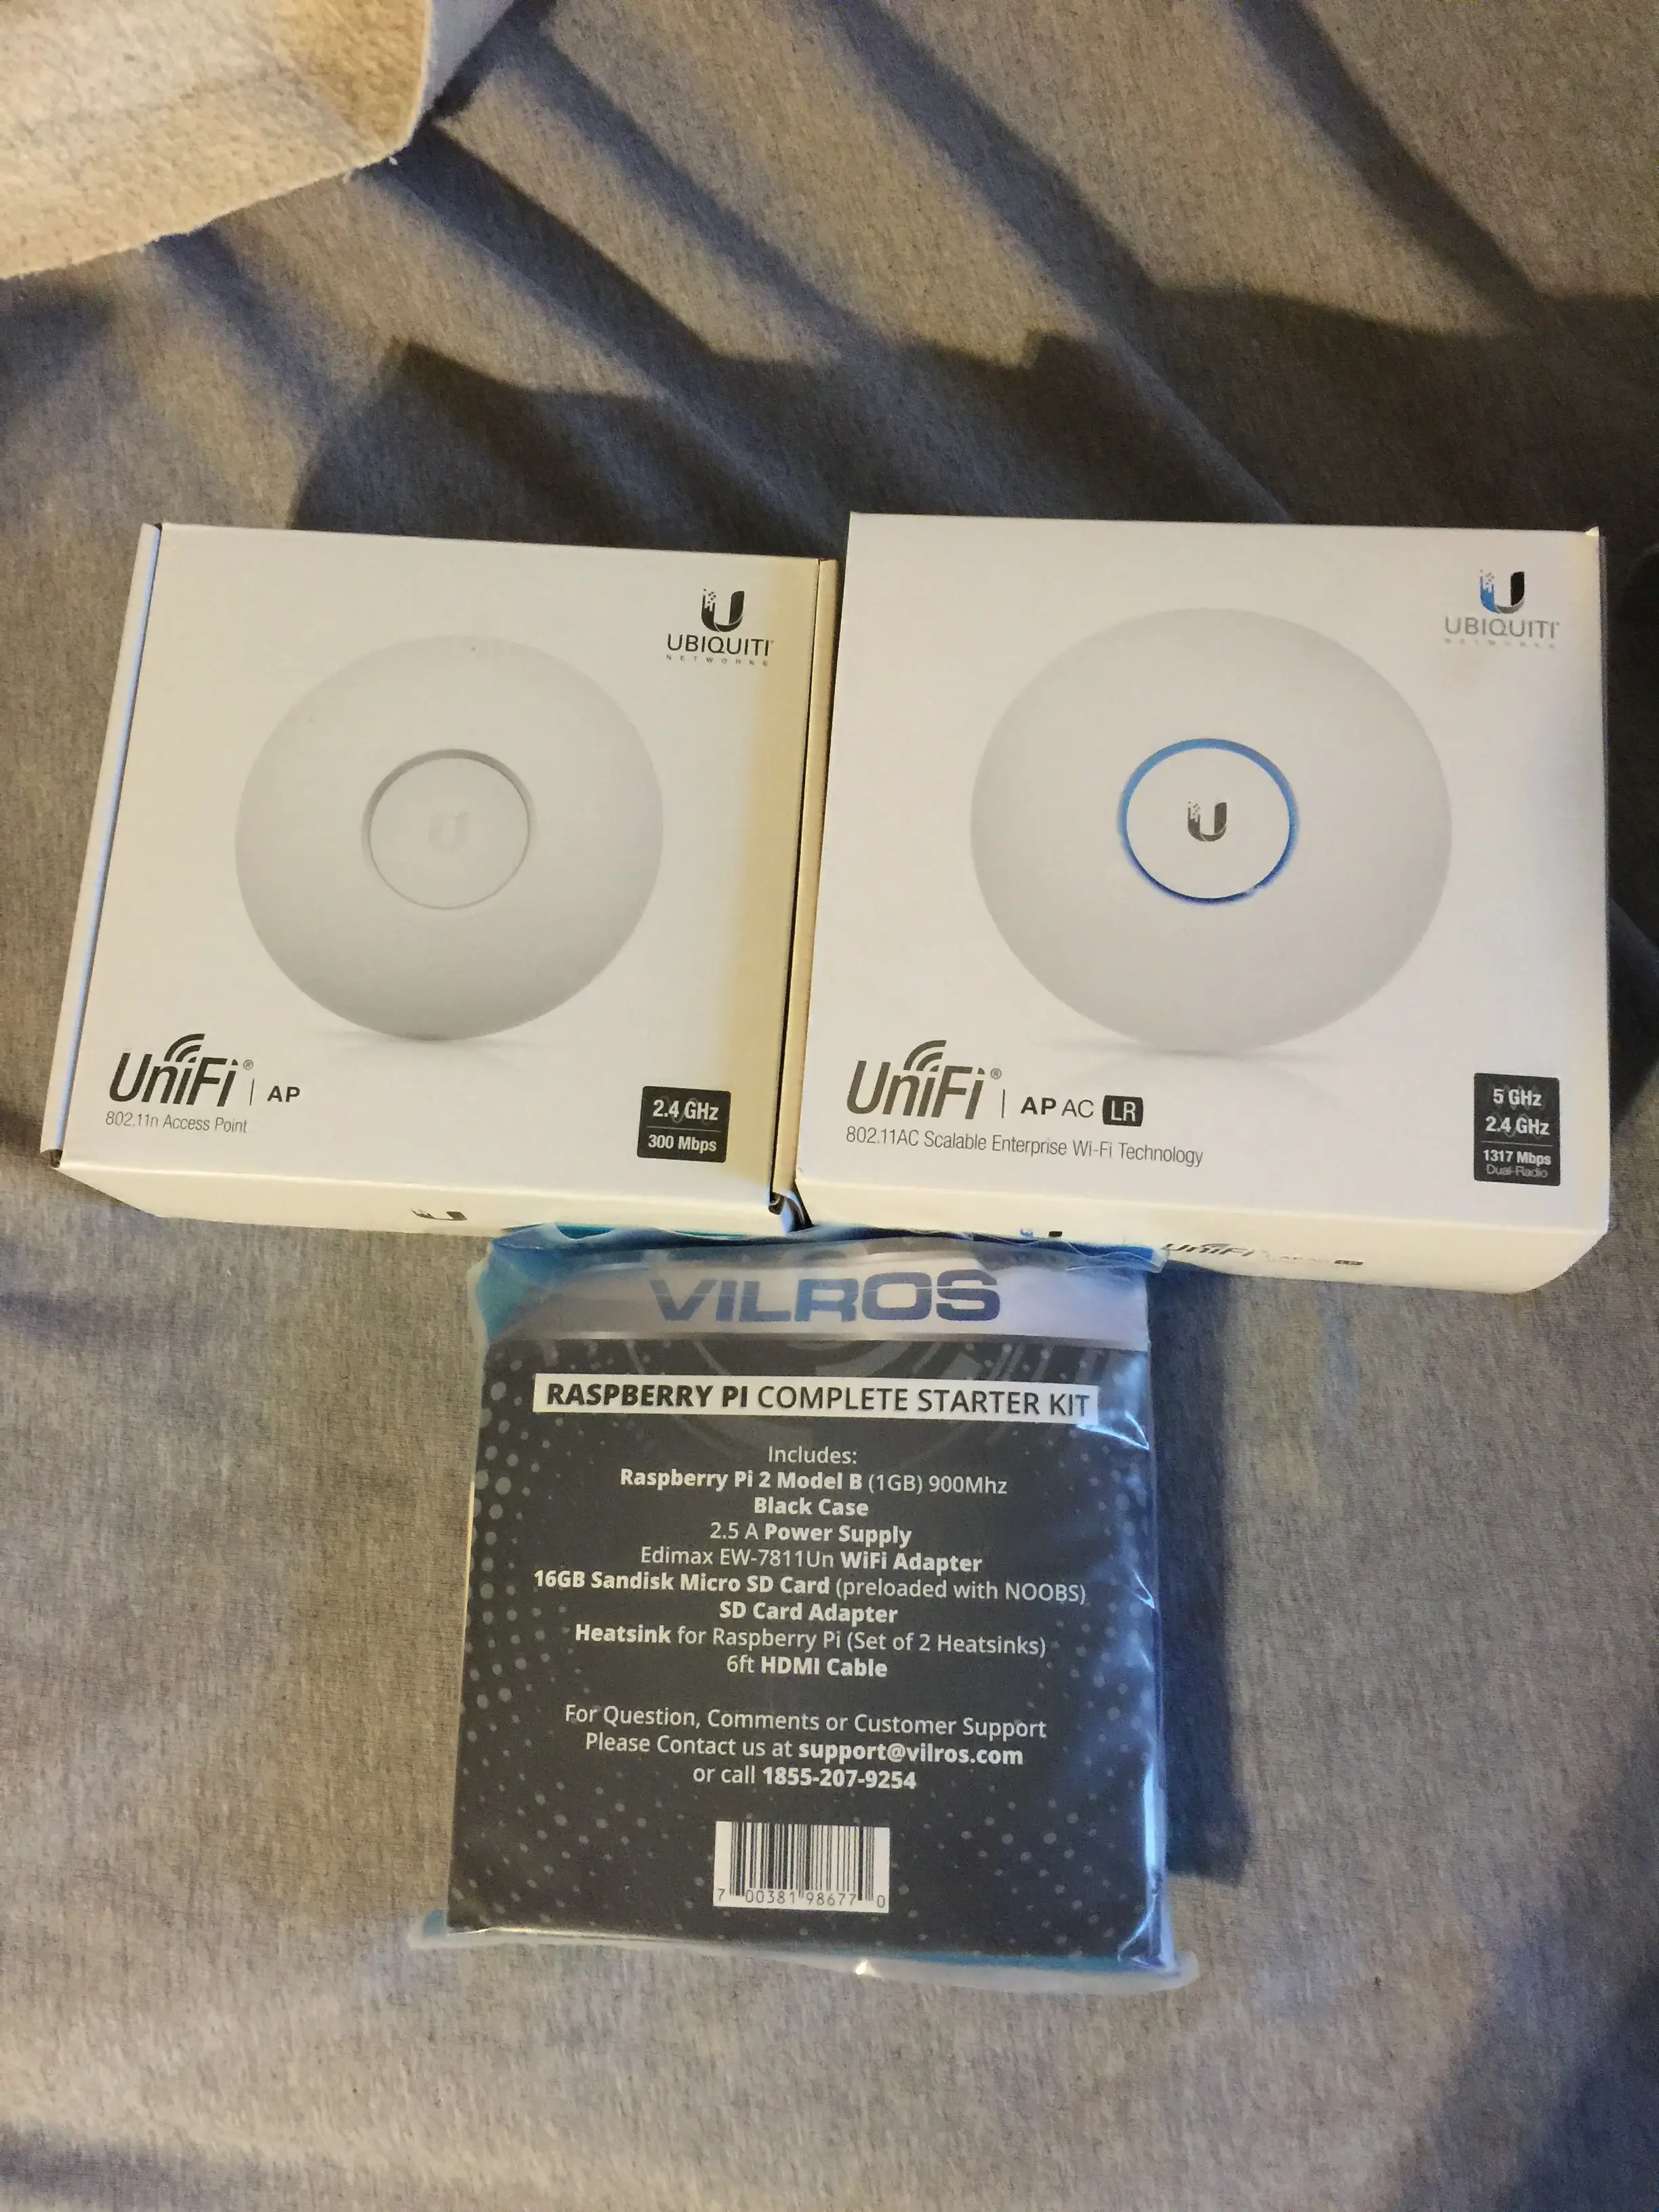 I went with a pair of UAP (.11n) and UA-AC-LR (.11ac) units for a mix of coverage in light usage areas and better performance in high usage areas, along with a RaspberryPi 2 to act as the controller. Since the UniFi APs are becoming more popular among home users, and I can’t be the only one wary of putting management functions in the cloud, I decided to document the setup process.
Step 1: Gather needed parts
- RPi2
- 5v micro-usb power source
- Ethernet cable
- MicroSD card
- Ubiquiti UniFi APs
- patch cables (2x per AP)
Step 2: Burn Raspian (these instructions based upon Hypriot 0.6.1) to a MicroSD card
Step 3: Cable up APs and plug into the network
Step 4: Turn on RPi2
- Scan network to determine IP or look in your router’s DHCP lease table
- SSH to RPi2
- Assign static IP
- Open /etc/network/interfaces in your preferred text editor
- Adjust the below guide for your networkiface eth0 inet static
address xxx.xxx.xxx.xxx
gateway xxx.xxx.xxx.xxx
netmask xxx.xxx.xxx.xxx
network xxx.xxx.xxx.xxx
broadcast xxx.xxx.xxx.xxx - Save and exit
- Restart networking
/etc/init.d/networking restart
- Upgrade Raspian
apt-get update; apt-get dist-upgrade - Upgrade RPi firmware
rpi-update
Step 5: Install UniFi Controller (Source Guide)
- Add the UniFi respository
- Open /etc/apt/sources.list.d/ubnt.list in your preferred text editor
- Add the following line
deb http://www.ubnt.com/downloads/unifi/debian stable ubiquiti - Save and exit
- Add Ubiquiti’s signing key
apt-key adv –keyserver keyserver.ubuntu.com –recv C0A52C50 - Update sources and install UniFi along with dependencies
apt-get update; apt-get install unifi -y - Disable default MongoDB instance
- Open /etc/mongodb.conf in your preferred text editor
- At the end of the file add the followingENABLE_MONGODB=no
- Save and exit
- Reboot
Step 6: Configure your UniFi environment
- Point your browser to https://<ControllerIP>:8443/
- Set your timezone and country
- Select any unmanaged UniFi APs (or other UniFi devices) showing up
- Set your SSID and Key
- Set the username and password for your initial administrator account
- Click finish and then login
Step 7: Install and Configure Syslog
- Install syslog-ng
apt-get install syslog-ng -y - Open /etc/syslog-ng/syslog-ng.conf in your preferred text editor and add the below
- Add the following to accept syslog over UDP/514 from remote sources# Listen on both TCP/514 and UDP/514 on all IPs
source s_net { tcp(port(514)); udp(); }; - Add the following to set the destination for syslog data# Set the log destination for the Ubiquiti UniFi Controller
destination d_unifi { file(“/var/log/Ubiquiti/UniFi.log”); }; - Add the following for the log path#Set the logging for Ubiquiti UniFi
log { source(s_net); destination(d_unifi); }; - Save and exit
- Add the following to accept syslog over UDP/514 from remote sources# Listen on both TCP/514 and UDP/514 on all IPs
- Create the log file
mkdir /var/log/Ubiquiti
touch /var/log/Ubiquiti/UniFi.log - Restart syslog-ng
service syslog-ng restart - Set log rotation
- Open /etc/logrotate.conf in your text editor of choice and add the below
This will rotate the above set syslogs and the logs created by the UniFi installer on a weekly basis# Rotate Ubiquiti logs
/var/log/Ubiquiti/*/ {
missingok
weekly
rotate 5
create}/var/log/unifi/*/ {
missingok
weekly
rotate 5
create
}
- Open /etc/logrotate.conf in your text editor of choice and add the below
Step 8: Point UniFi Controller to Syslog
- Log into your controller and click Settings in the lower left
- Under the Services heading find Remote Logging and click the check box
- Enter the IP of your Raspberry Pi
- Click Apply
For the next post in this series we’ll step through installing an ELK stack and use it to monitor the syslog feed we setup along with the UniFi controller logs.
