Last week I wrote on Unitrends offers free backup’s with Unitrends Free. Unitrends is a leader in the backup space. And they recently announced a free edition. Today I am going to cover deploying the software via a appliance, and the post deployment configuration. This is our first Step to backing up our virtual environment, for free!
Once we finish this, we will be ready to login to the UI, setup asset protection, and create a new backup job.
Before we start:
This requires a windows machine to launch the setup with .net framework 4.0. Note this does not install on the device you run it from, but deploy’s a appliance.
Ready, get set, and GO!
1. Run the unitrends Installer.
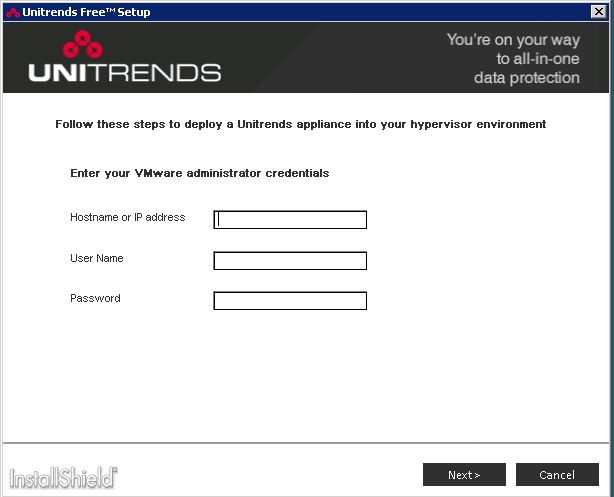
2. Fill out the vCenter information, and click Next.
3. Next name the appliance and select the VMware host and Datastore and click Next.

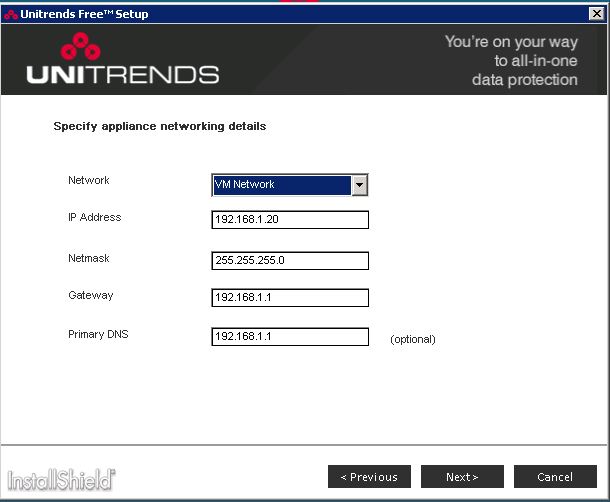
4. Now select your network, and give the appliance the correct network information for your environment, and click next.
5. Now Configure the disk size, select the datastore, and disk provision method, and click install.

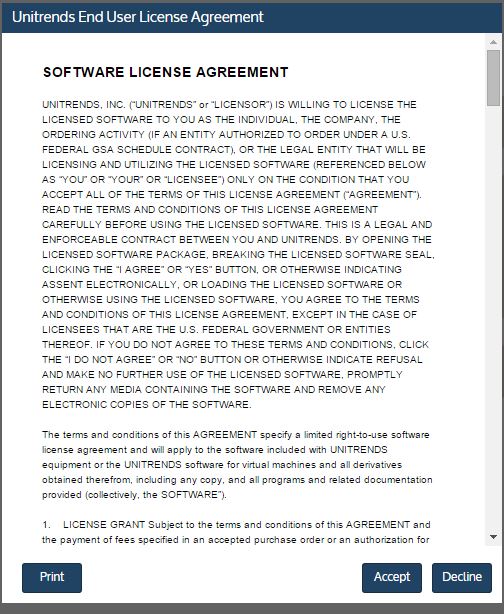
6. Now browse to the IP Address, and proceed by ignoring any SSL warning, and agree to the agreement.
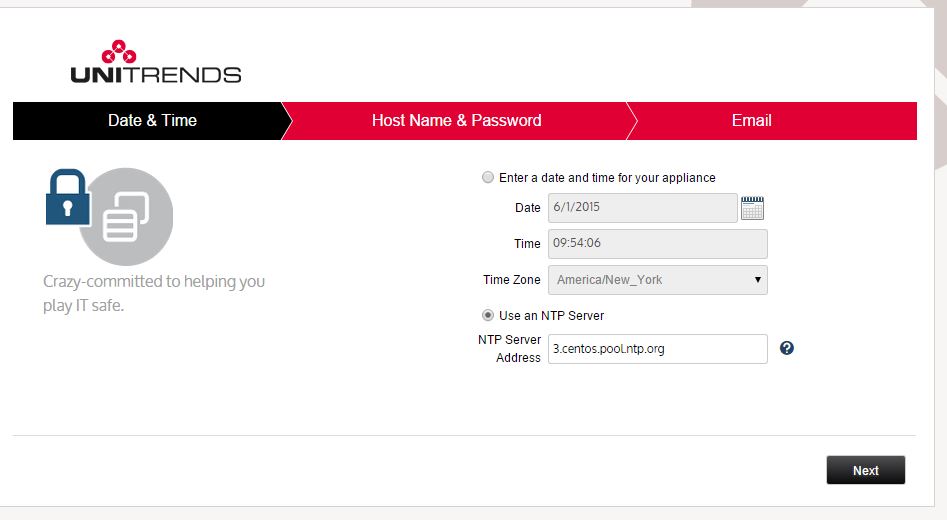
7. Next we will setup the Date and time on the appliance. Once you have made any adjustments click next.
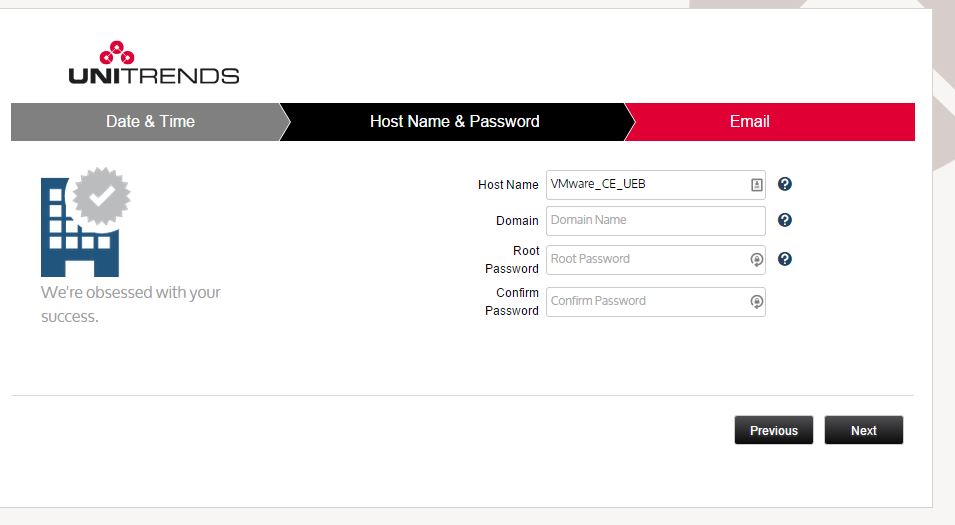
8. Now we set the hostname, domain name, and password. Click Next.
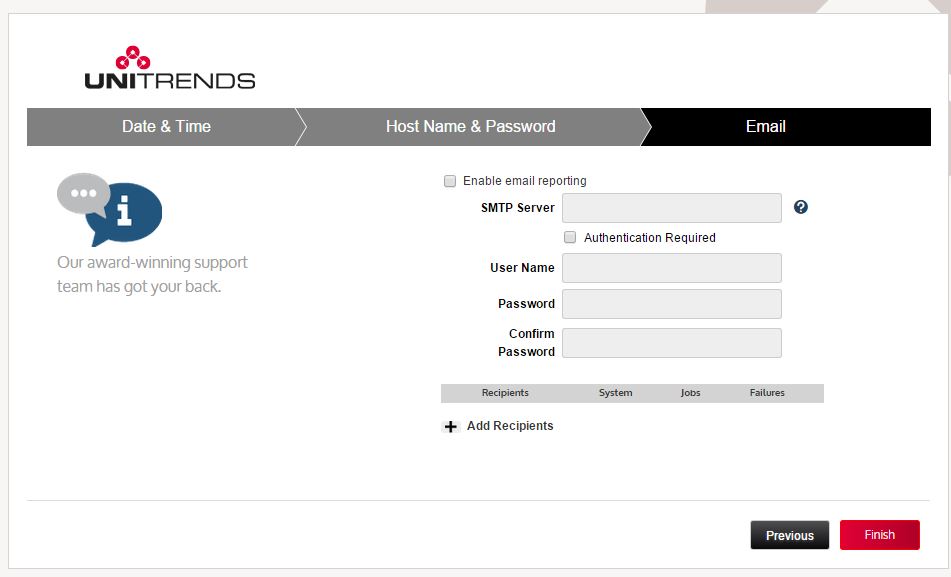
9. Next we set the mail server information and click Finish.
On the next write up. I will cover protecting assets and creating jobs.
Roger Lund
