Hypervisor installed so what now?
Well a hypervisor has one purpose, host and allocate resources to virtual machines. so to do that we need some way to manage the hypervisor and the virtual hardware it will provide
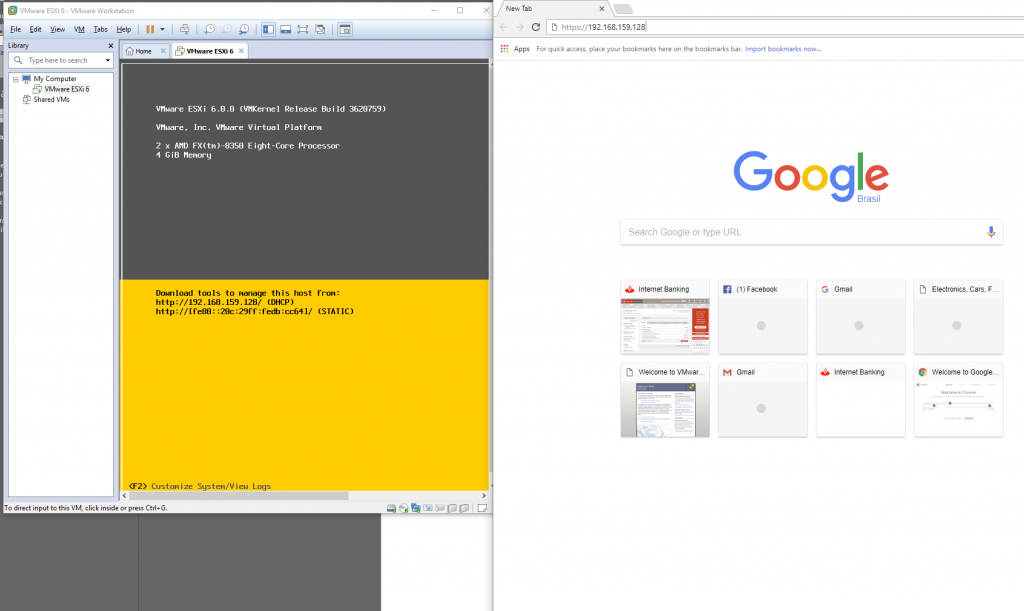
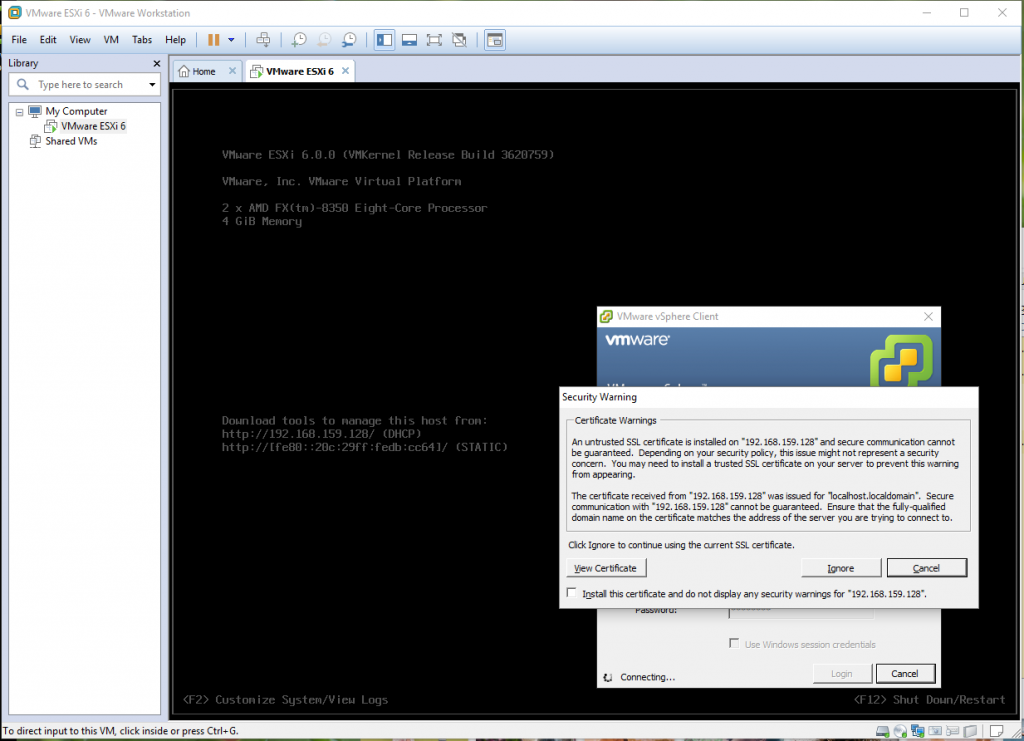
How do we manage esxi? well looking at the splash screen on the esxi server we have a friendly prompt:
“Download tools to manage this server from http://192.168.159.128”
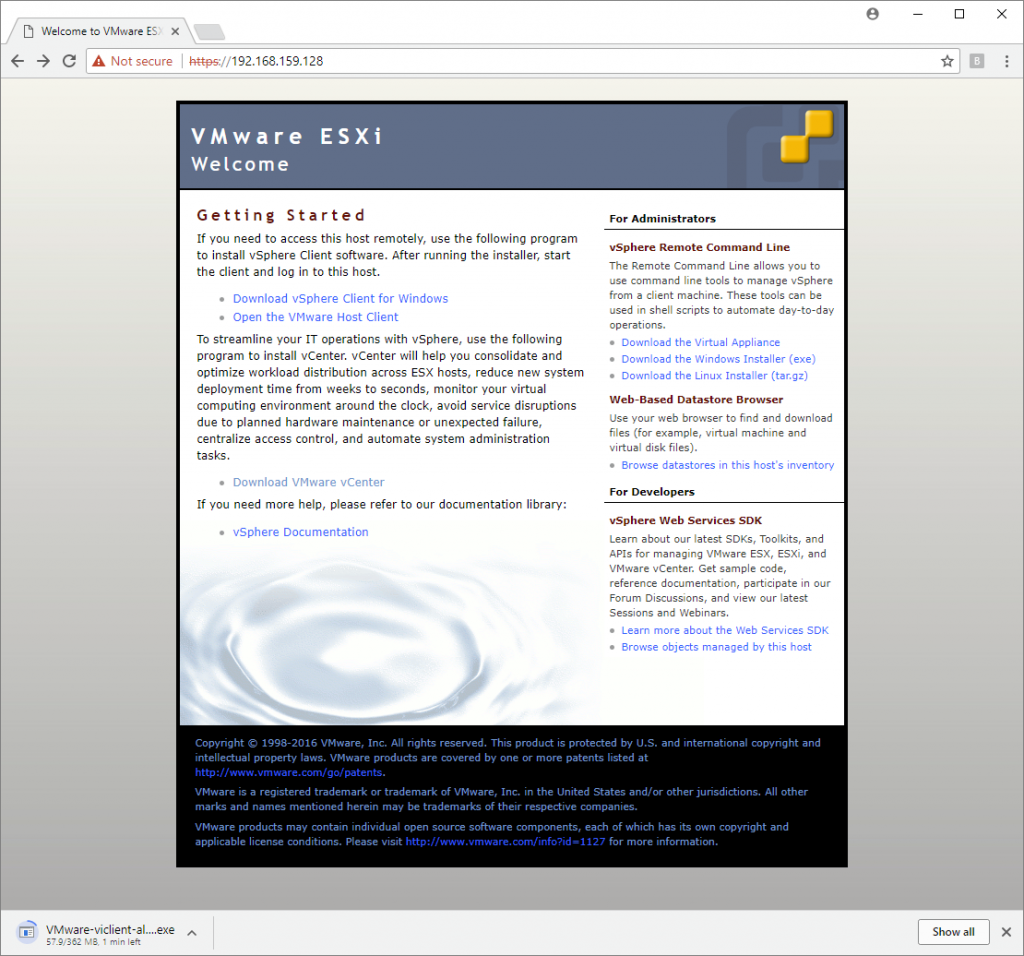
That sounds like just the ticket, noting it’s the ip address of our newly installed esxi server. so firing up our internet browser of choice and heading over to that url…
We find a nice VMware EXSI welcome page, and the first paragraph suggests downloading something called vSphere to manage the server, i liked the sound of that so i downloaded it.
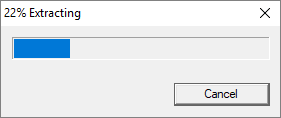
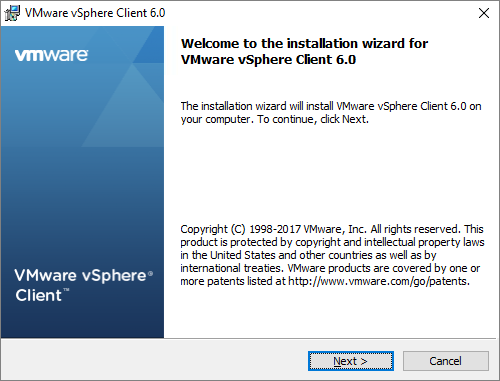
Running the installer gives us a standard compressed windows package installer: (note pretty sure its going to need administrator privileges to install so i granted them when asked
lets keep it simple and install it in English!
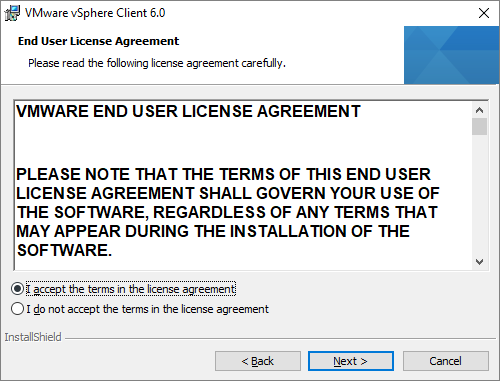
Accept the license Agreement..
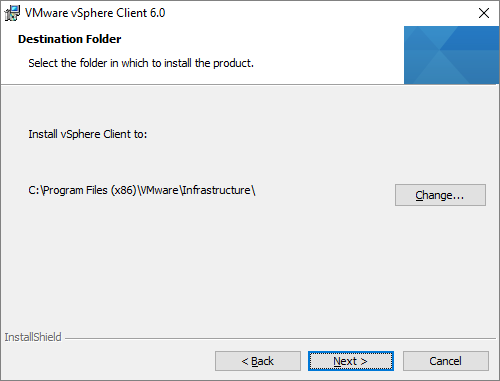
Specify the install location
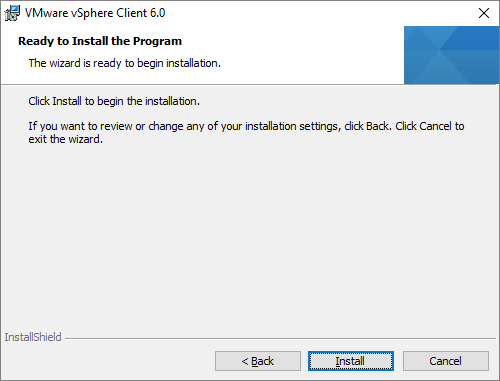
Install
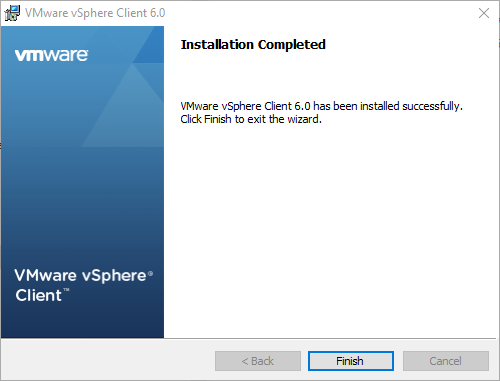
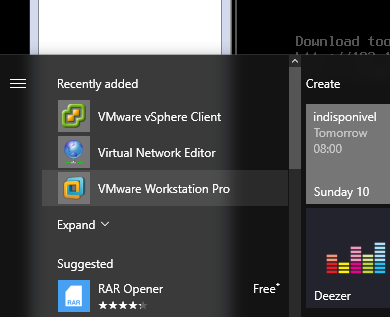
well that was painless, lets see what has appeared in our start menu
VMware vSphere Client, that’s new lets take a look.
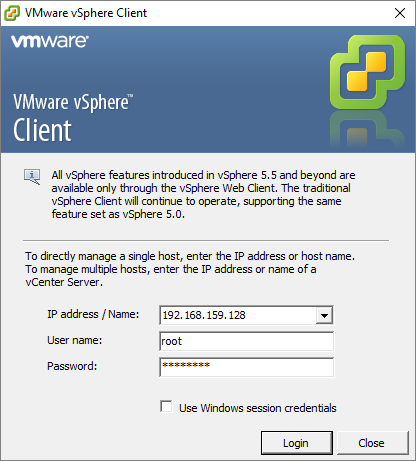
ok, the first thing the cvlient wats to do is connect to a server to manage, so i enter the IP of our new esxi server and the root credentials i set at install
Now as this is a home lab to play around with i don’t have a certificate authority, so vSphere will prompt to accept the self signed certificate the first time you connect.
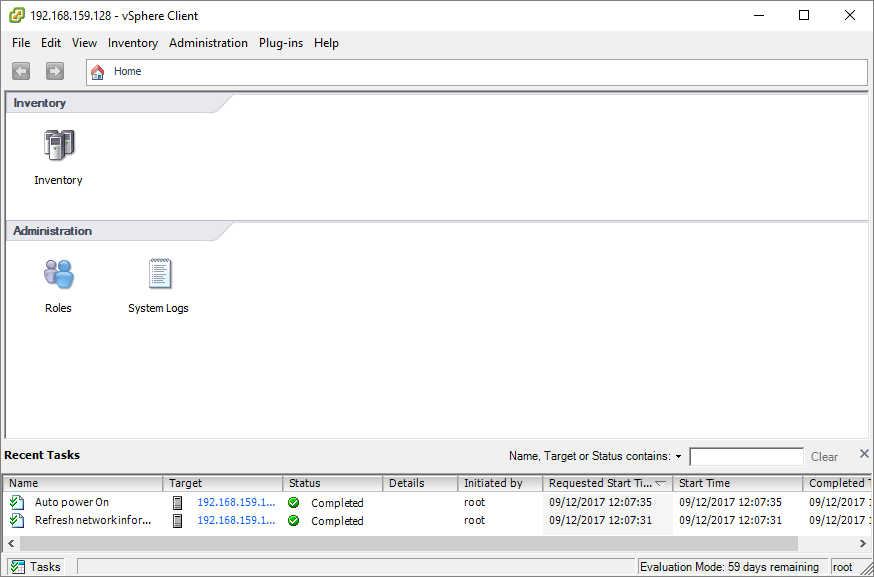
Success!
vSphere has successfully been downloaded, installed, and connected to a remote hypervisor. In what can only be described as a super slick, fast and intuitive process.
I find it very exciting that this process is all that is involved in deploying new hardware in a virtualised environment, install the hypervisor on the bare metal and connect it up to the existing infrastructure. the rest can be done remotely.
Now, next up lets install a server on our hypervisor and get to know vSphere a little
Tchau for now
Phil
