
Ok, So lets get a Virtual machine running on ESXi, and what better to start with than a windows server? So I jumped on Microsoft’s evaluation center website and grabbed a copy of server 2019.
With iso in hand (on disk anyway) lets connect to an ESXi host and start building.
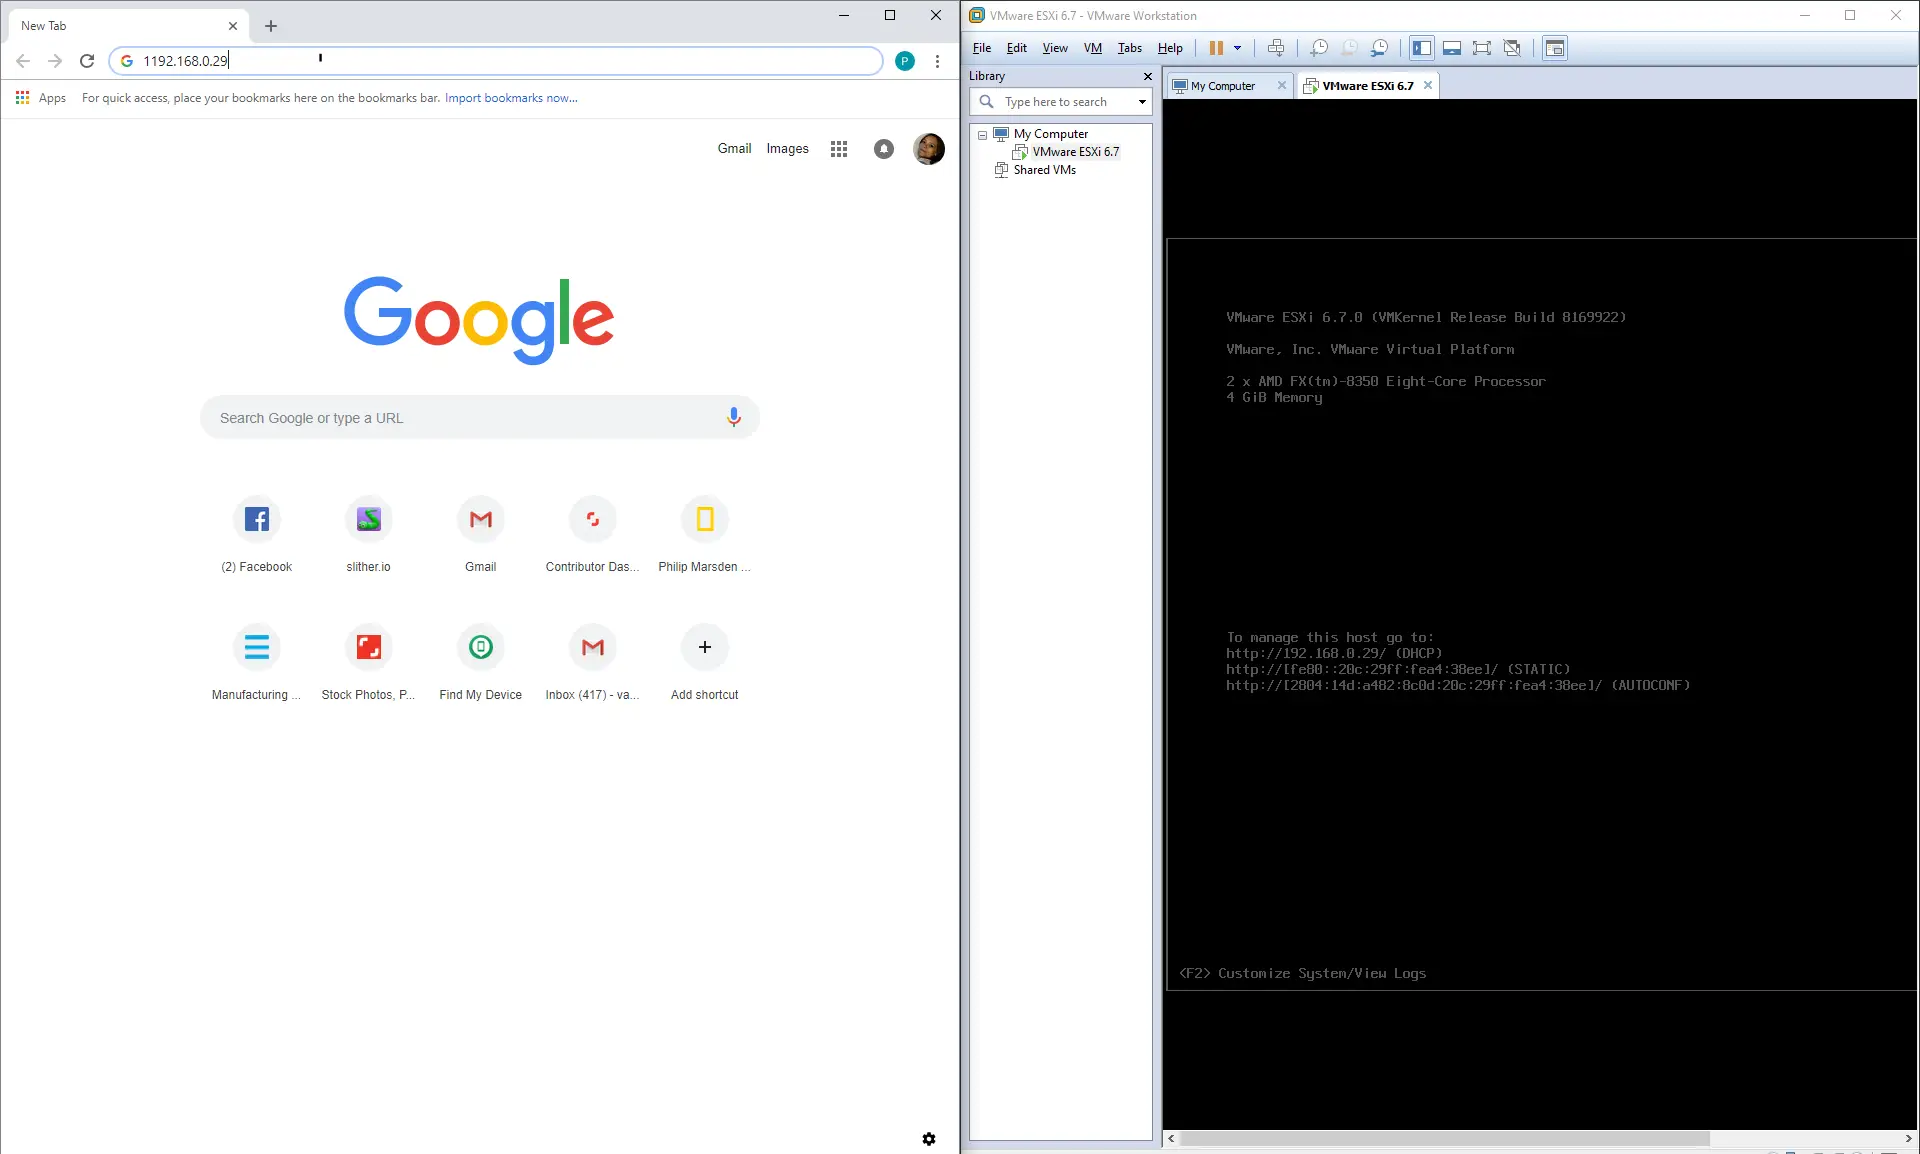
Firing up Vmware Workstation and a n ESXi 6.7 hypervisor within, once booted we have a helpful message on screen – to manage this host go to http://192.168.0.29..
now as this is my home lab and i don’t have a planned infrastructure, my host DHCP’s, in a production environment running critical services, i would have assigned addresses, but for now that doesn’t matter.
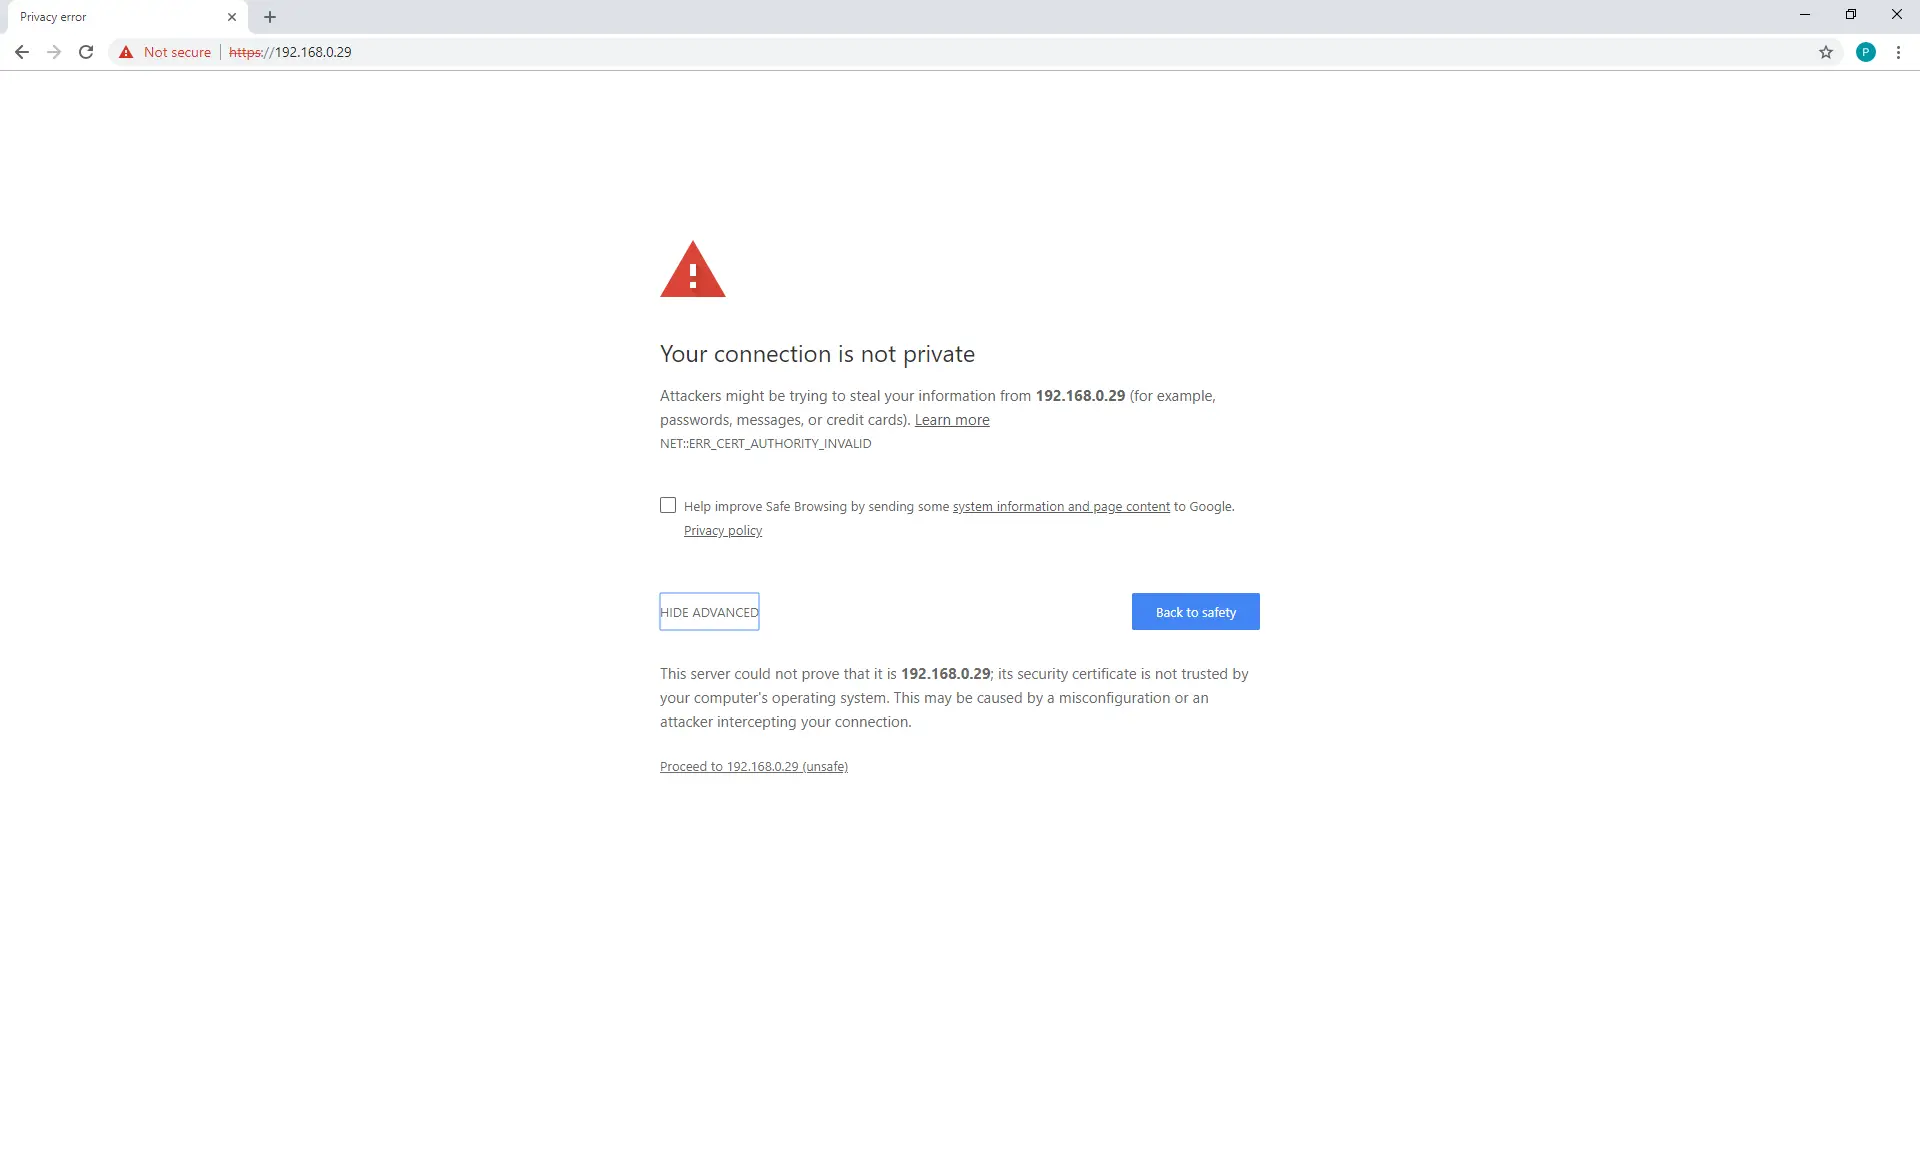
So connecting to the server via chrome:
Throws a security warning, being a machine i “built” on my local network, I trust it and ignore the warning.
Doing so gets you to a login page.

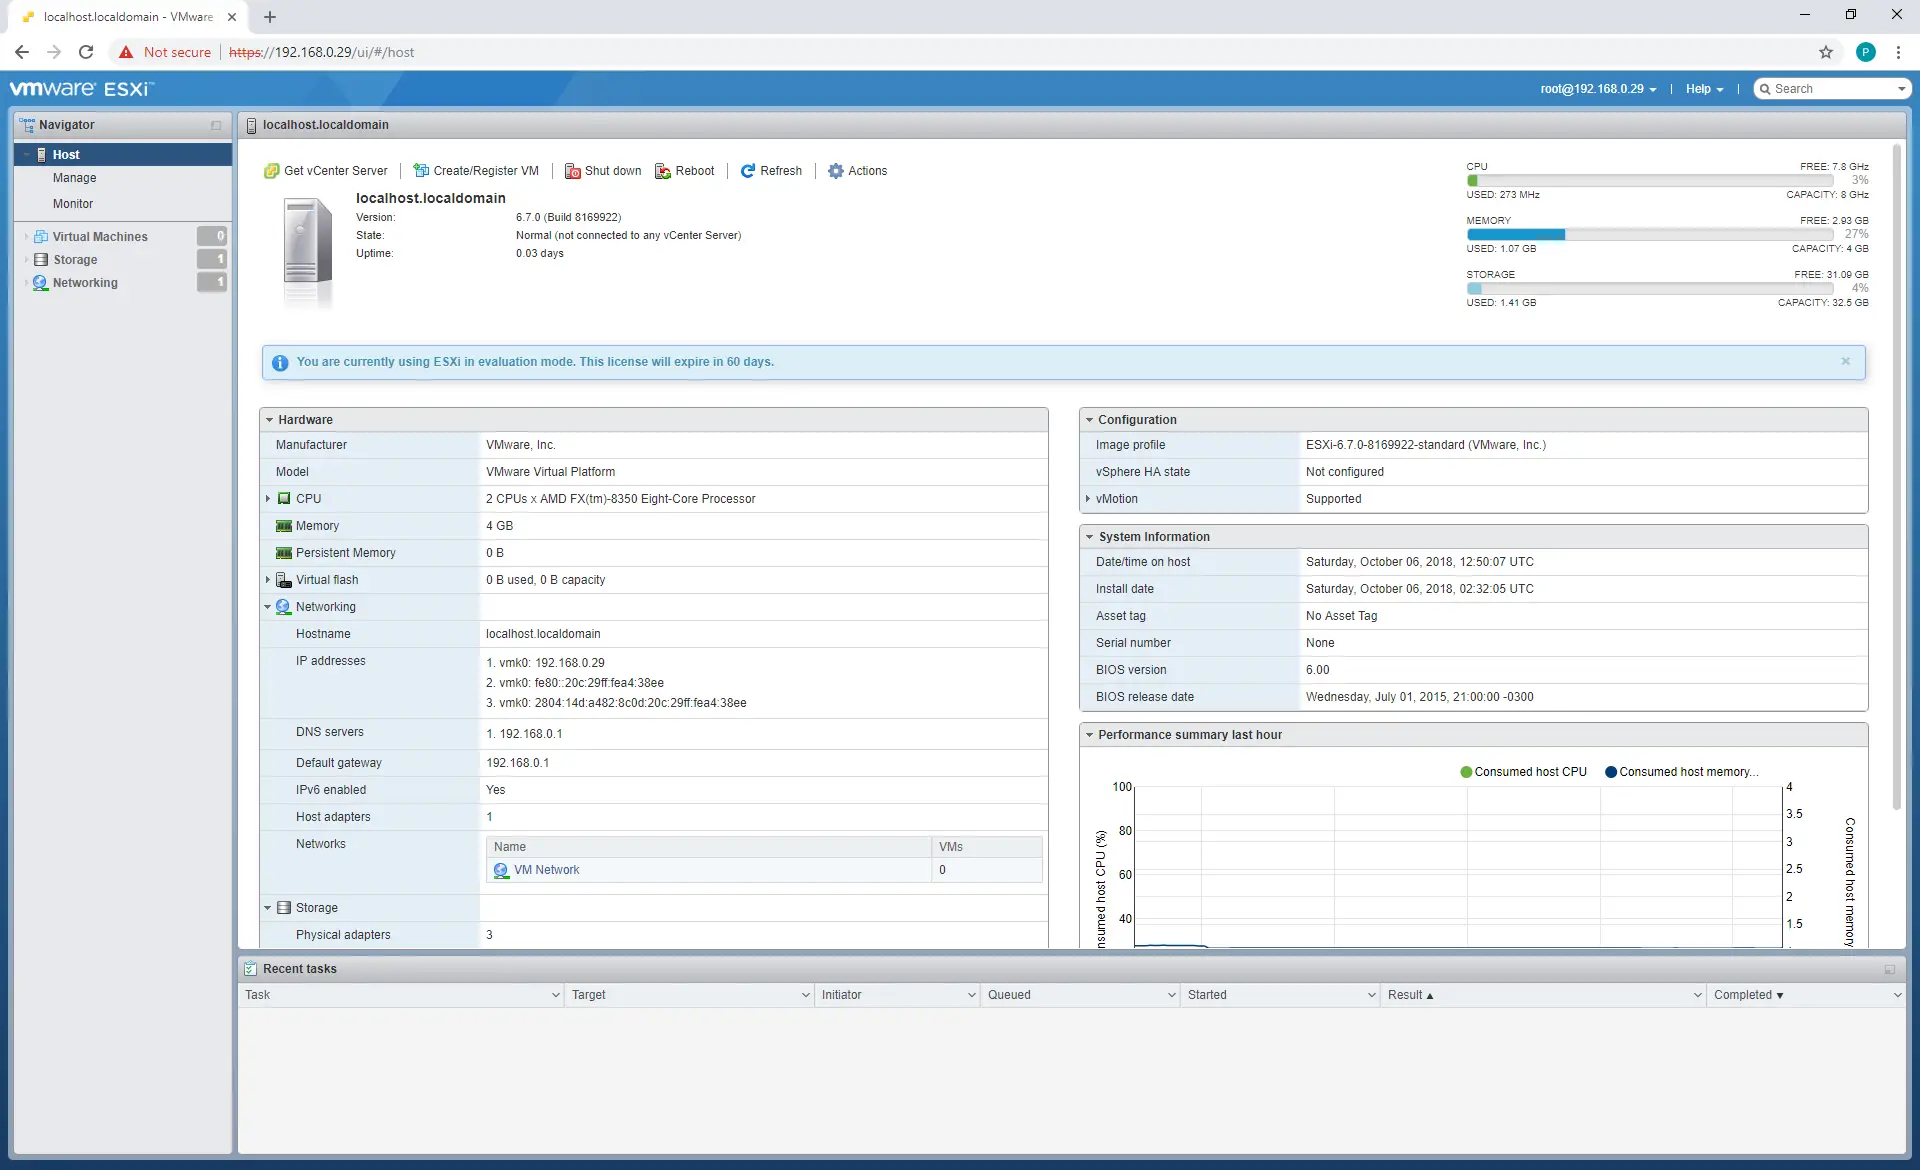
Logging in takes you to the ESXi home page with at a glance information about the server.
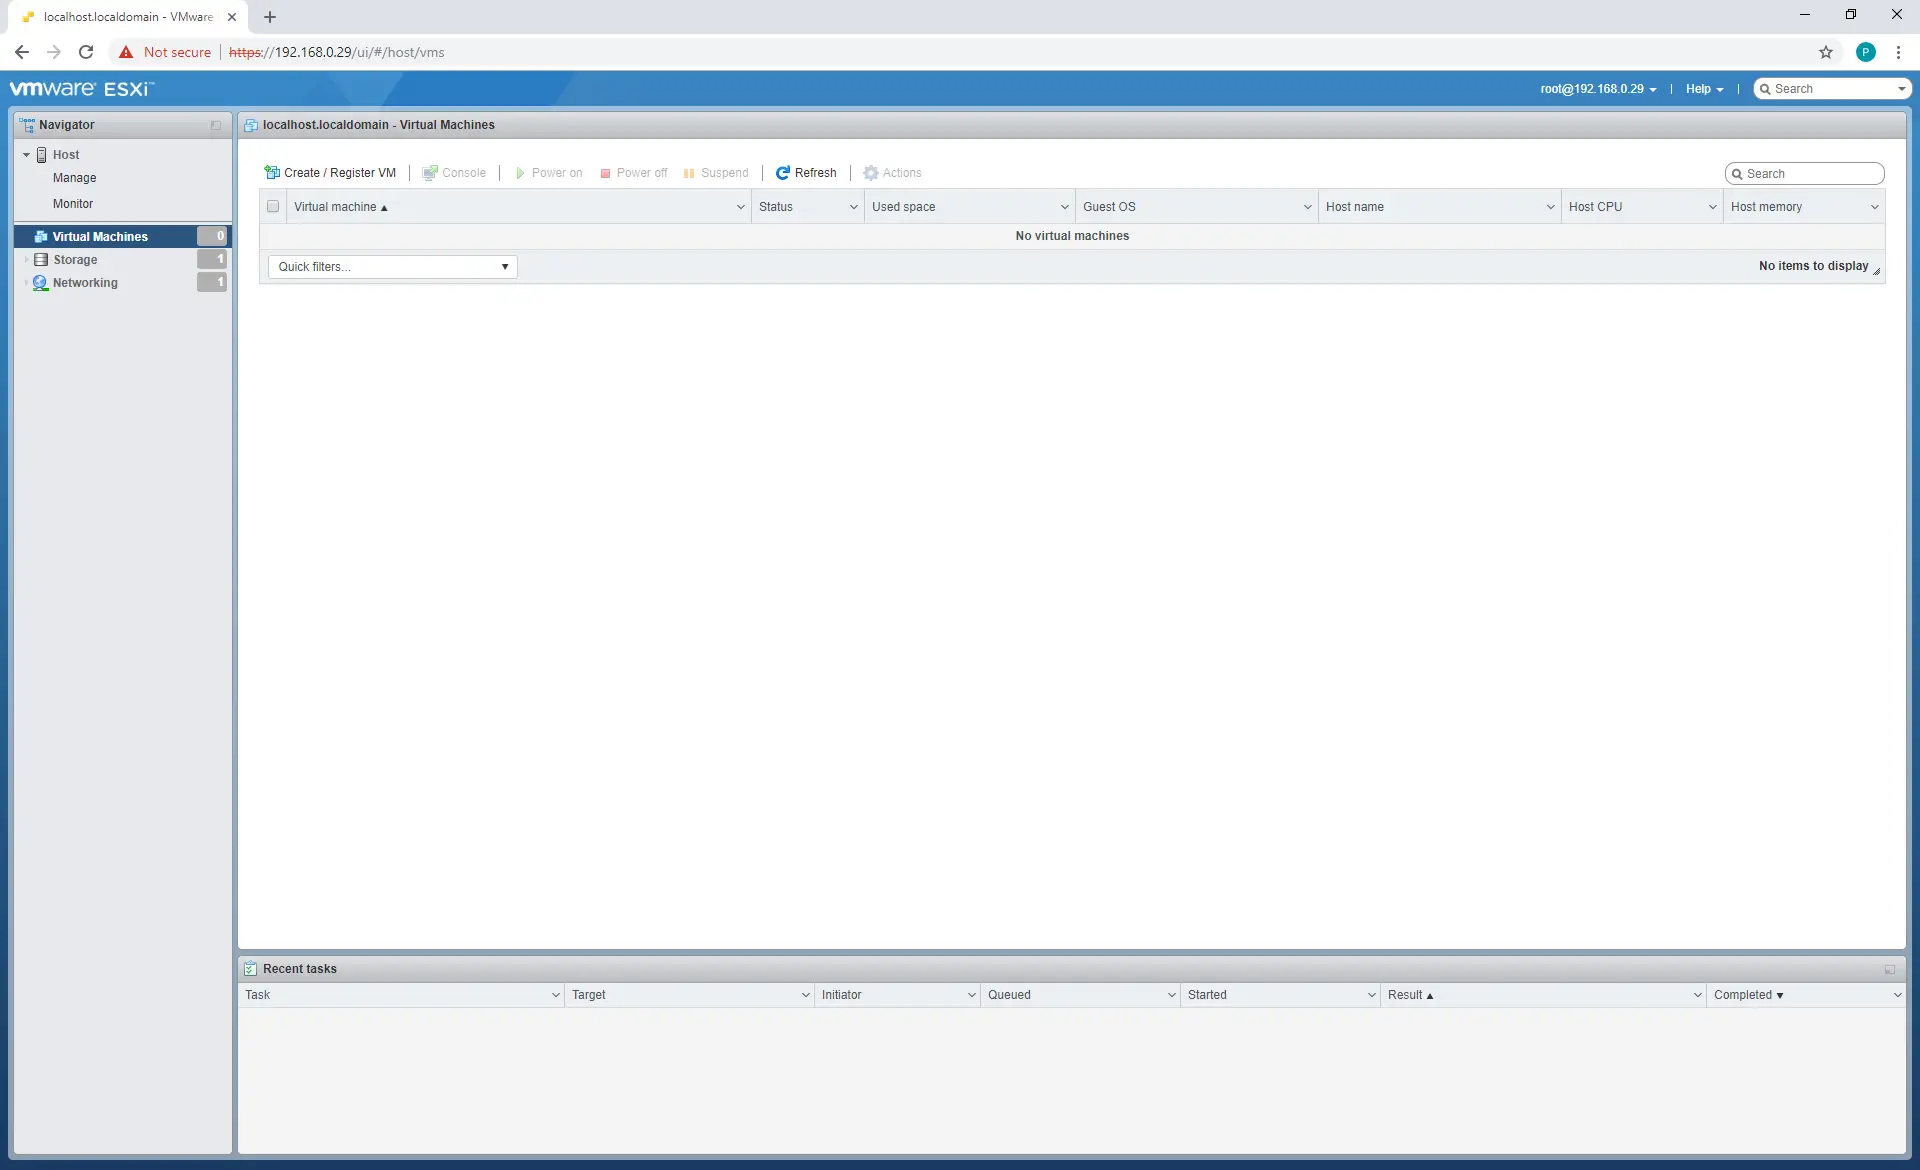
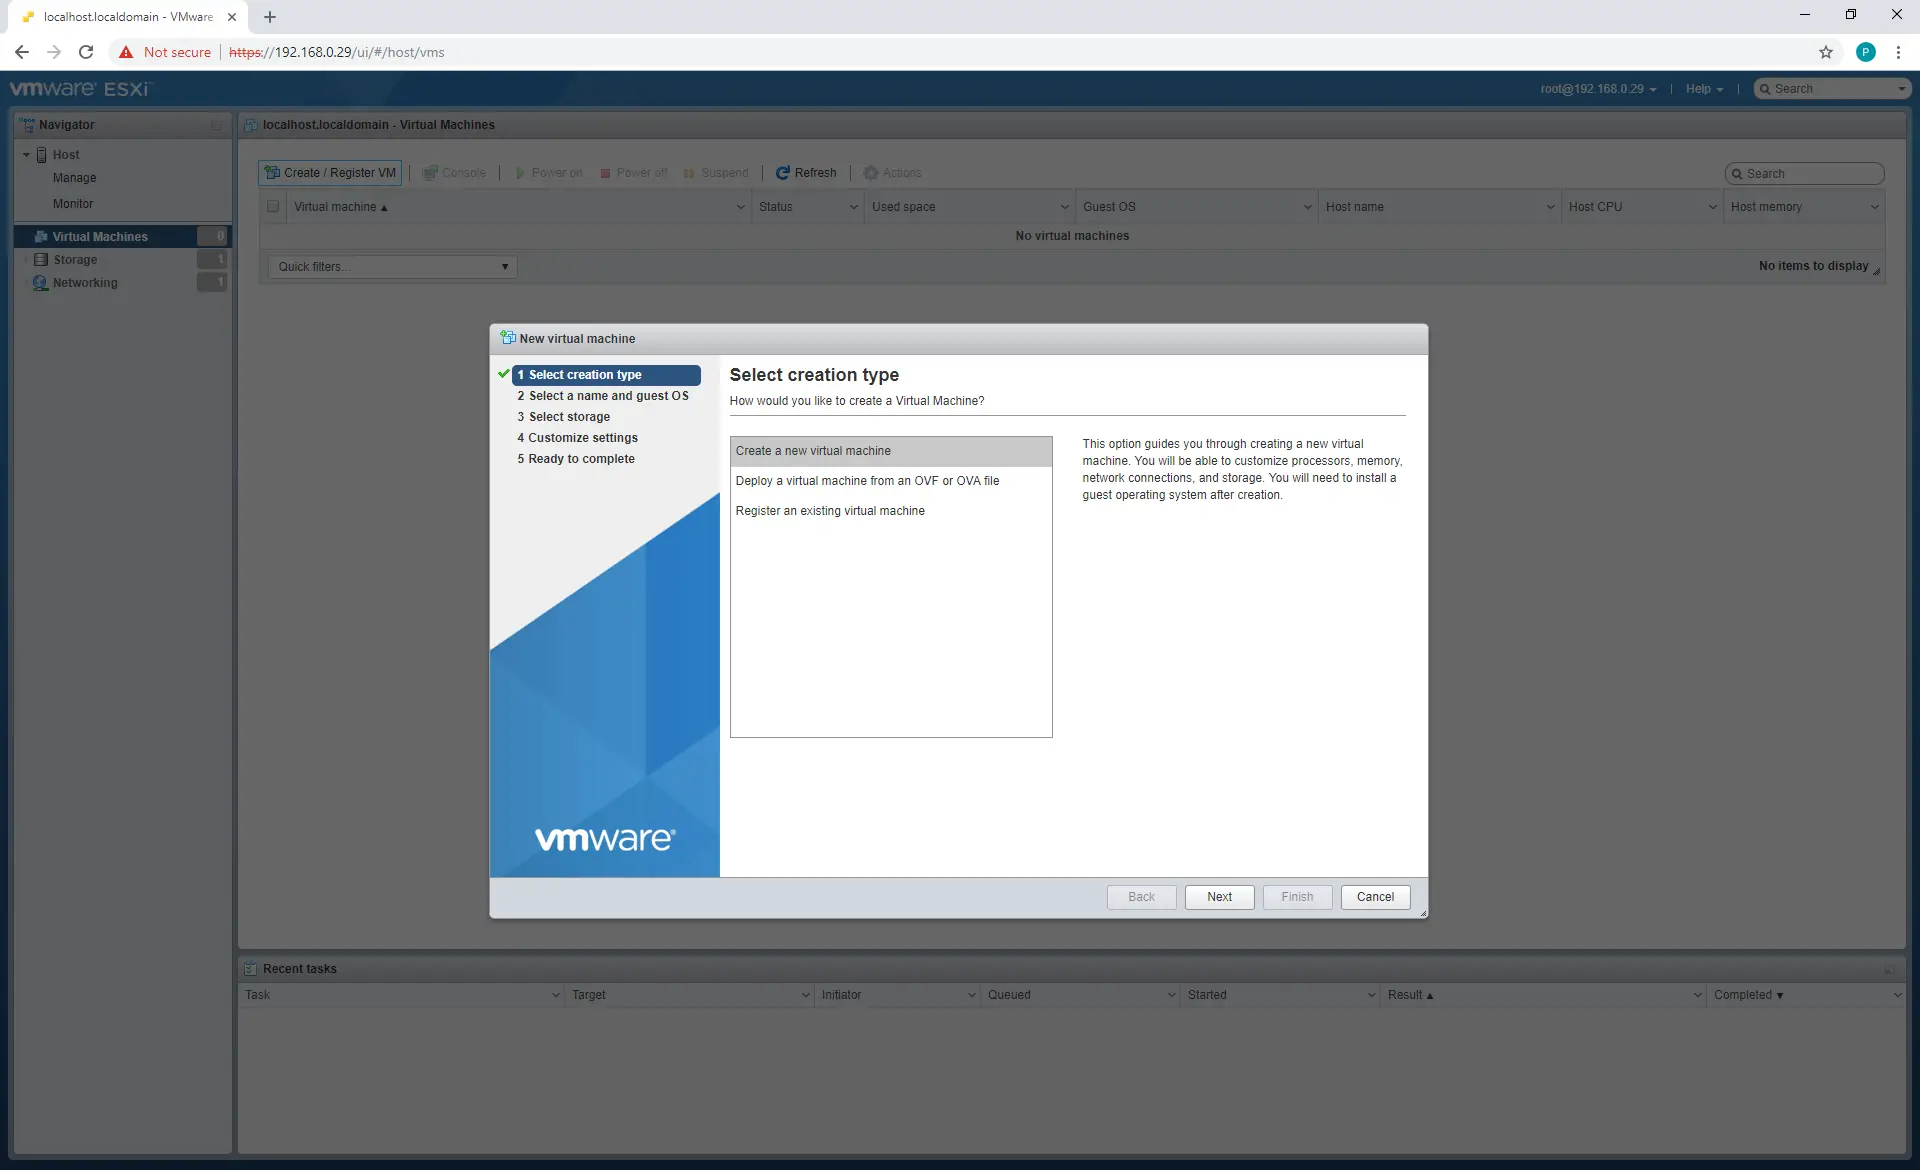
Clicking on virtual machines in the left shows we have no VM’s as yet, so no time like the present, lets make use of the helpful looking “Create/Register Virtual Machine” button..
Predictably this brings up a list of options for adding a virtual machine to ESXi, either via deployment or addition of existing VM’s, or via creation of a new virtual machine. In this instance i’ll go for the latter.
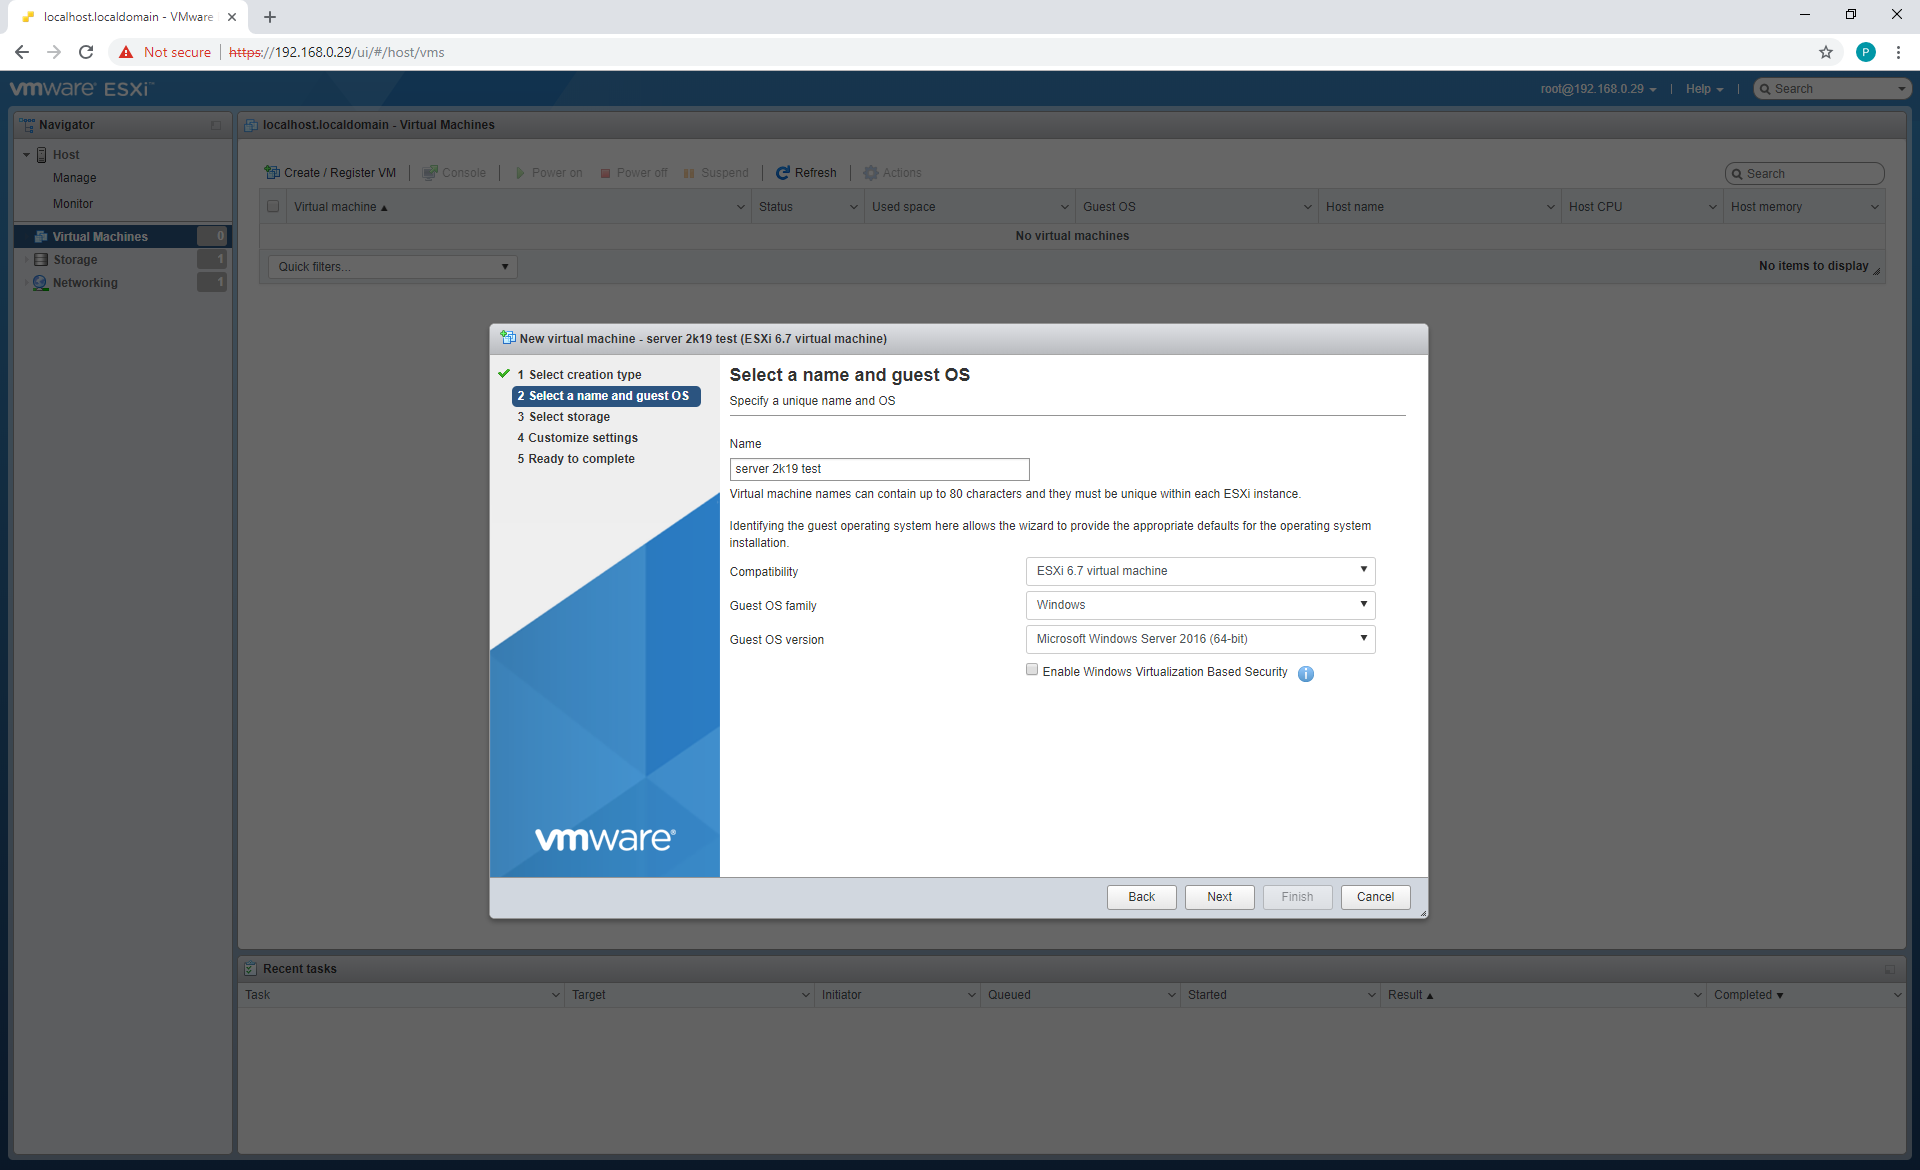
Taking you to page 2 of the new VM wizard, where i give the VM a name and select the OS type, note server 2019 is not in the list yet, but i am very confident that selecting server 2016 will have no issues whatsoever.
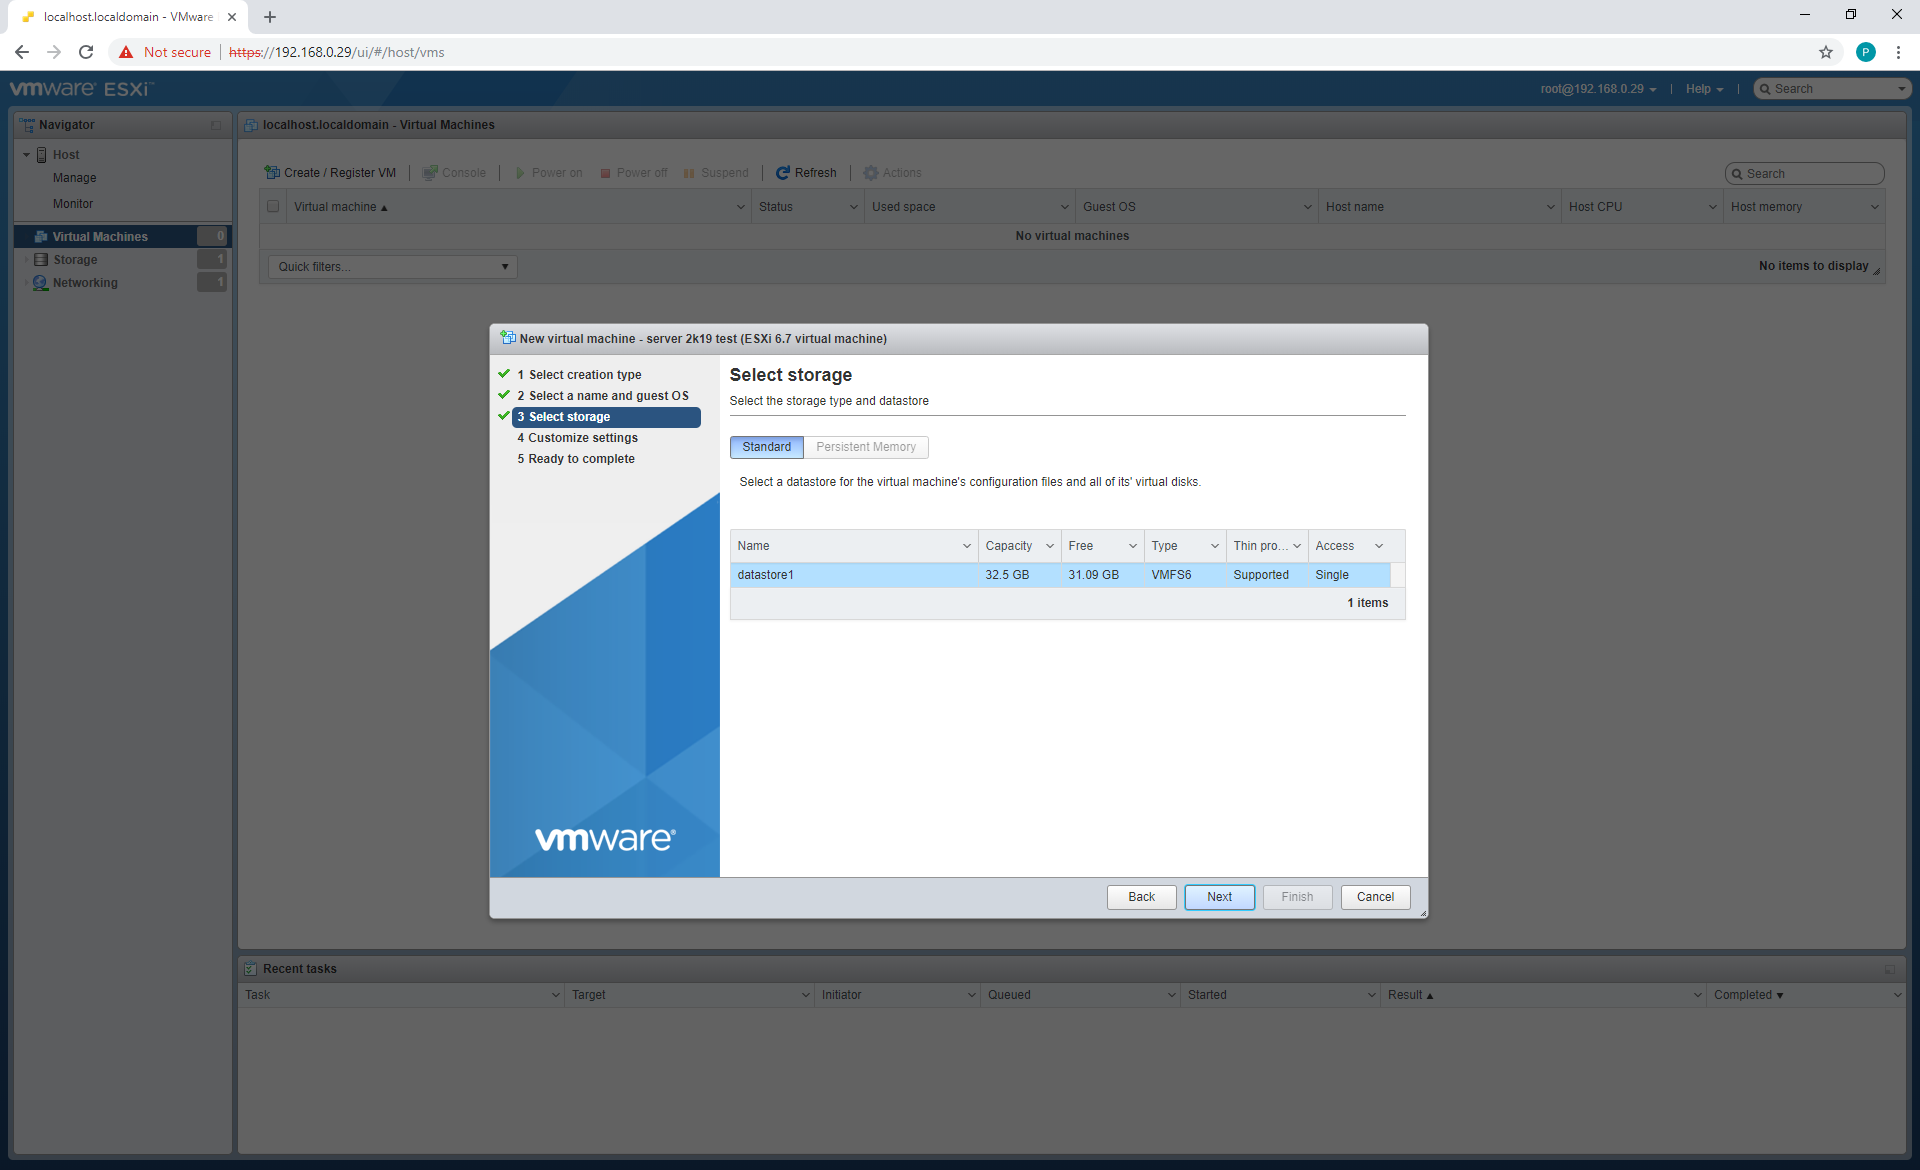
Next page we select a datastore for the VM
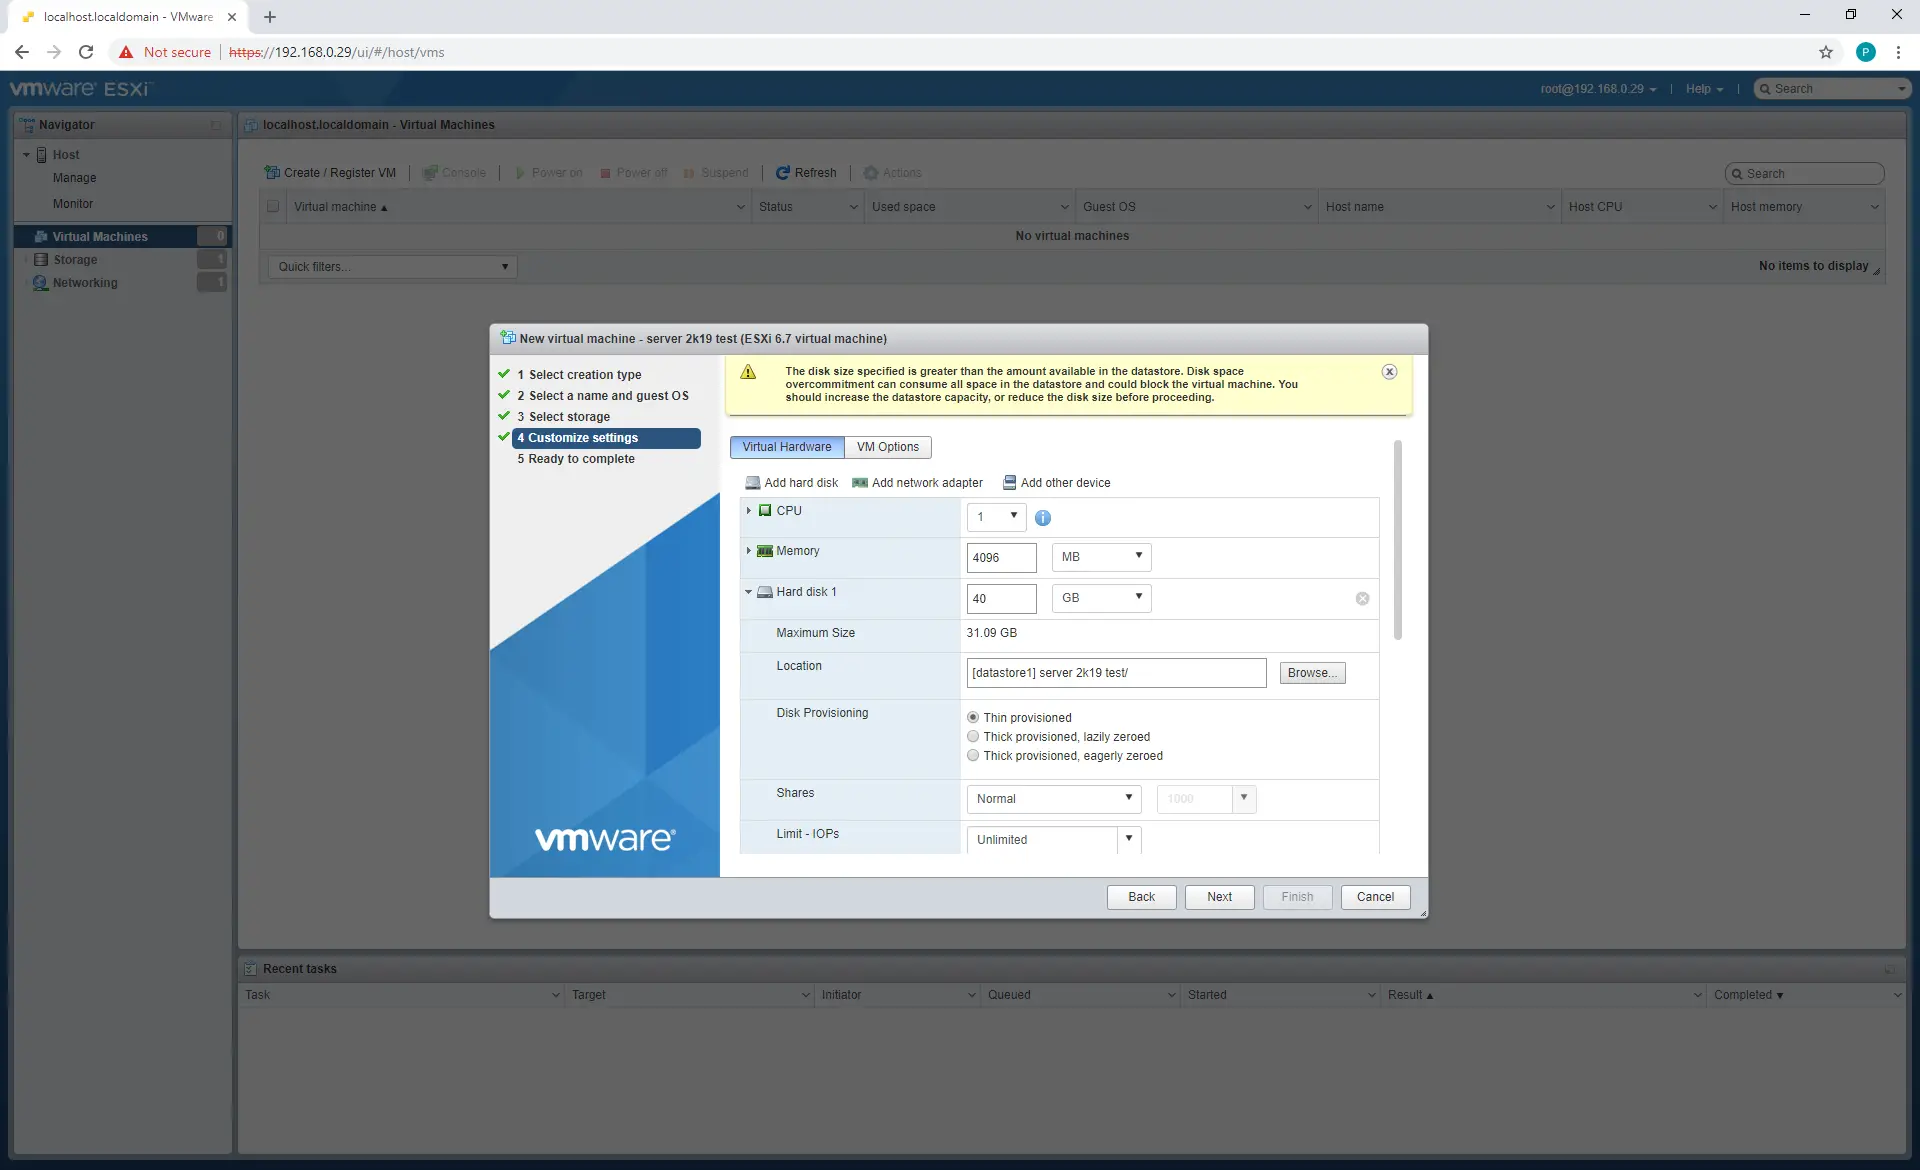
Finally a customize settings screen, with a warning about overprovisioning disk, selecting thin provisioned allows me to continue, and while i’m here, lets mount the windows server 2019 ISO.
scrolling down to CD/DVD drive, selecting Datastore ISO file hitting browse.

Selecting the Server ISO i have already uploaded to the datastore and hitting OK.

Takes us back to a summary screen where we can make any changes if necessary, otherwise click finish to create the VM.
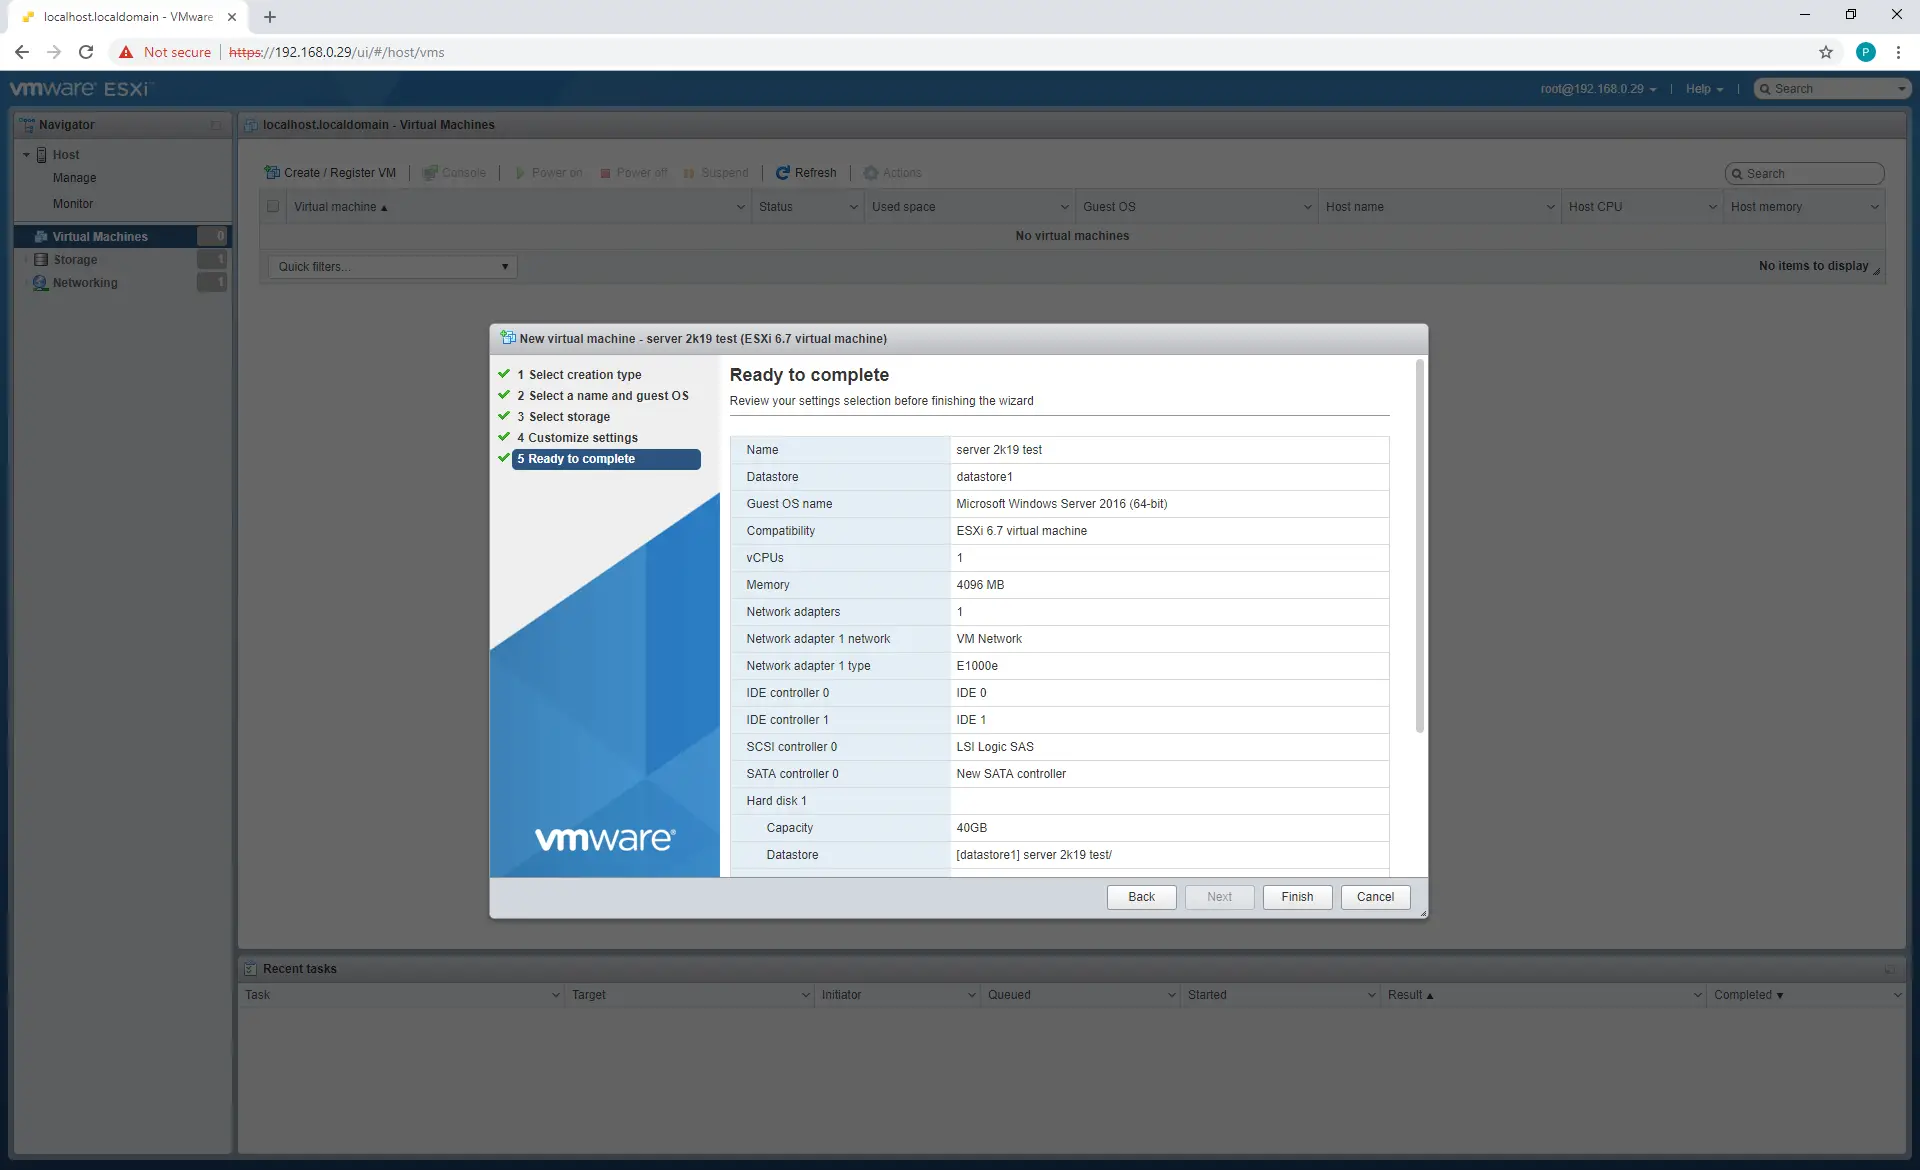
Doing so drops us back into the Virtual Machines tab with the new addition of Server 2k19 test VM.

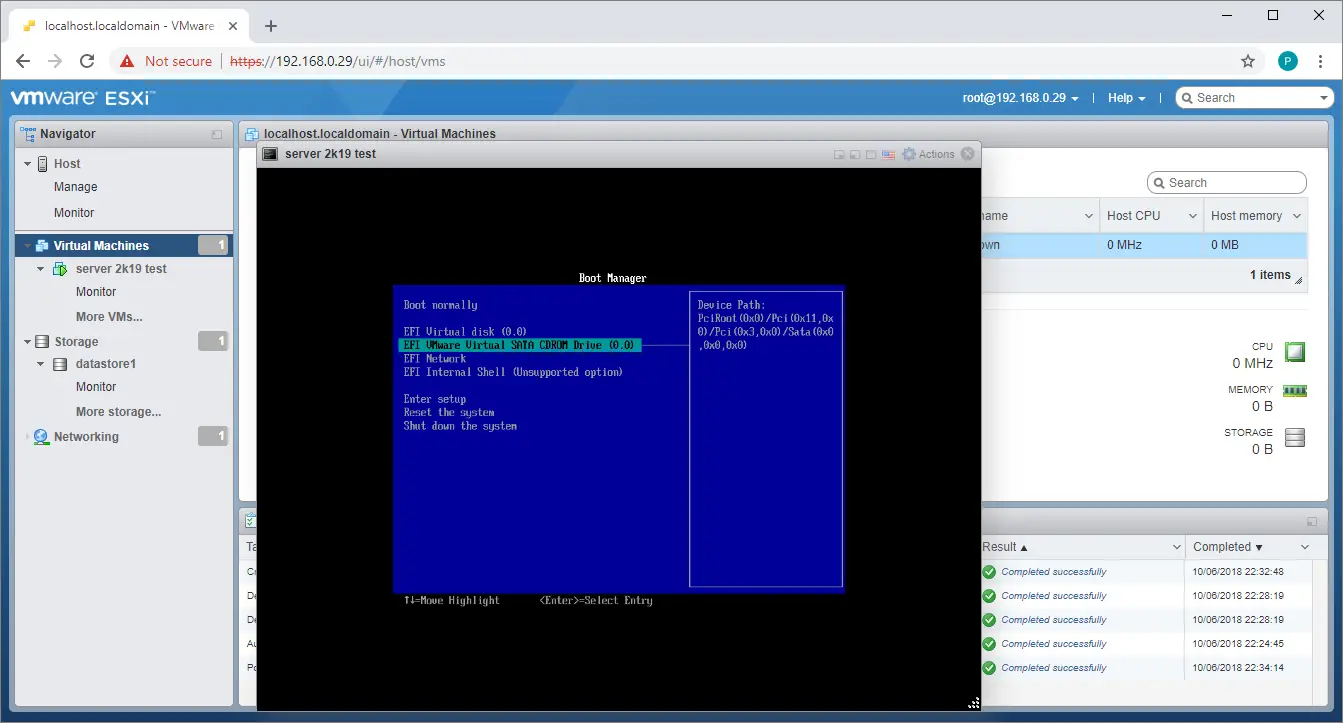
Clicking on the green play button to power on the machine, brings up a boot options screen, selecting the CD-ROM to boot the windows iso.
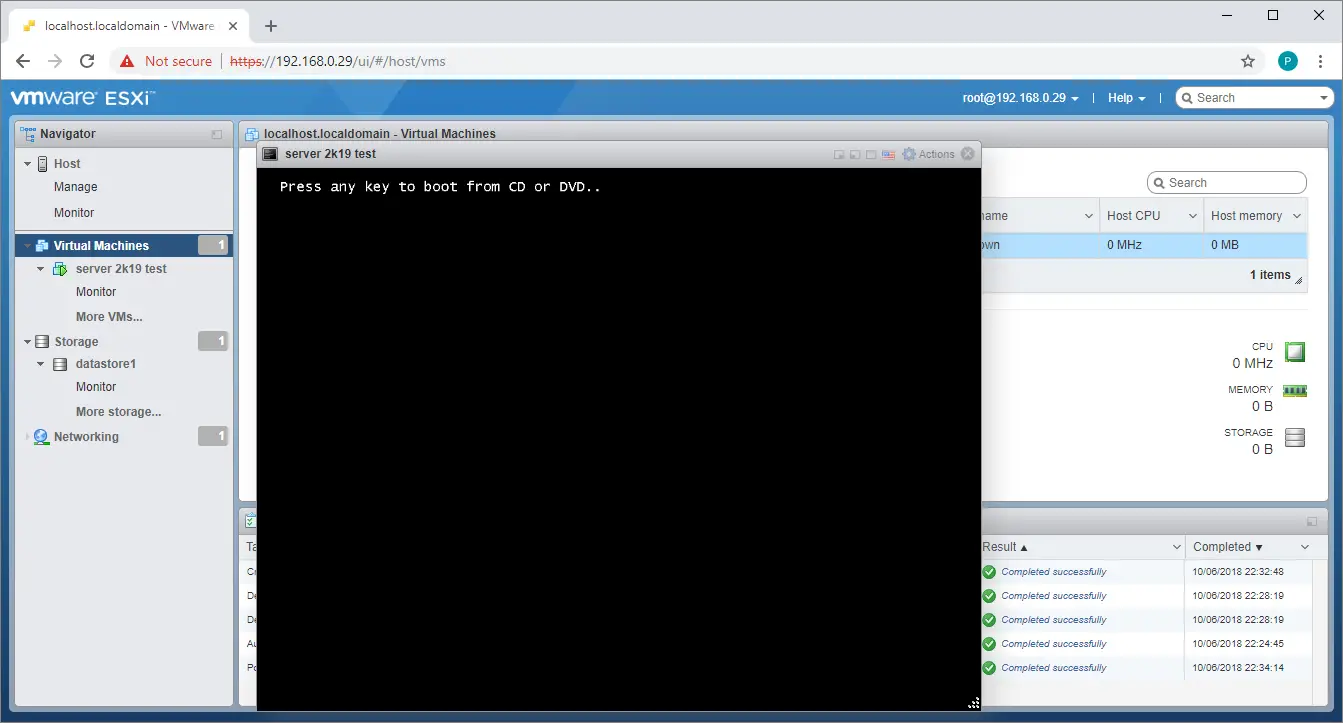
Brings up the reassuring message
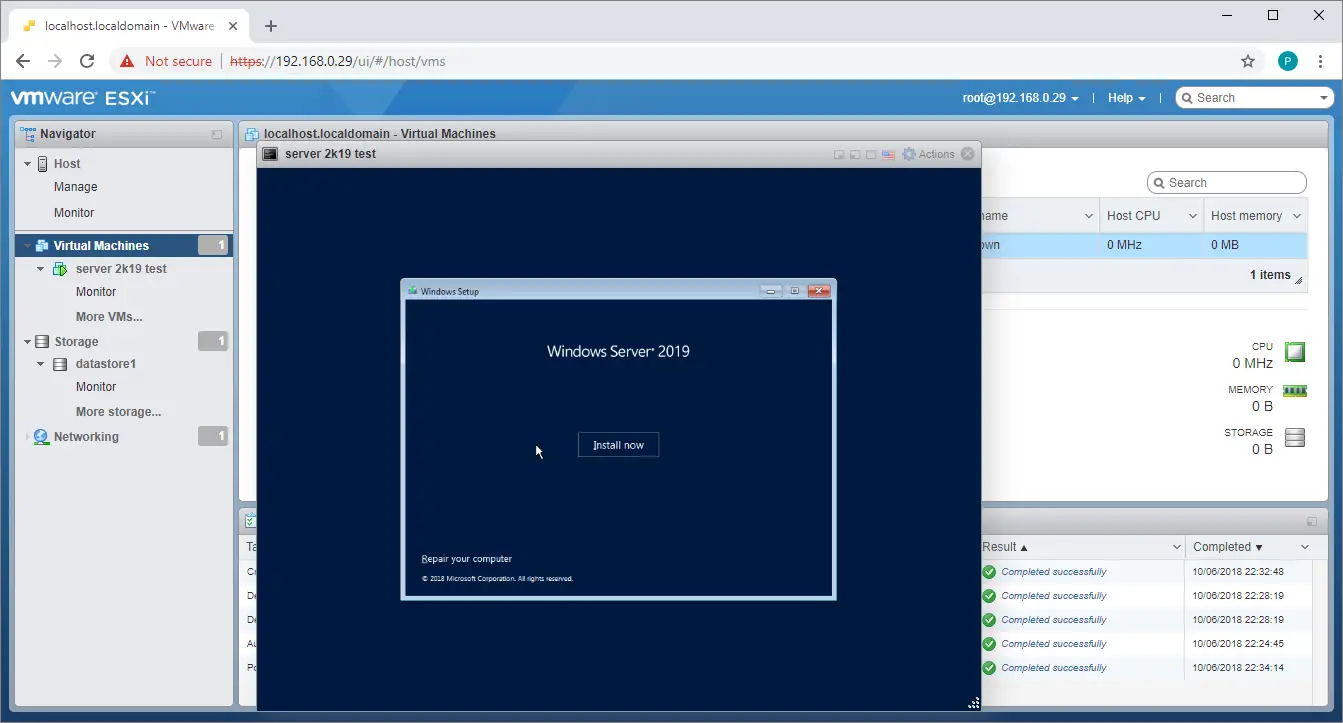
and into the classic windows installer interface.
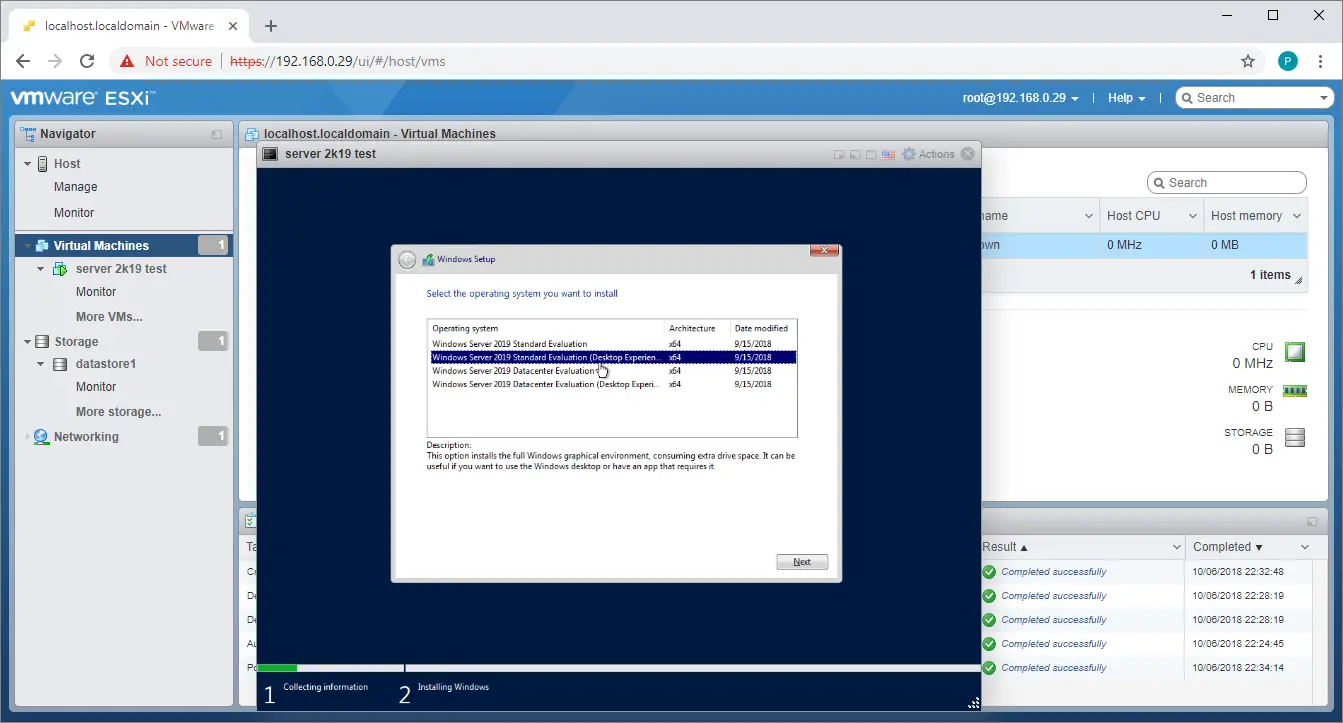
Choose your edition, (my powershell skills are not up to scratch yet so i shall go with Standard Edition with Desktop Experience)
Accept the License Agreement

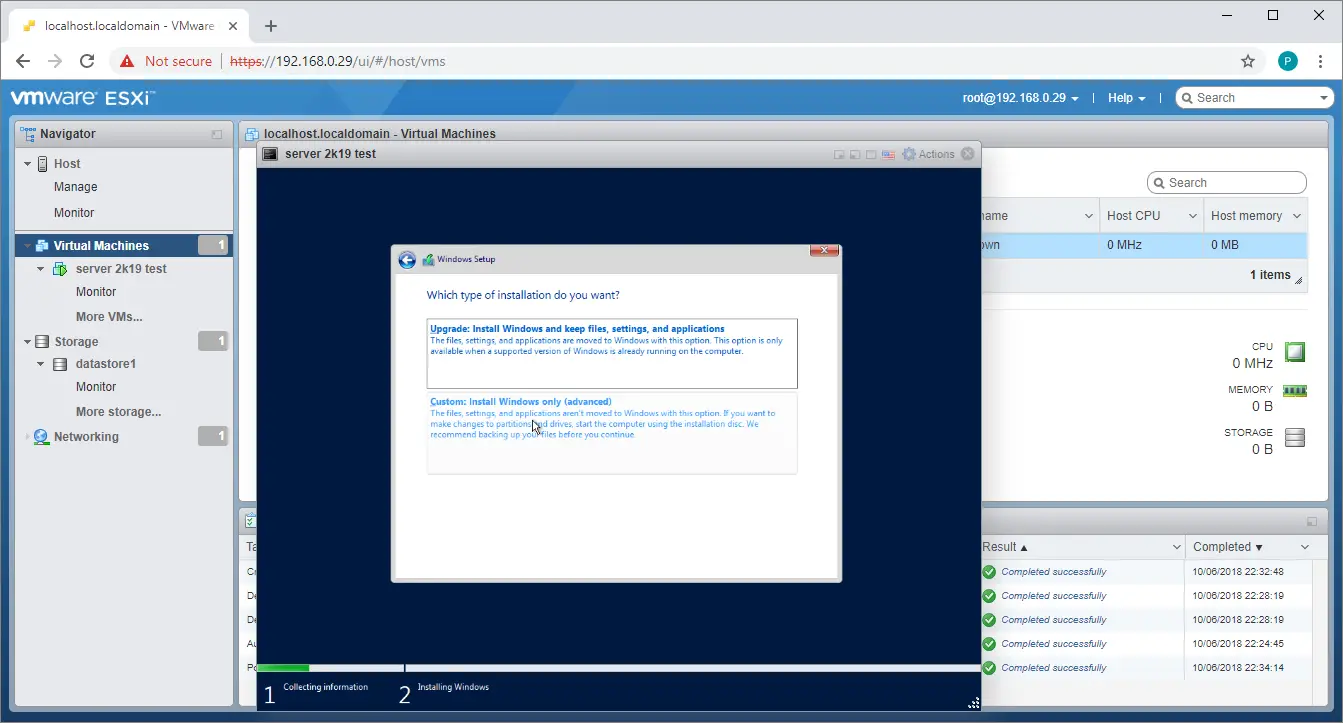
Being a clean install i selected advanced
Told it to install to the only available disk

And off the installer goes
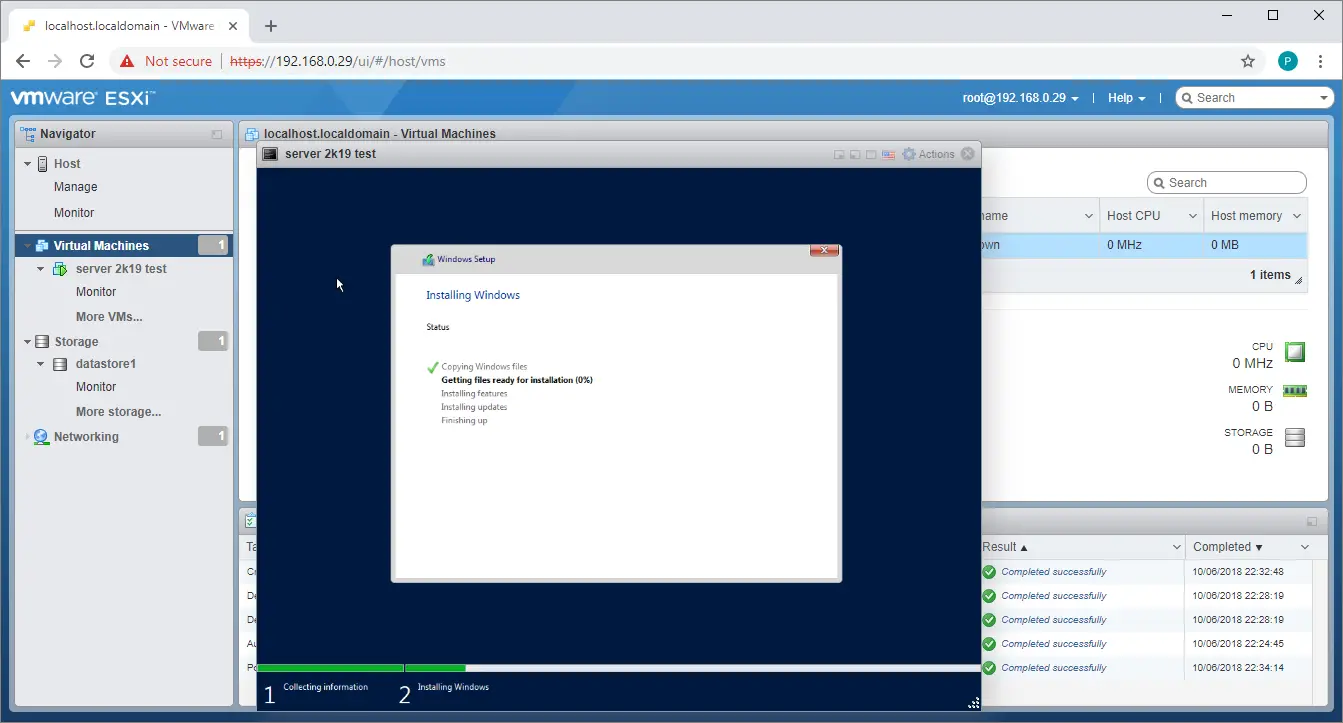
So once again a very smooth process to install windows server 2019 on ESXi, with absolute minimal user intervention required, and i’m very much looking forward to playing with server 2019.
Thanks for reading, until next time!
