Windows Backup and Virtualization using Vembu BDR
One of the most appealing functionalities of Vembu BDR was the ability to back up stand-alone windows machines, and should the need occur, recover a backed up machine to a virtual machine, thus offering a easy route to migrating physical servers or workstations to a virtual machine. I have a spare windows box, so lets see how simple the process is
So after installing Vembu BDR suite trial on my desktop, lets connect to the server web console.
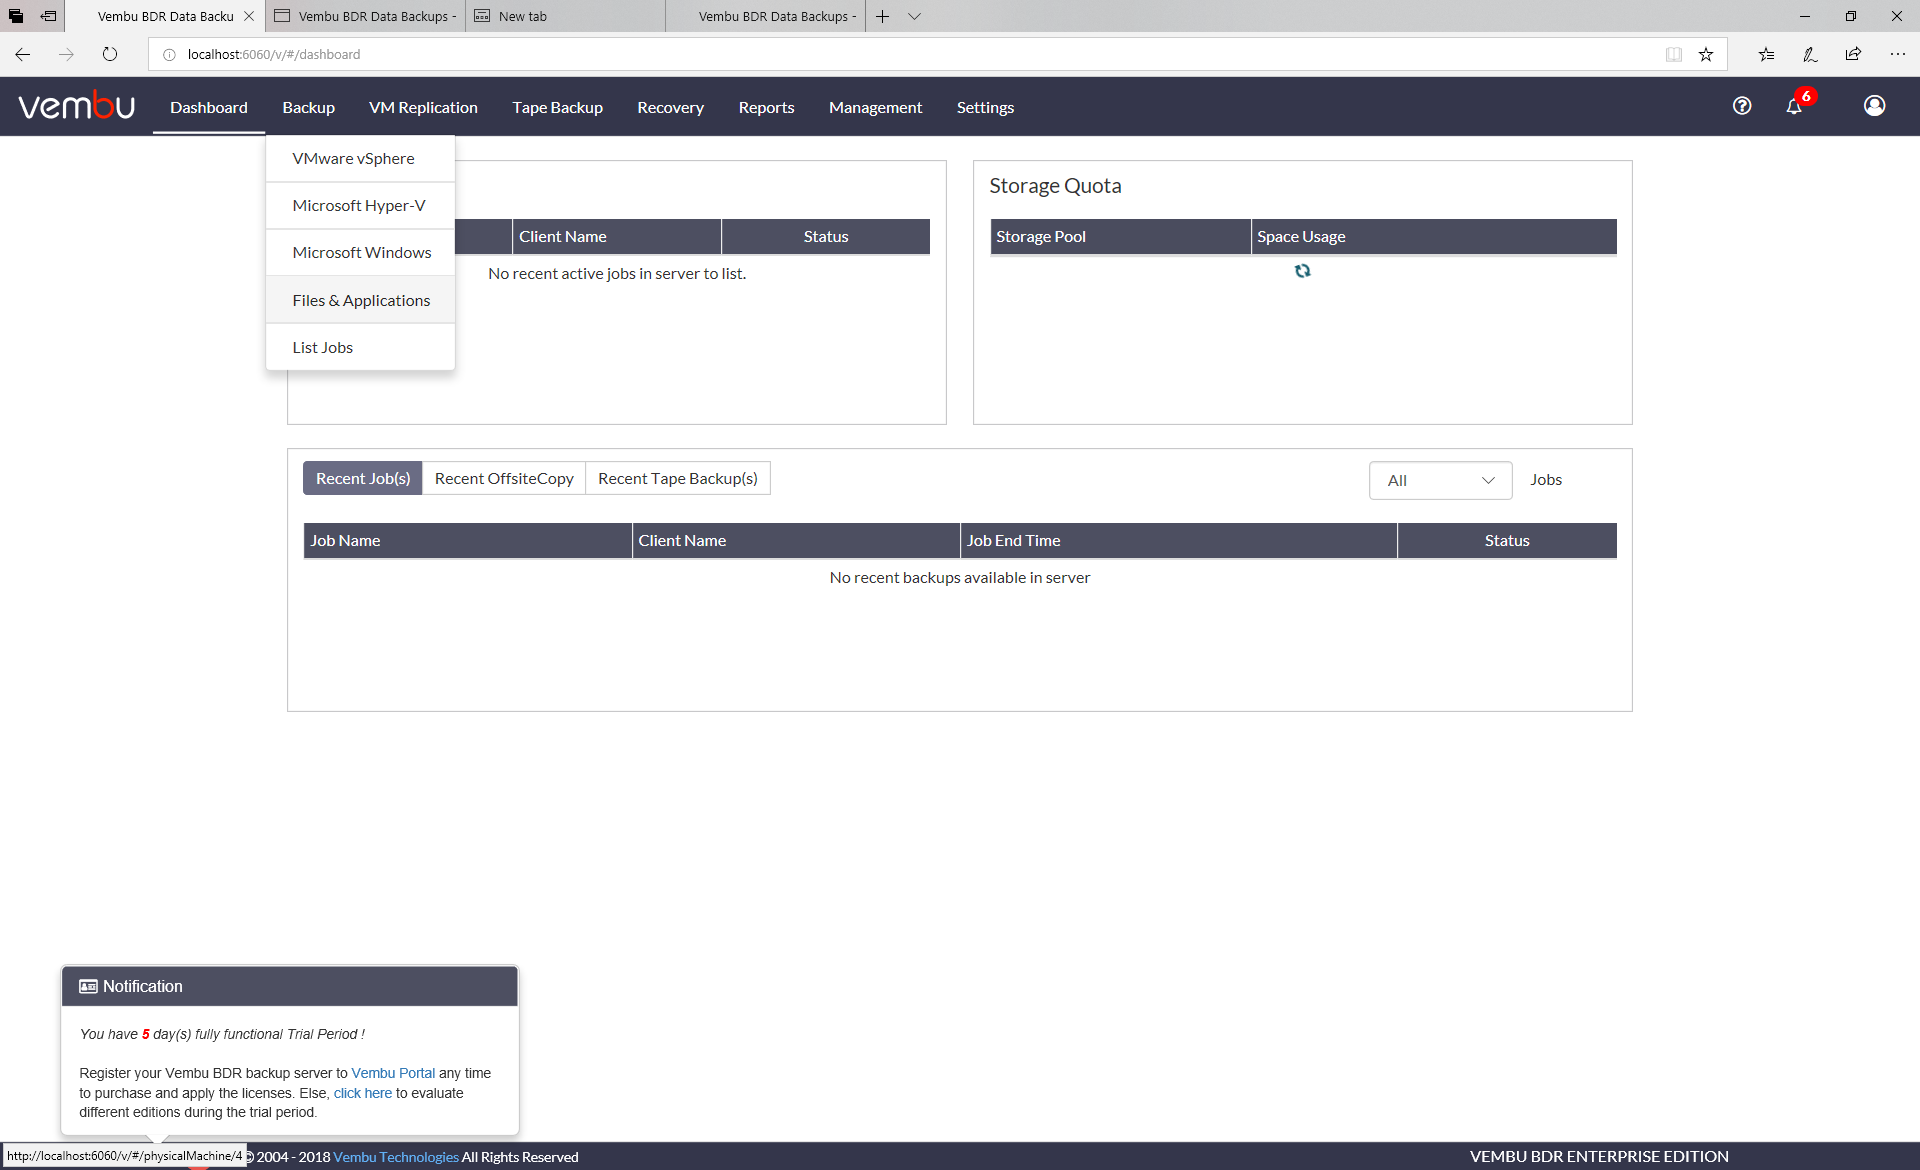
from the dashboard backup drop-down menu select microsoft windows
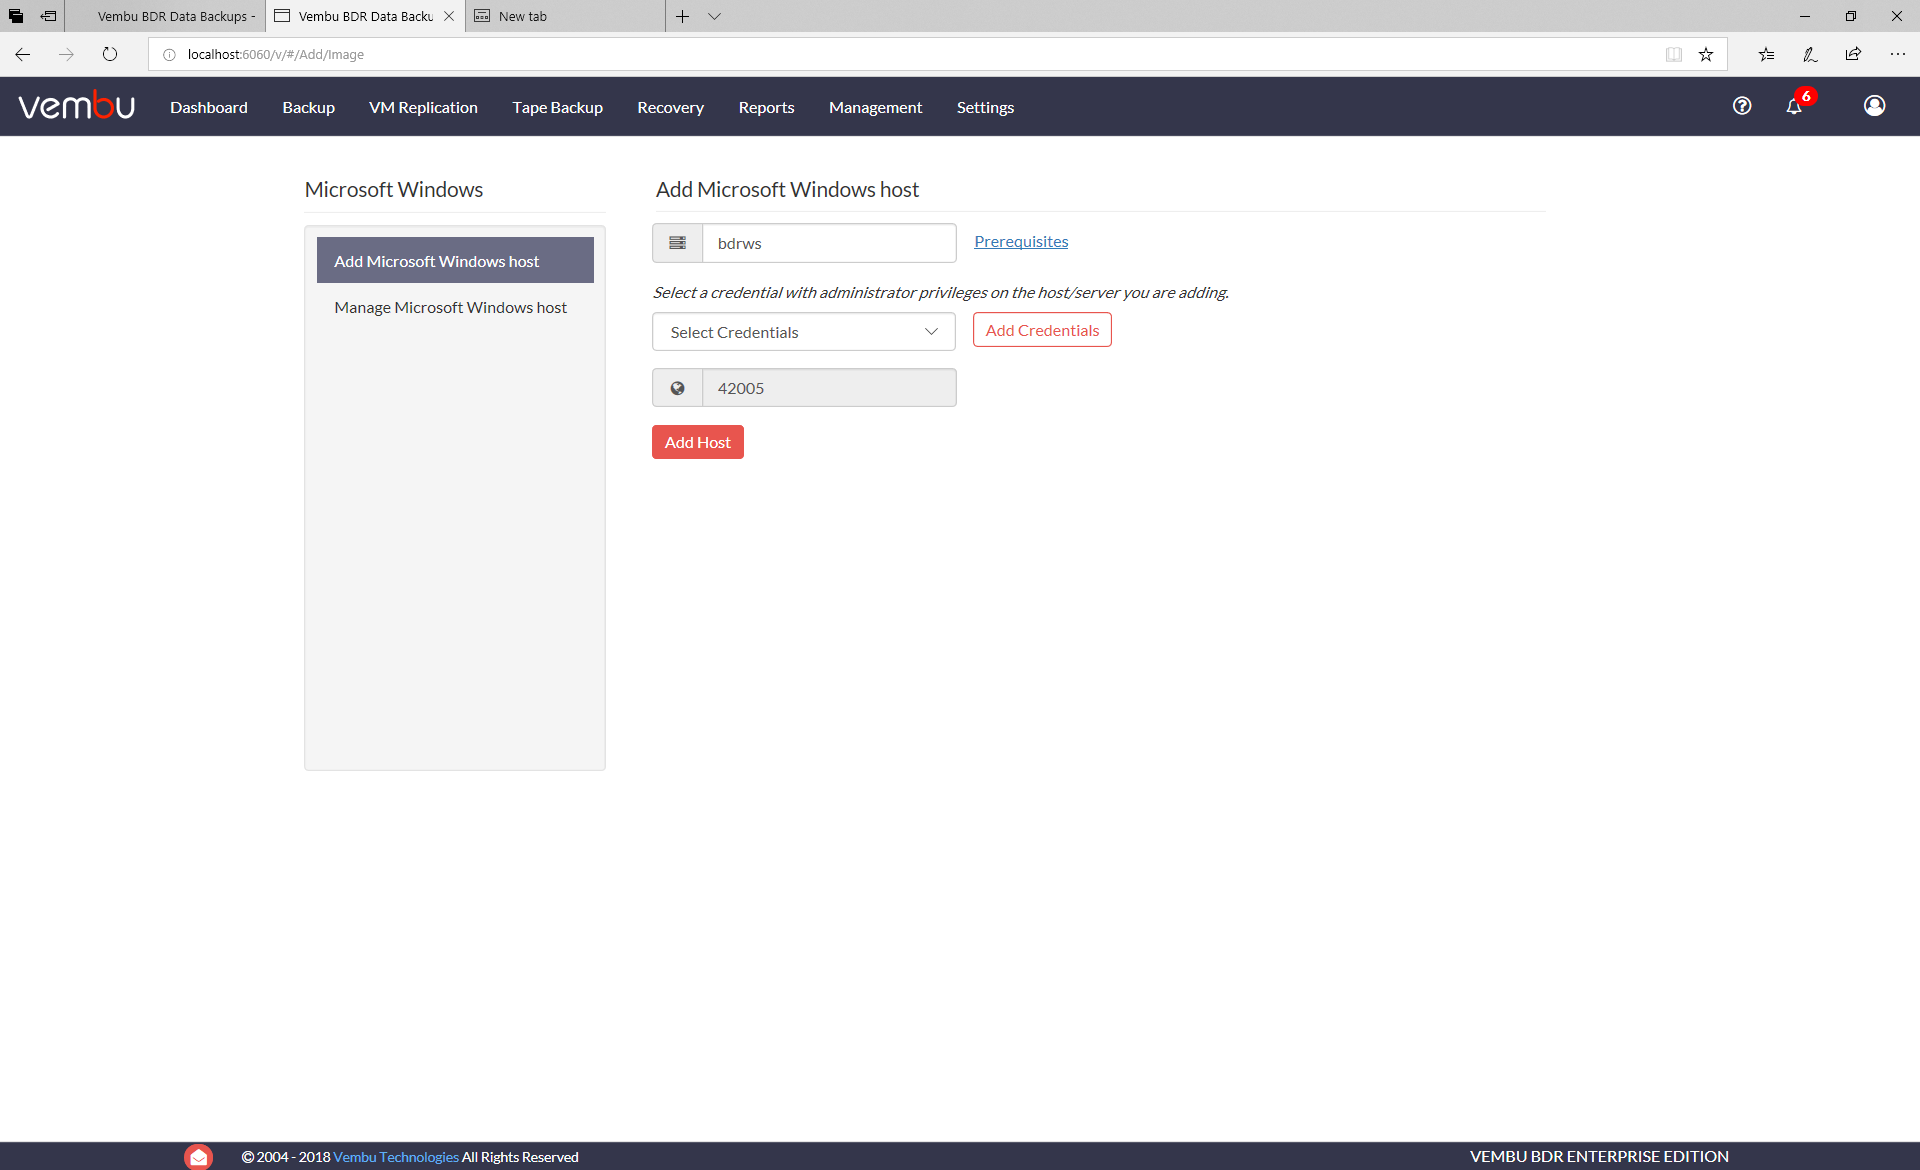
greats you with a self explanatory add Microsoft windows host page.
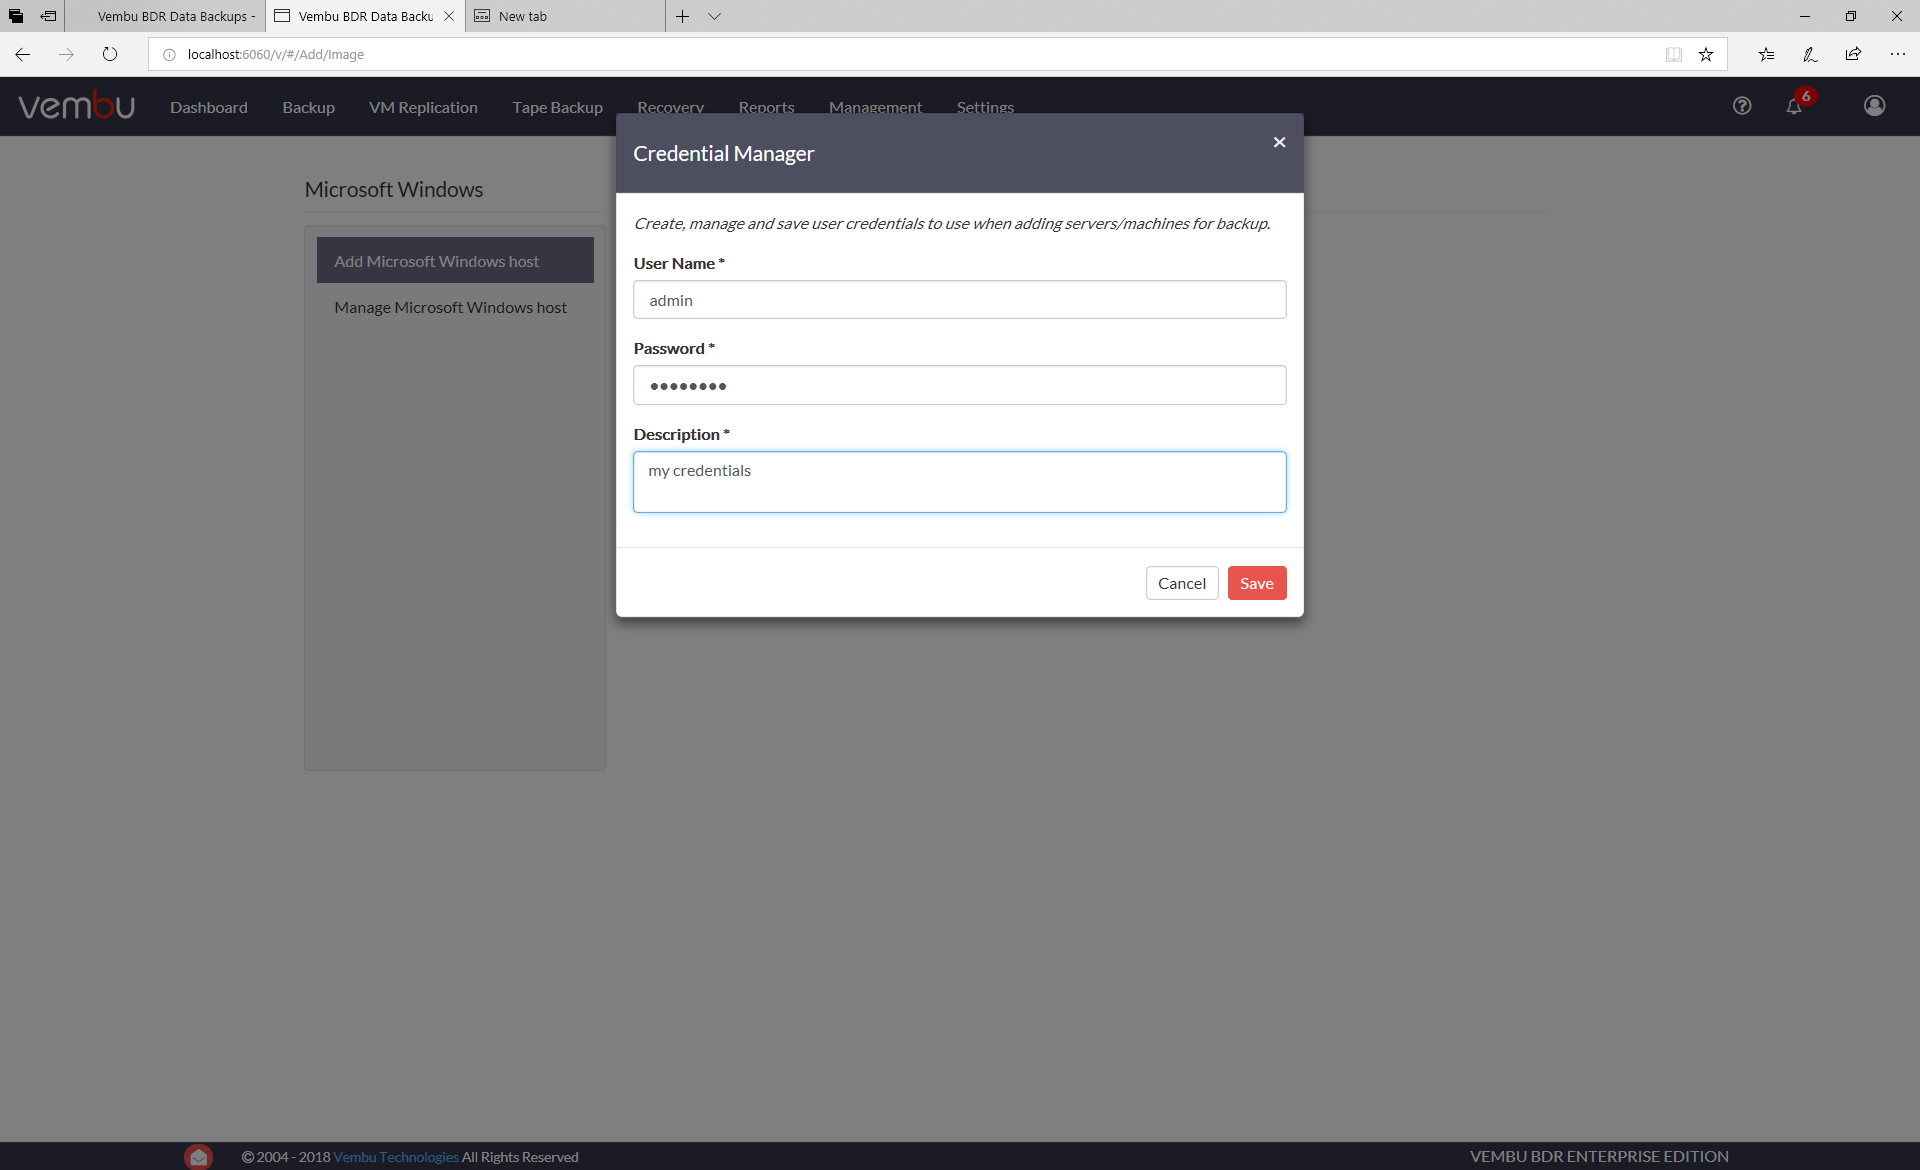
Adding the target machines DNS name and adding administrator credentials via the Add credentials button:
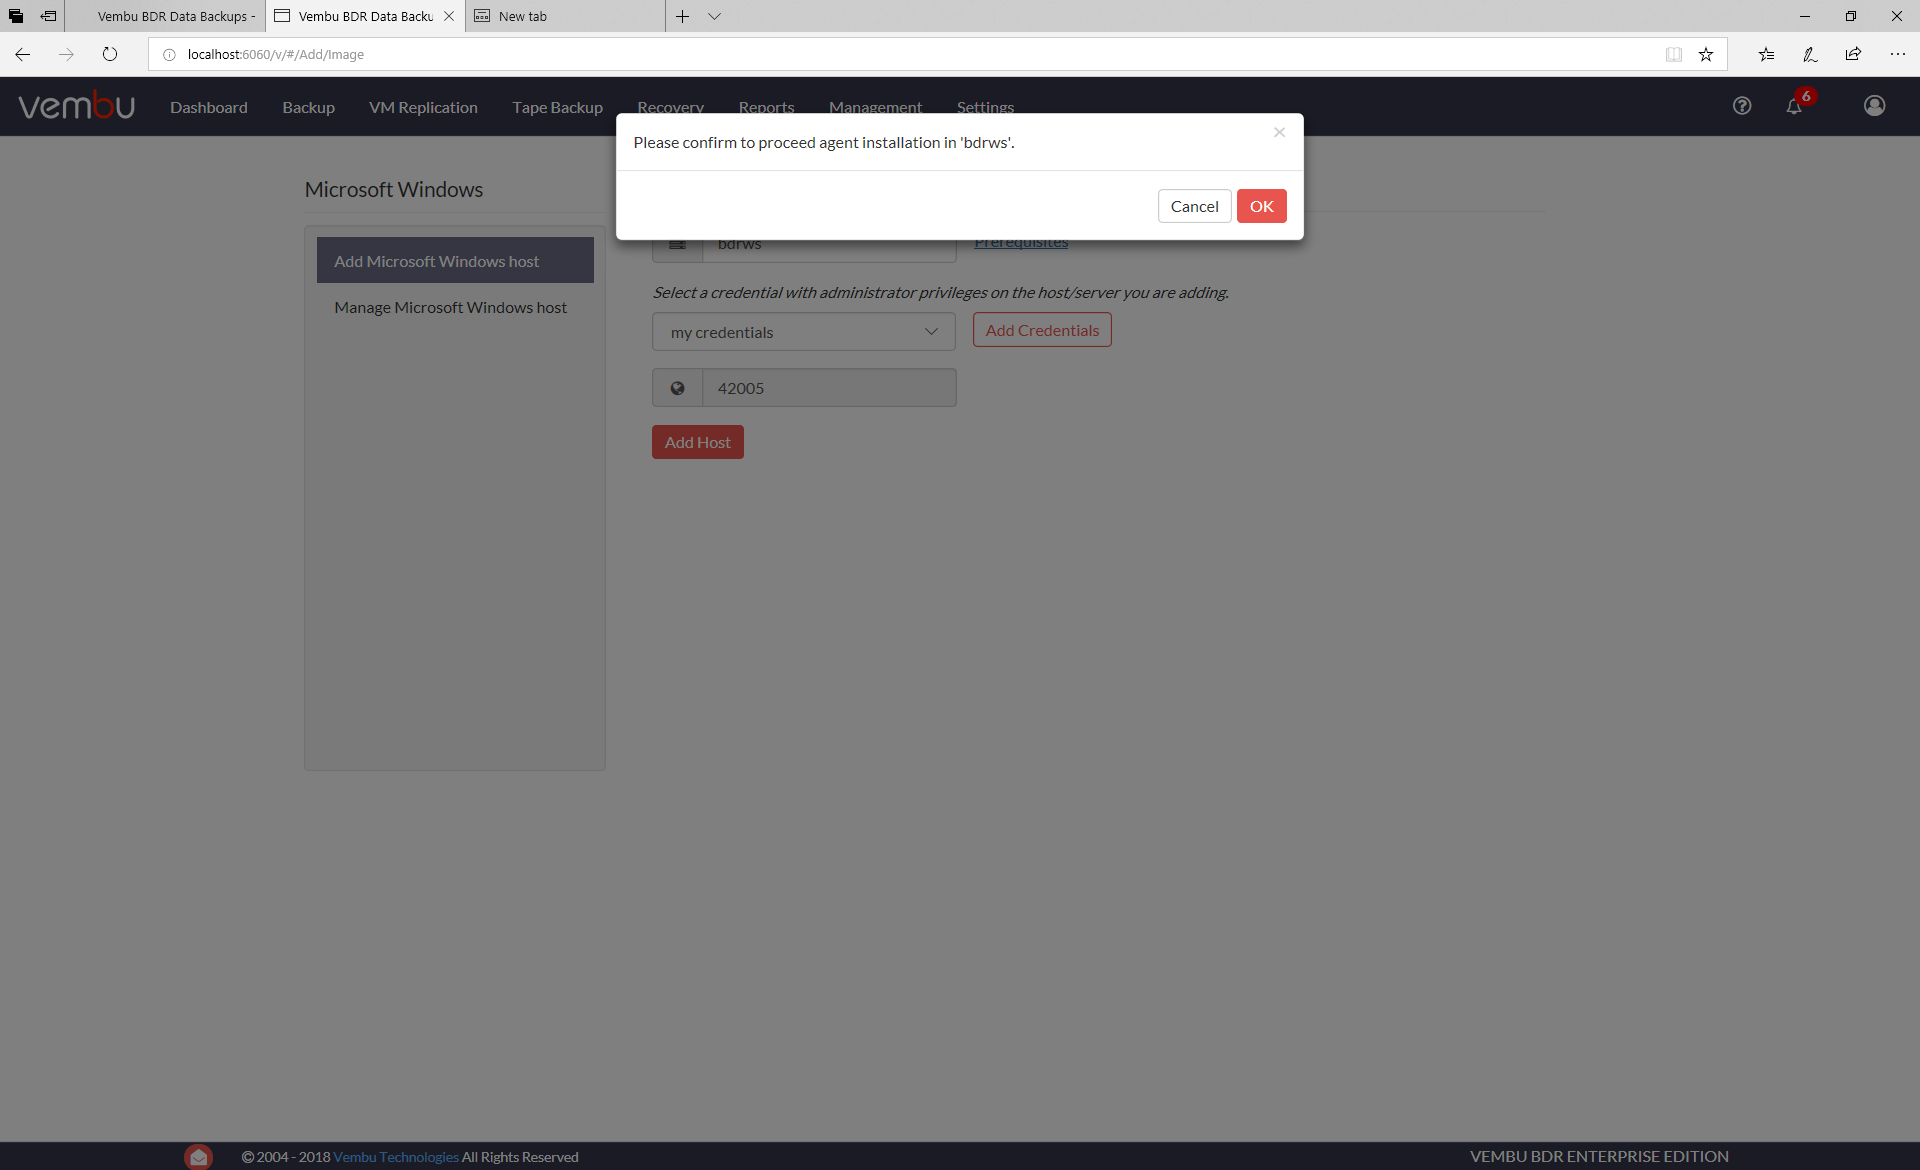
this has a convenient free test field to add a description for the machine, clicking save returns you to the previous screen with your added credentials selected. Clicking add host prompts you for confirmation?
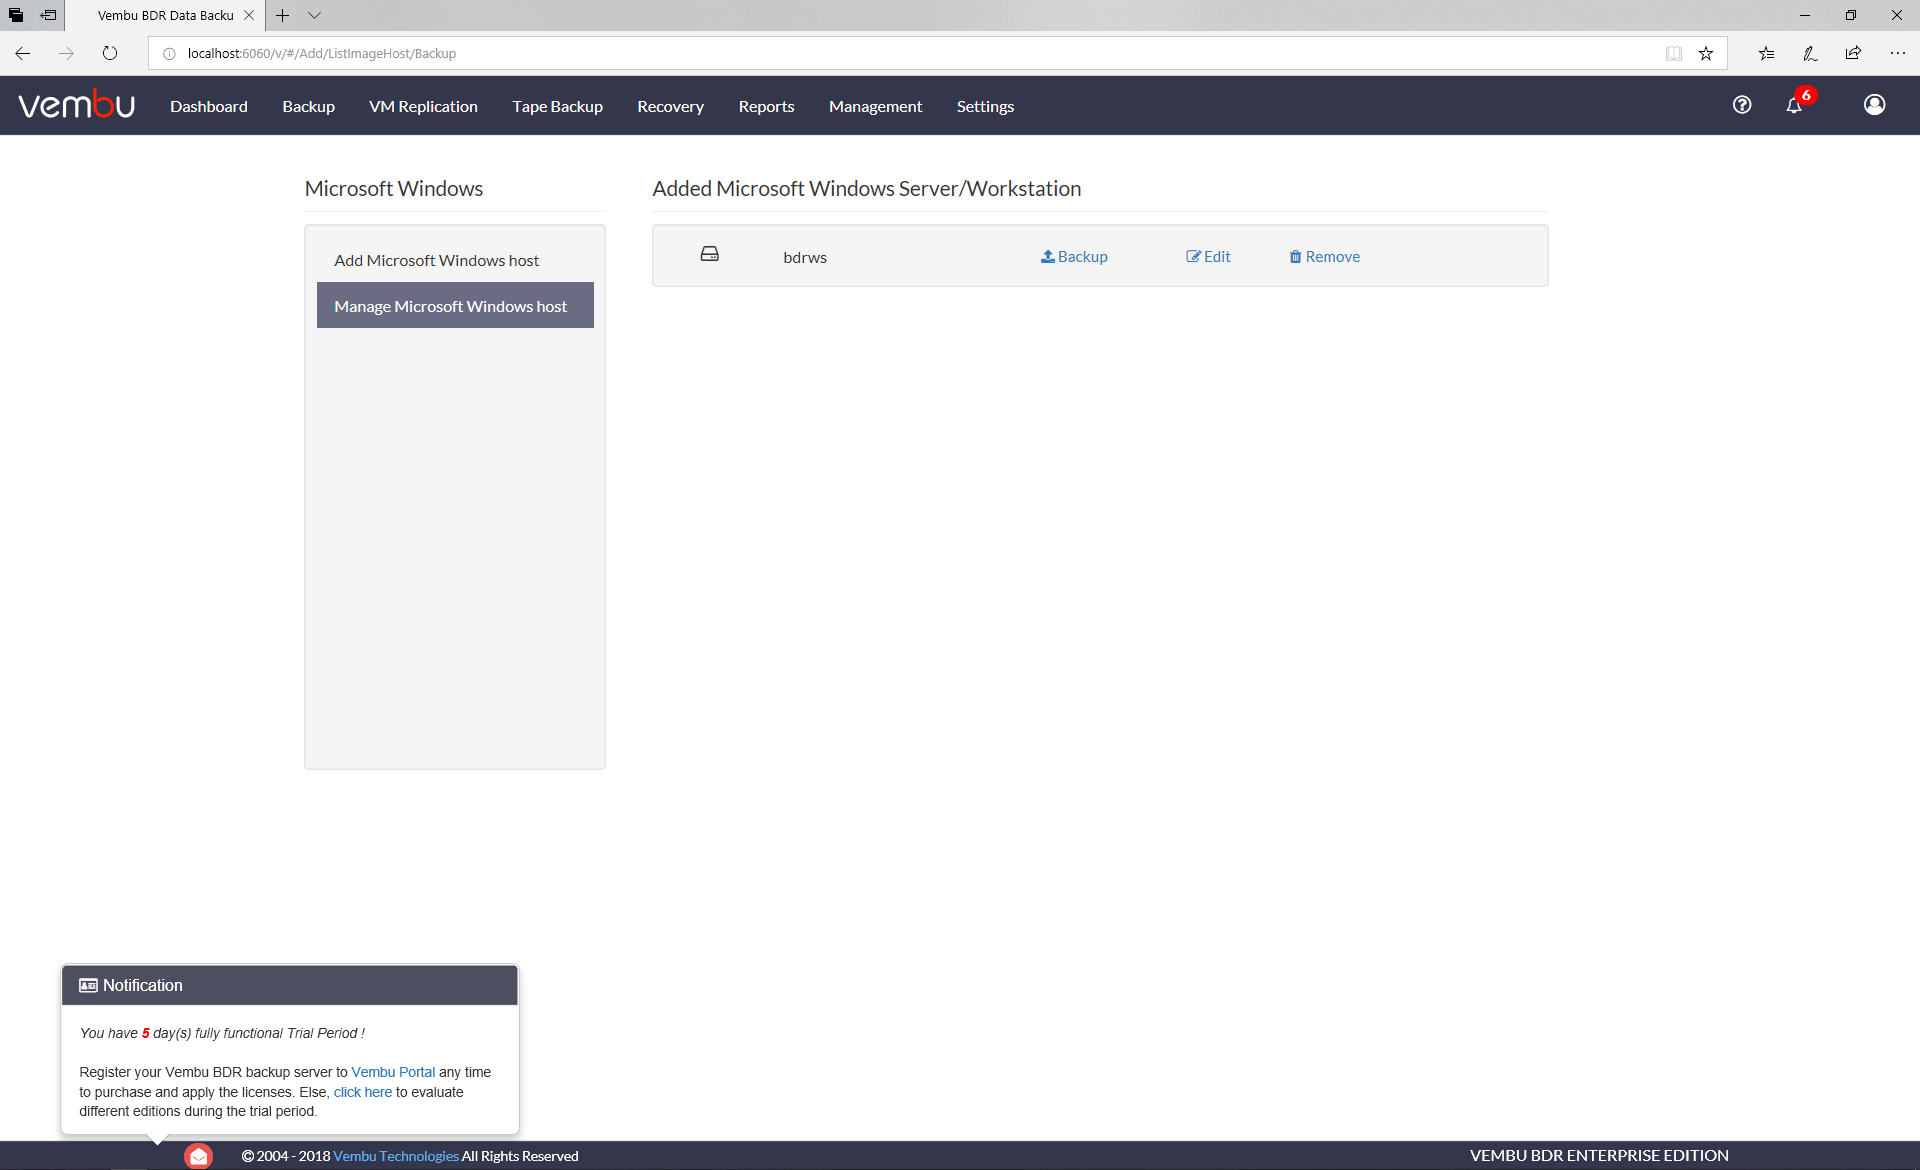
After confirming, and a short delay, the windows host has been added to Vembu and you are dropped into the manage host screen:
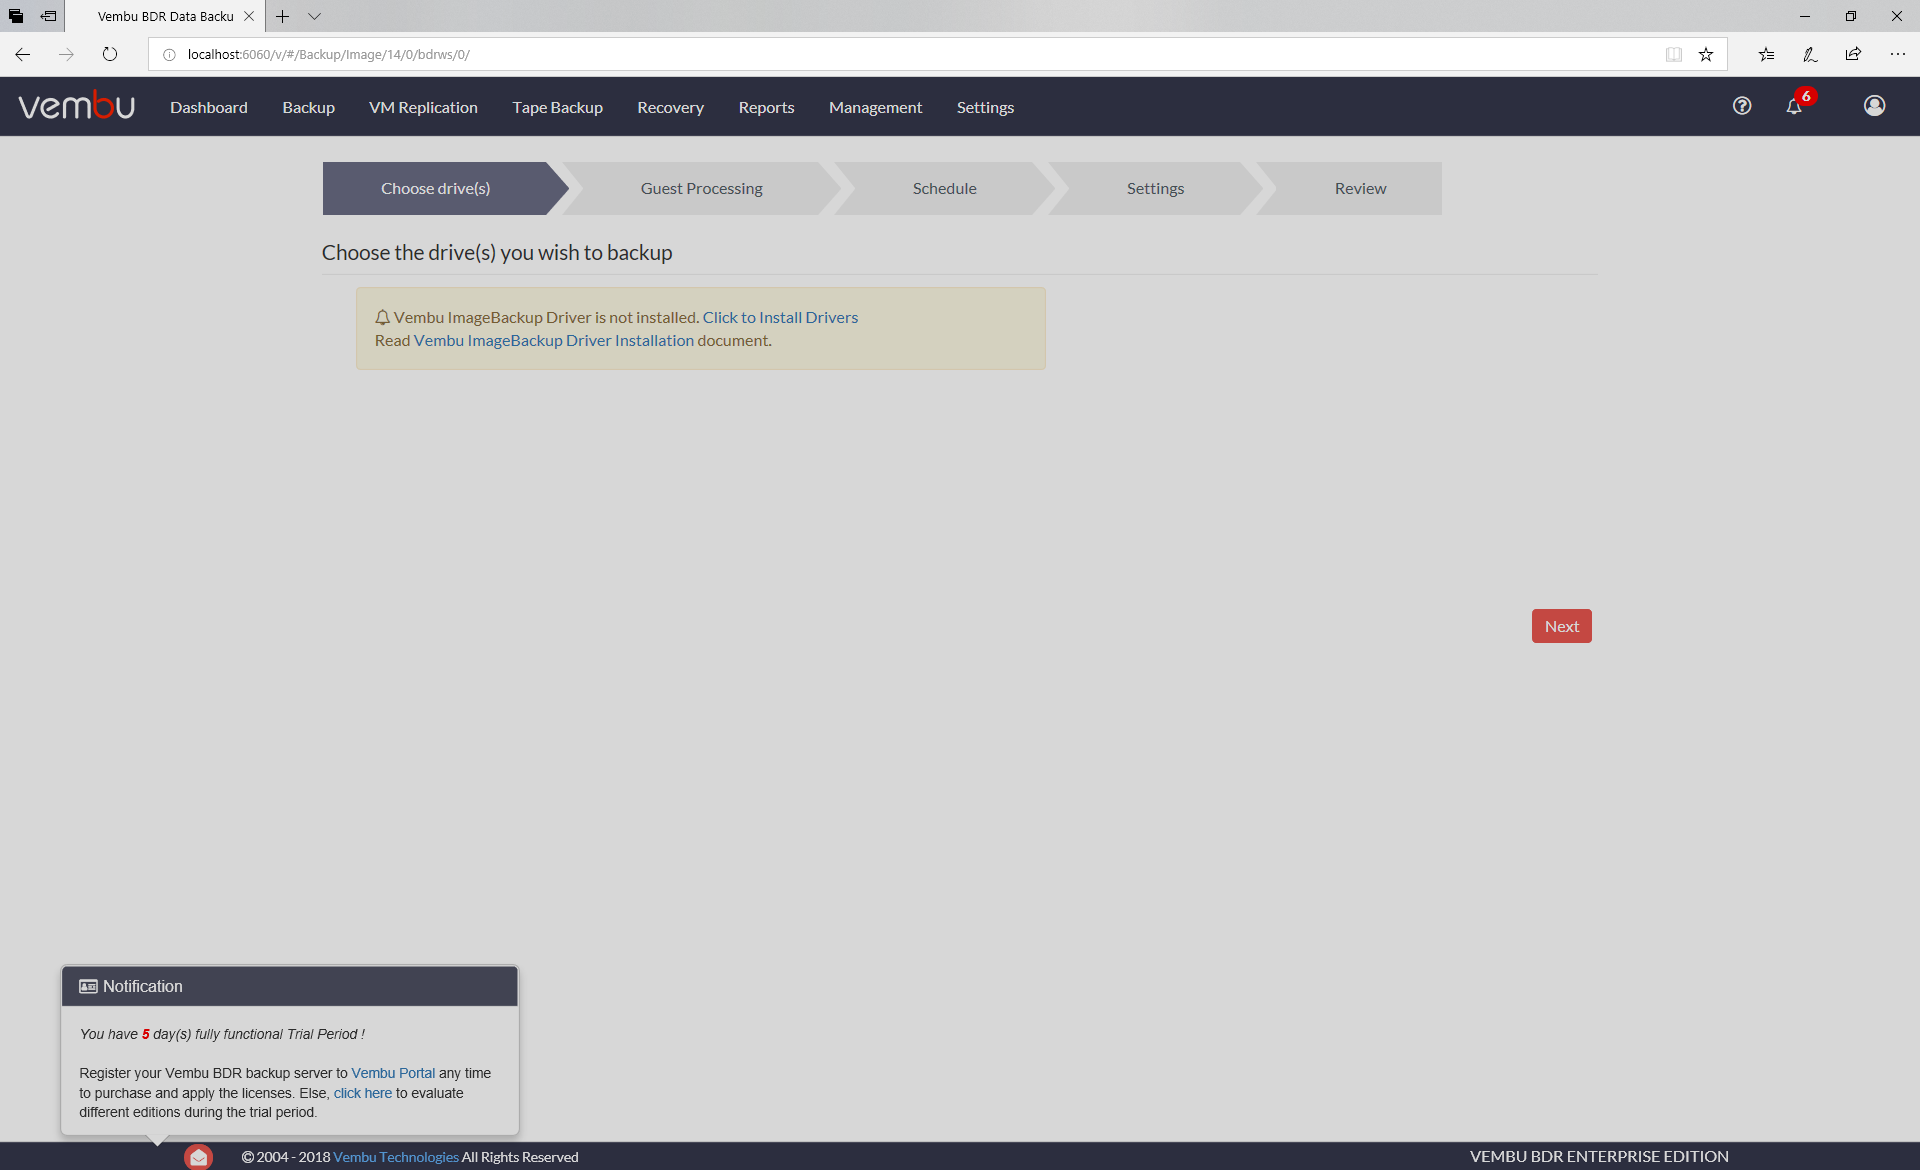
So far so good, a standalone windows 10 machine has been added to Vembu with little hassle. Lets continue on and backup, clicking the backup button by the host takes you into a new wizzard. As its a newly added machine we get a warning about the Vembu image backup driver not being installed
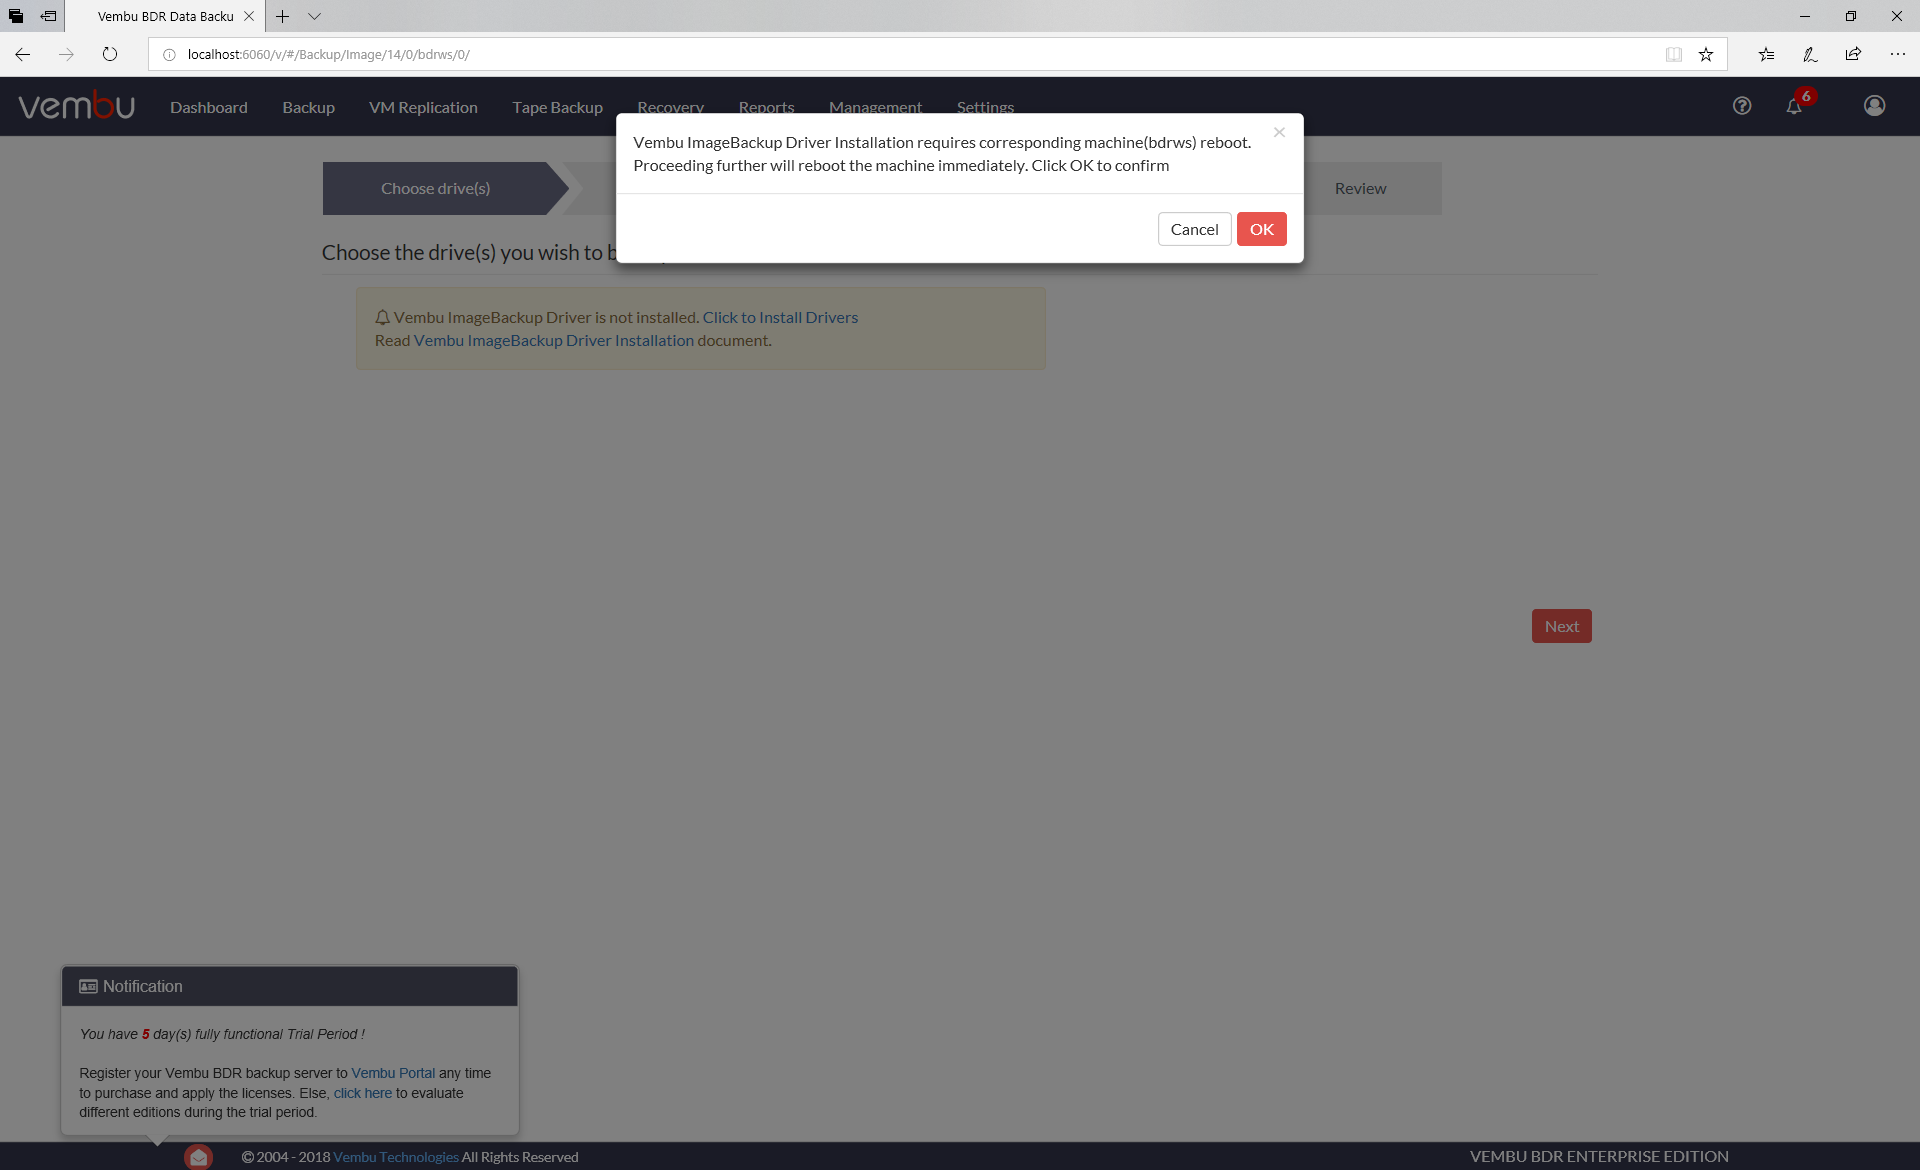
Clicking on “click here to install” provokes a warning that it will result in the reboot of the host.
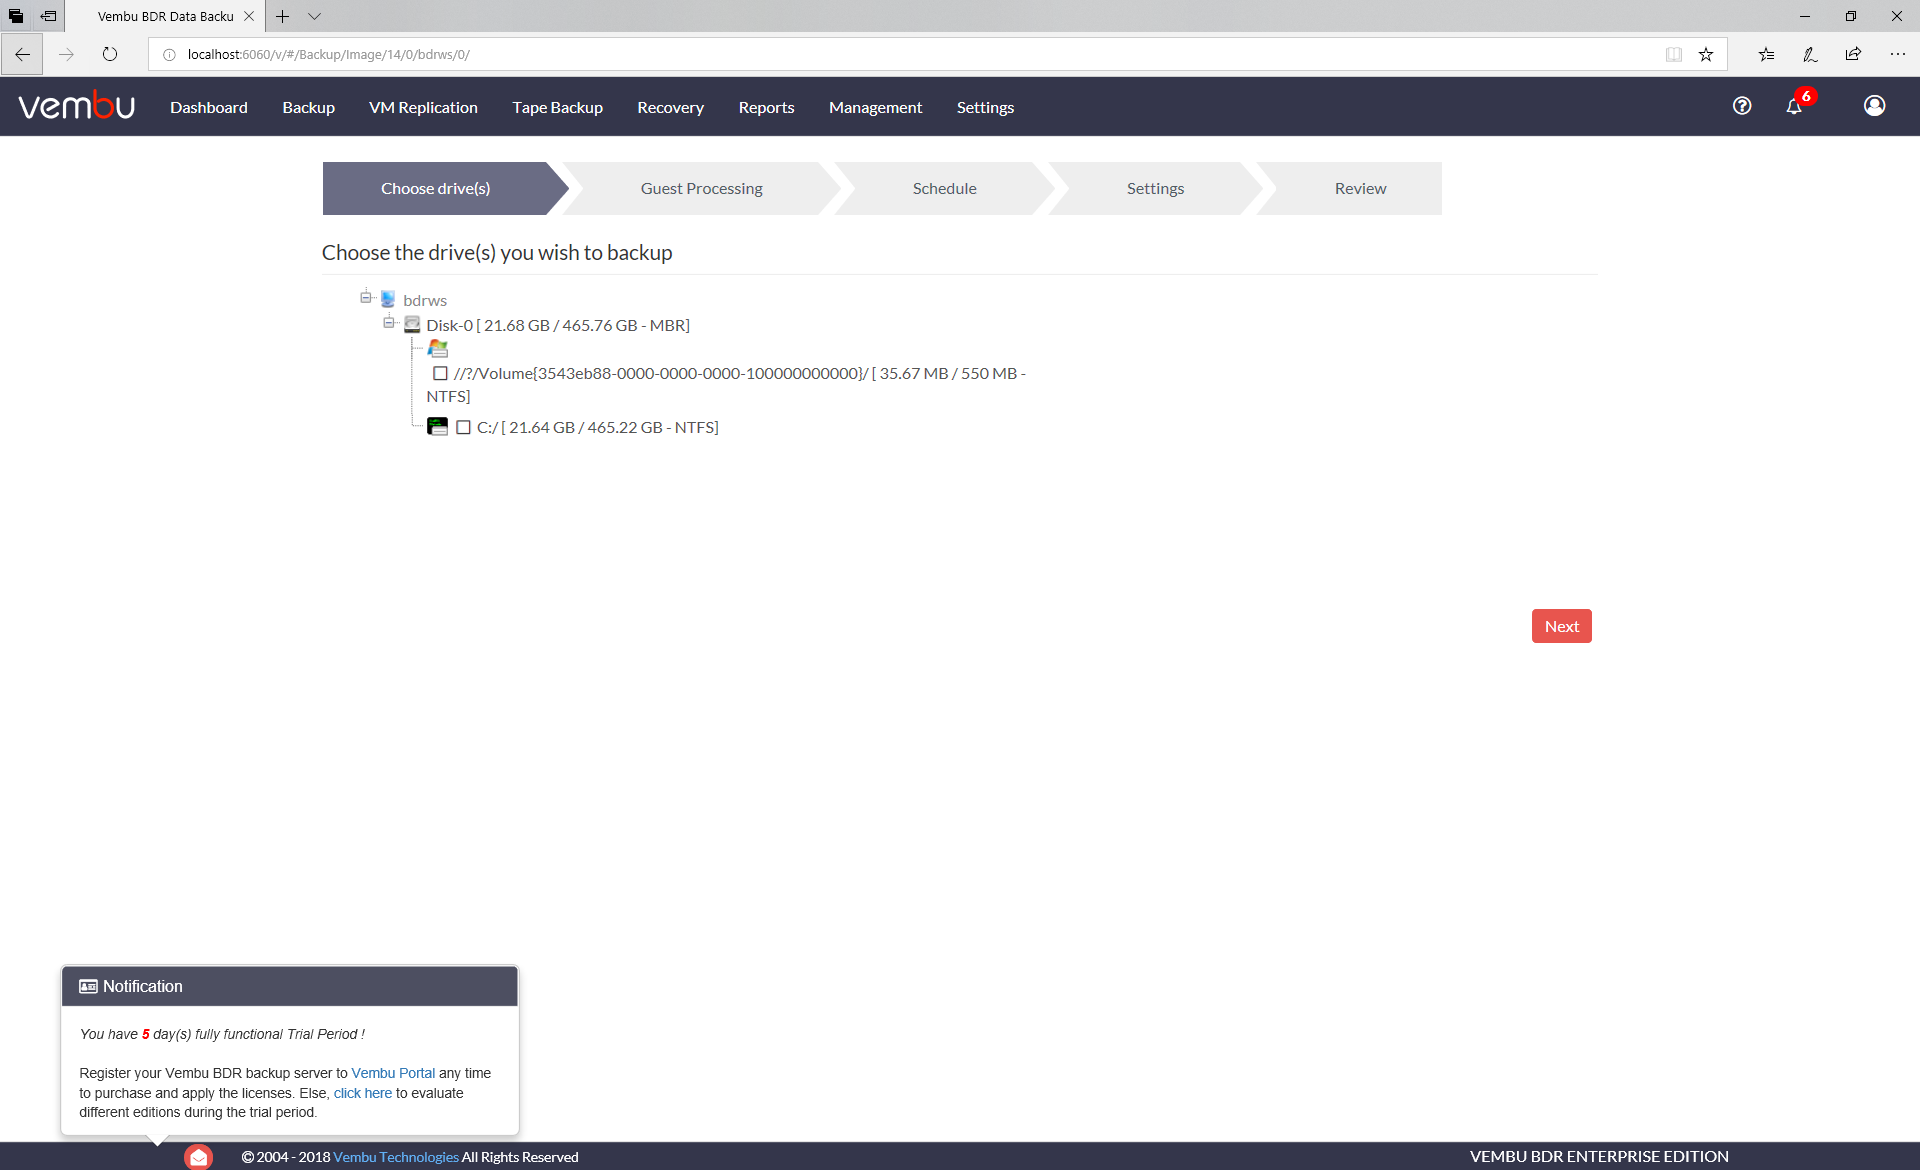
clicking on ok installs the driver on the host and causes it to reboot, so after a brief pause for the remote machine to reboot, the wizard continues with a drive selection screen
Wanting to do a complete backup i selected all physical volumes.
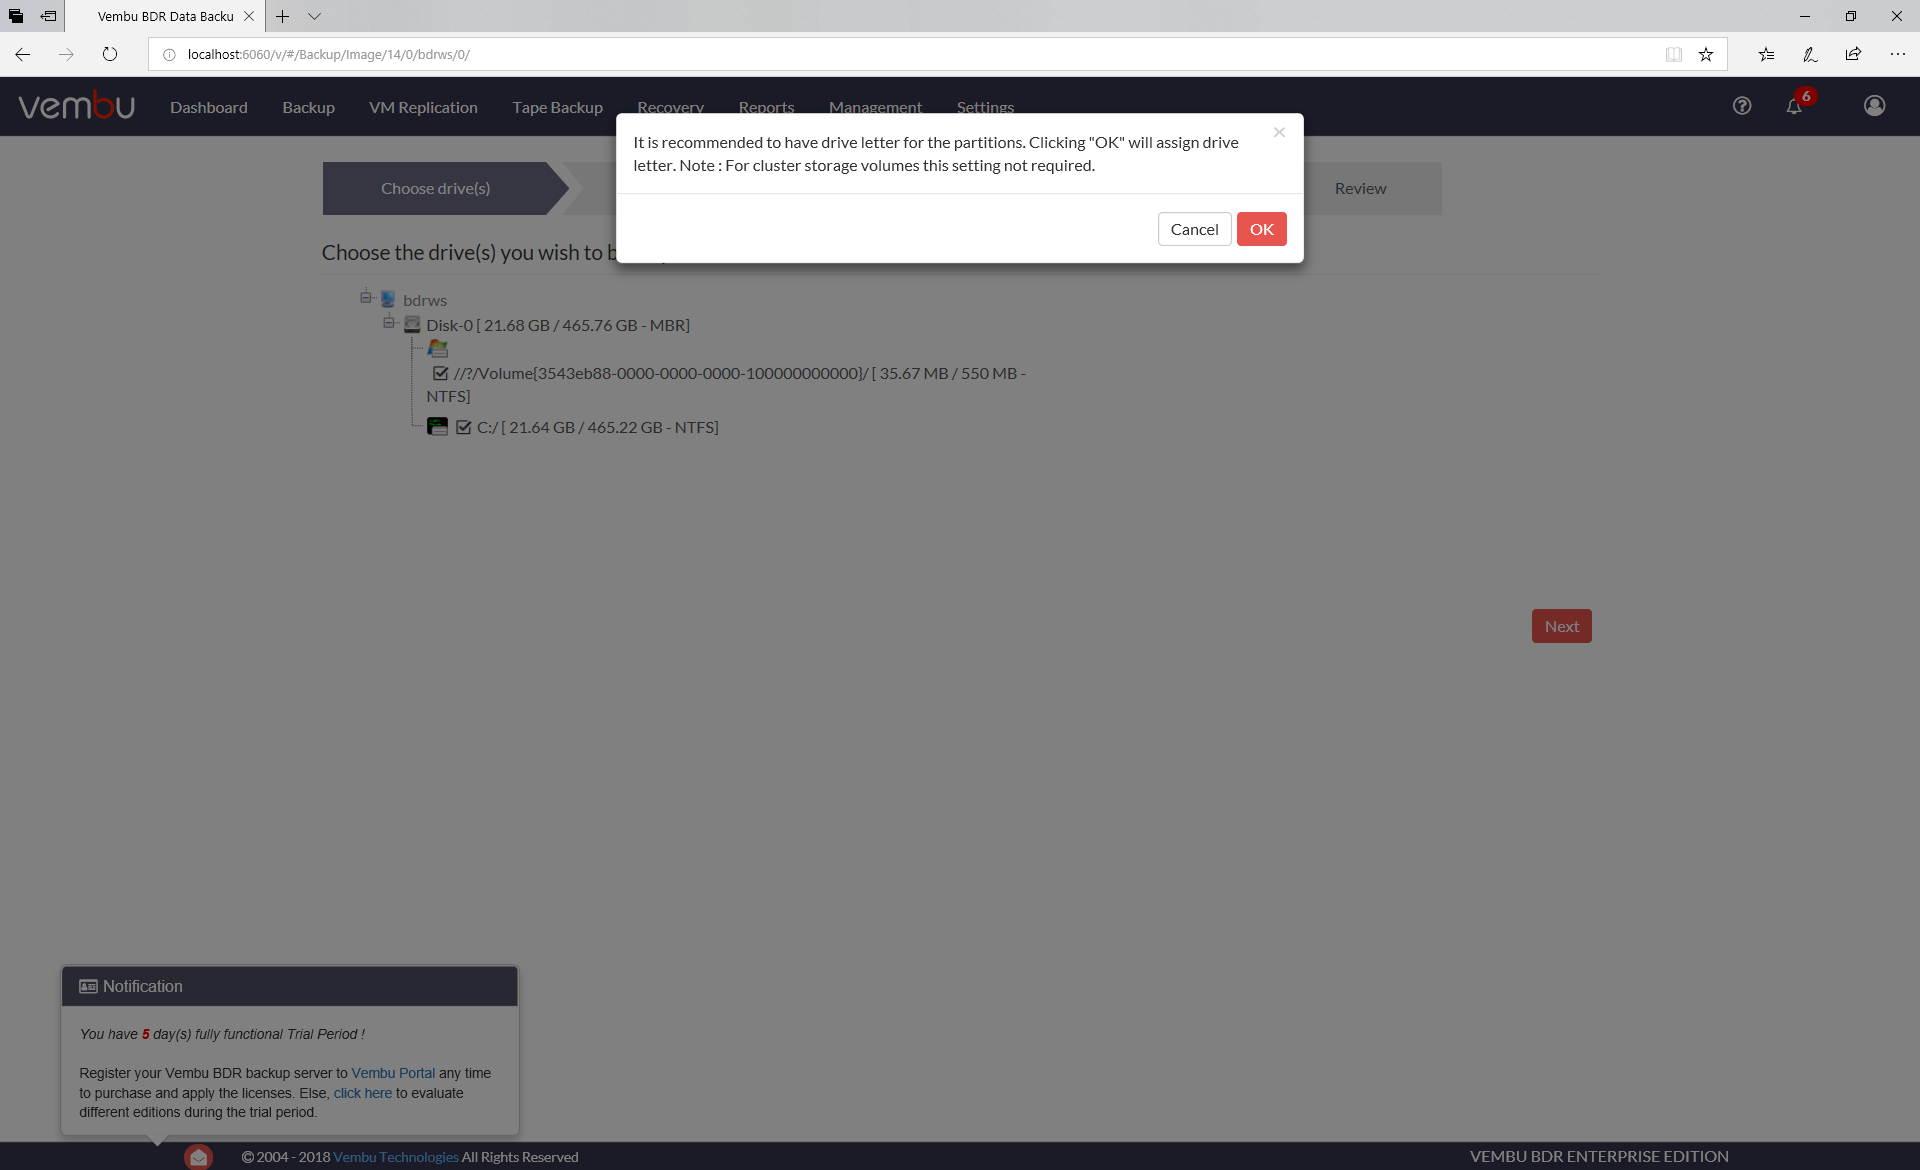
this provoked a warning that the system drive didn’t have a drive letter assigned:
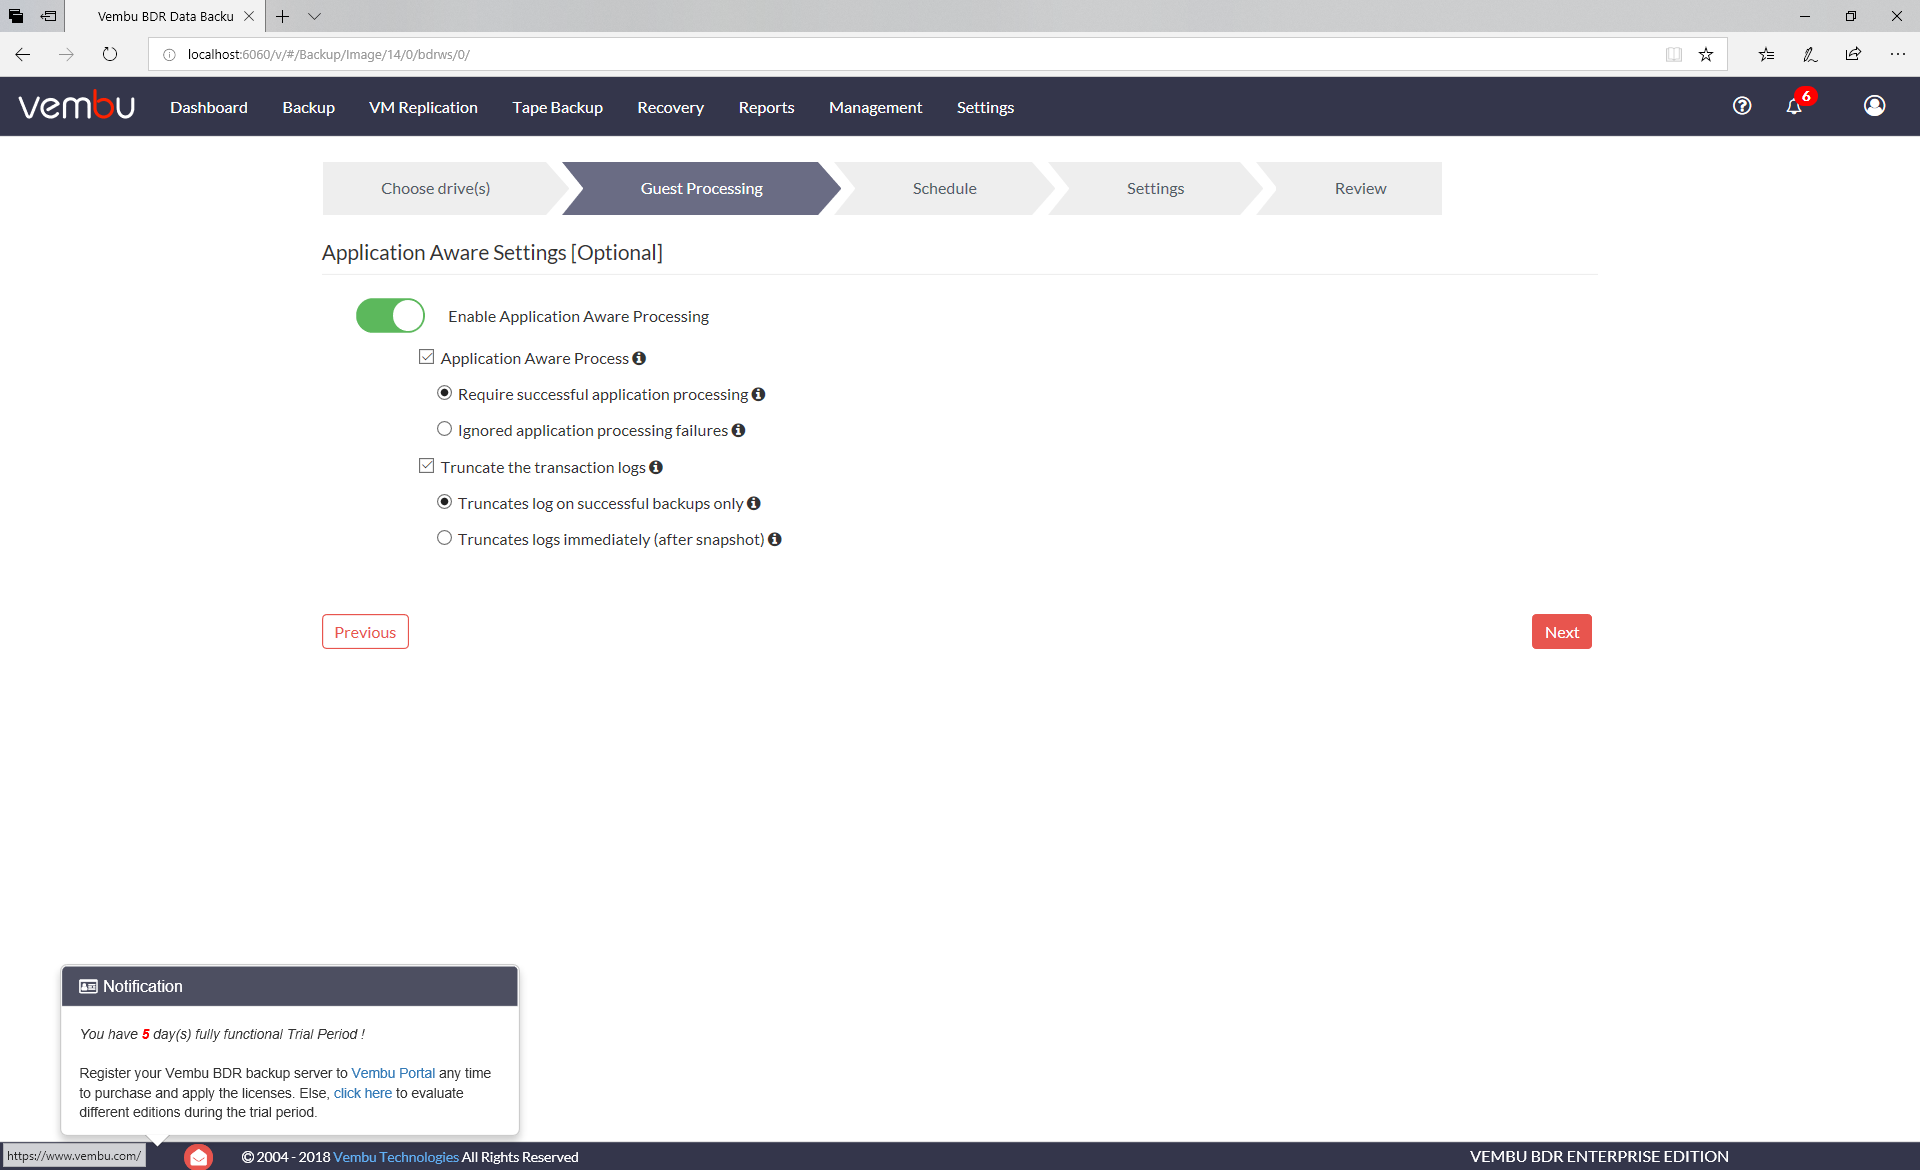
selecting ok assigns a drive letter and selects the drives, clicking next moves onto the “Guest Processing” tab, which allows the selection of application aware processing, to enable Vembu to track critical applications such as AD/Exchange and ensure consistency of data backed up.
whilst the machine used in this example isn’t running any of these applications i thought it worthwhile to enable application aware processing for this test. Next moves us onto the scheduling tab, where we can set a schedule for regular backups and aditional full backups. 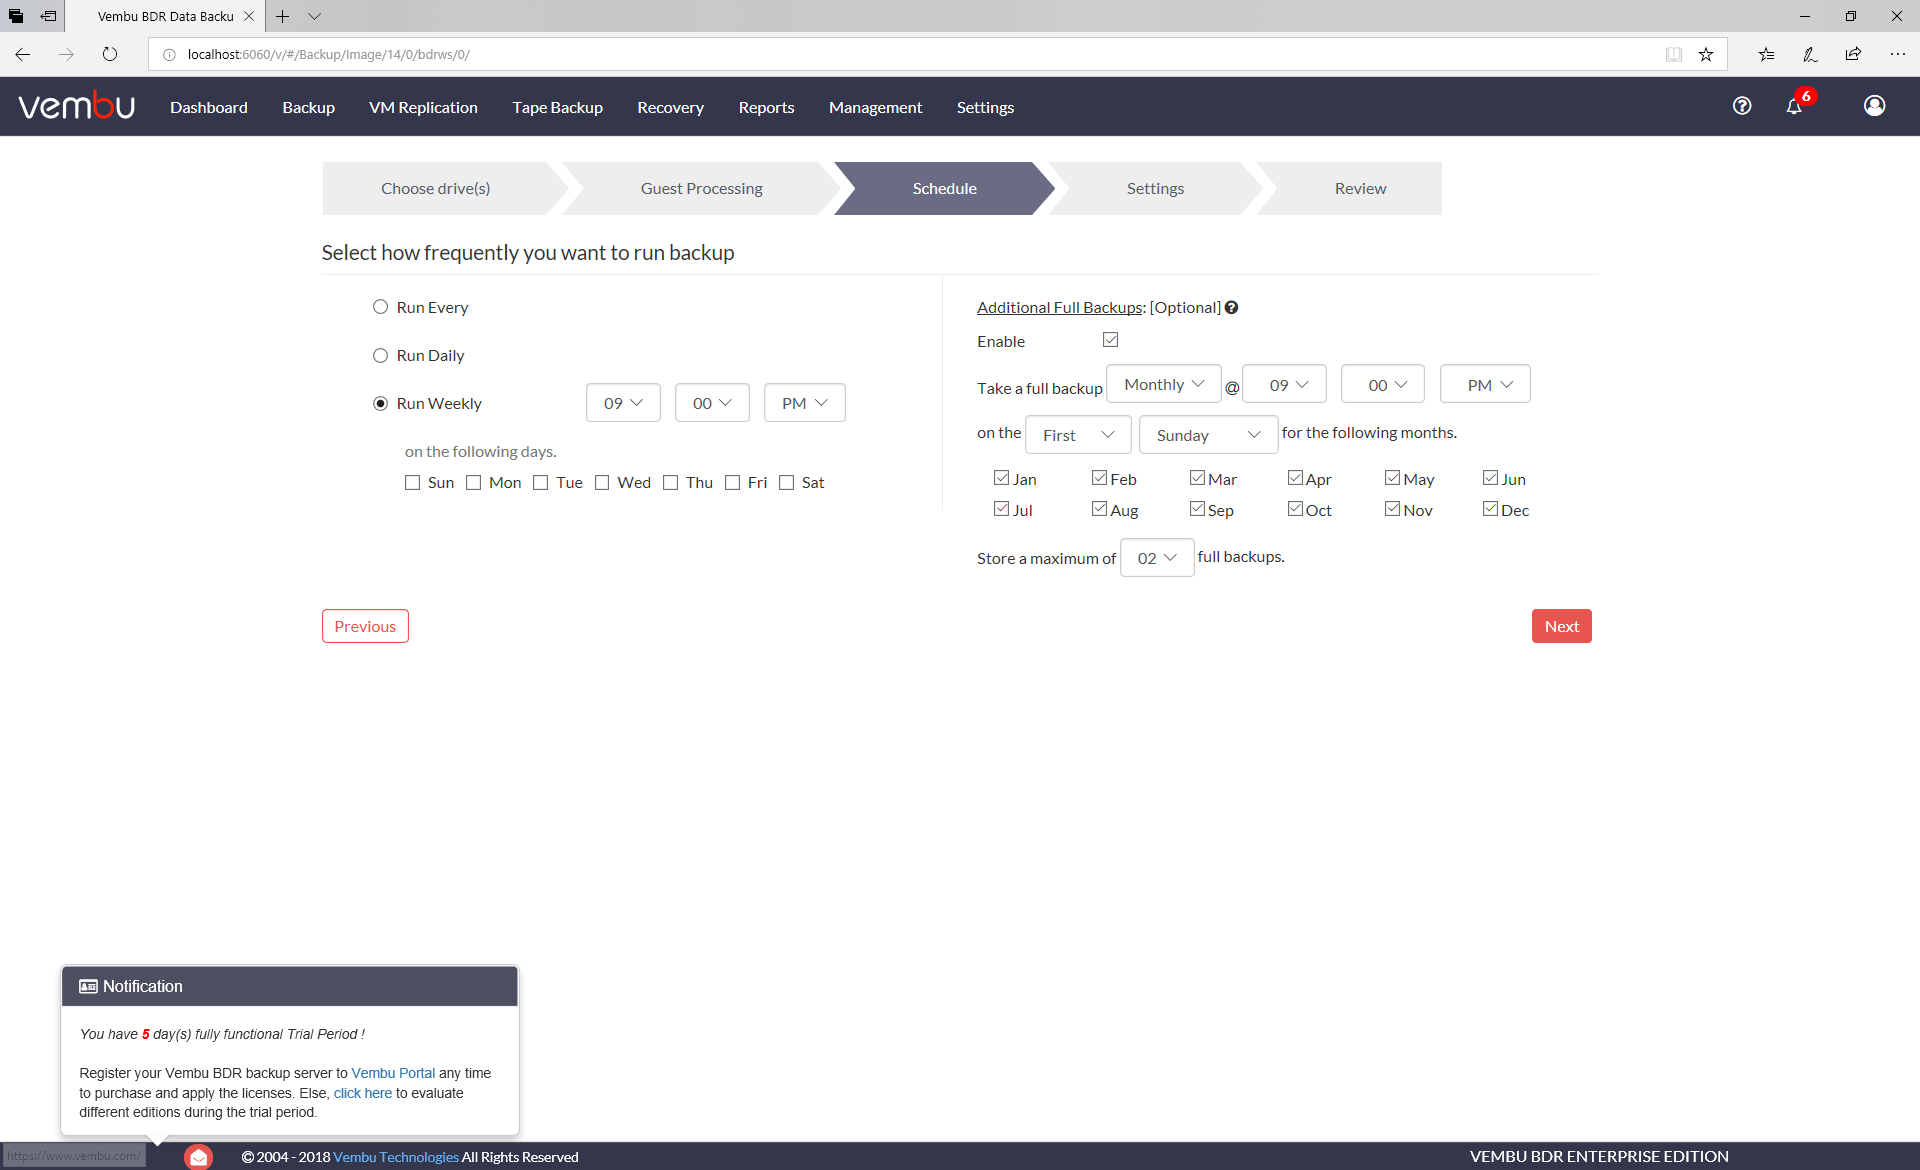
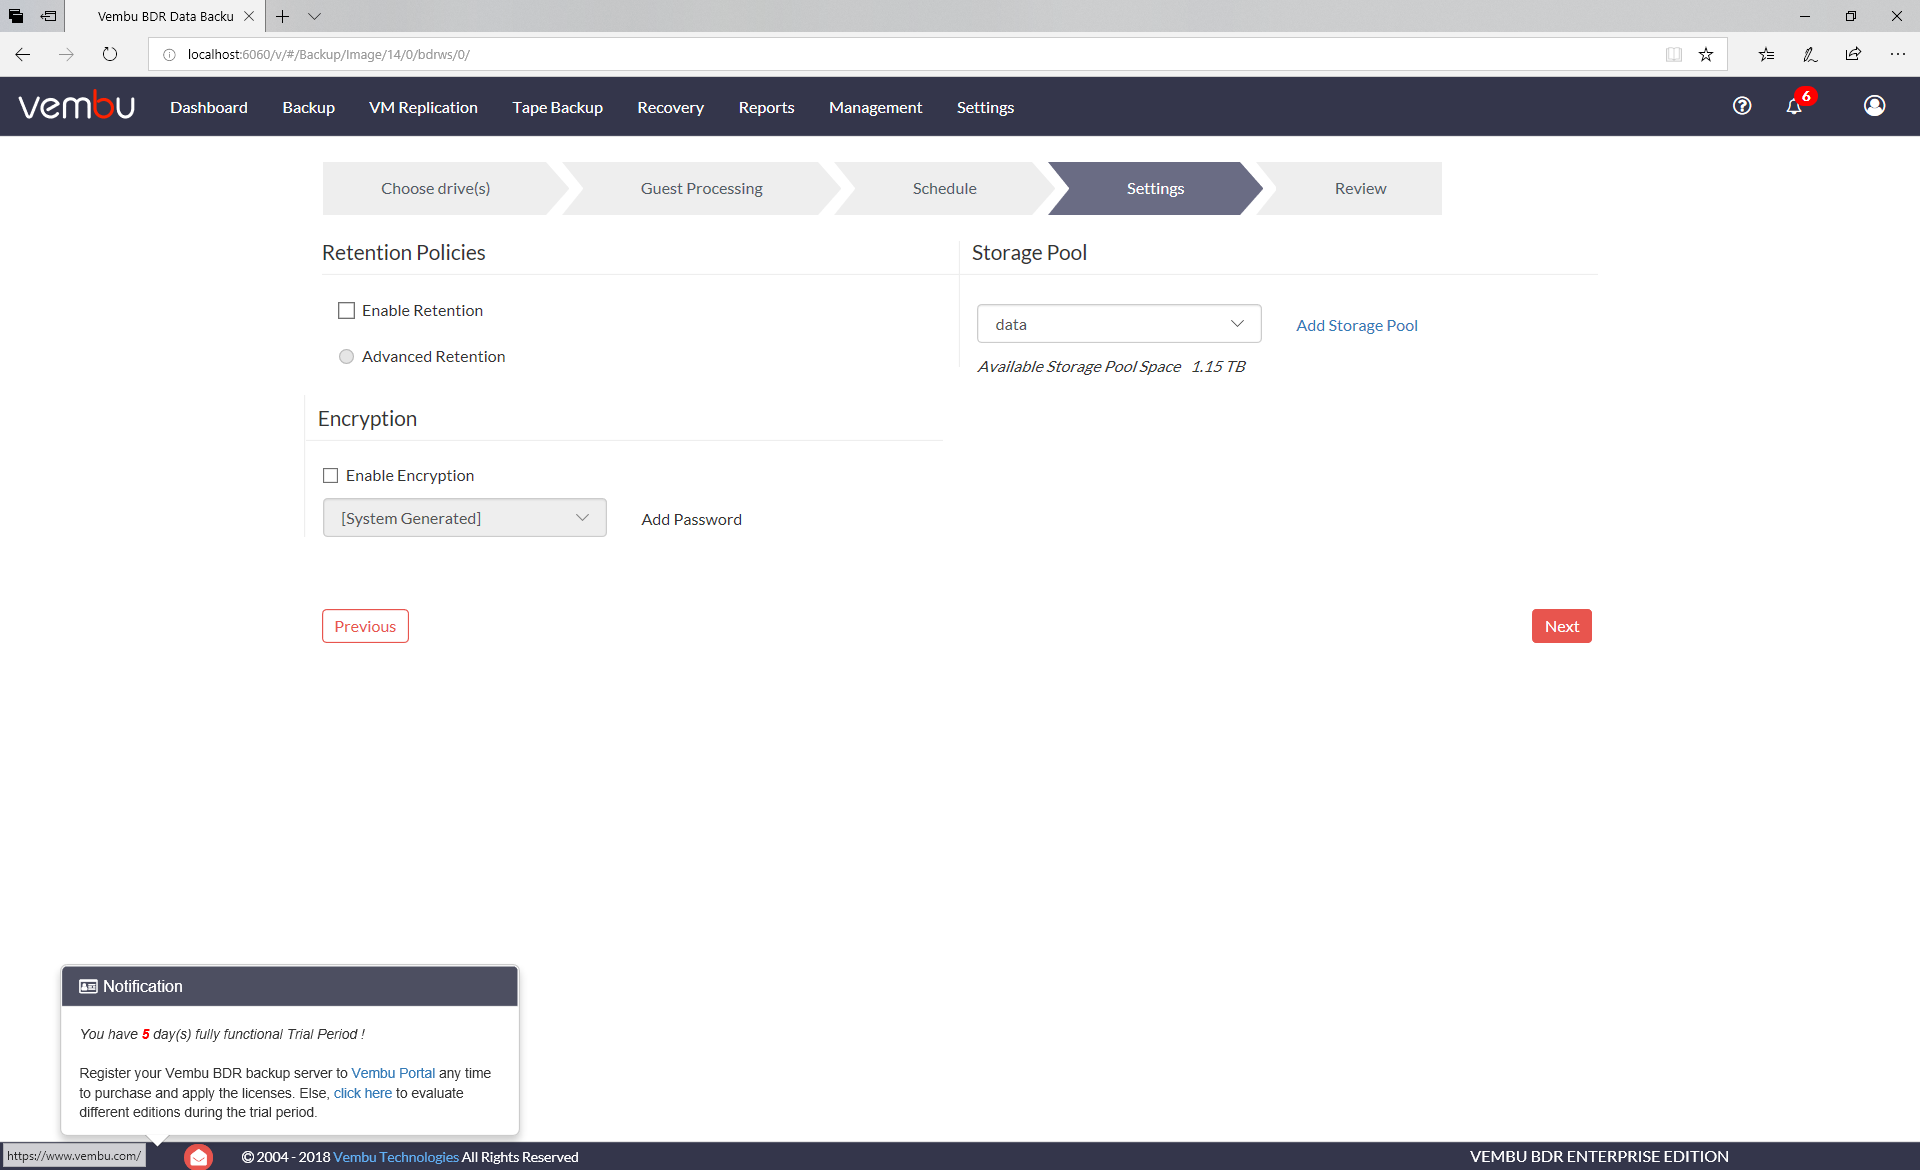
configured to my liking, with a full backup enabled, we move on to the settings screen, where retention policies encryption and storage pool to be used for this backup can be configured
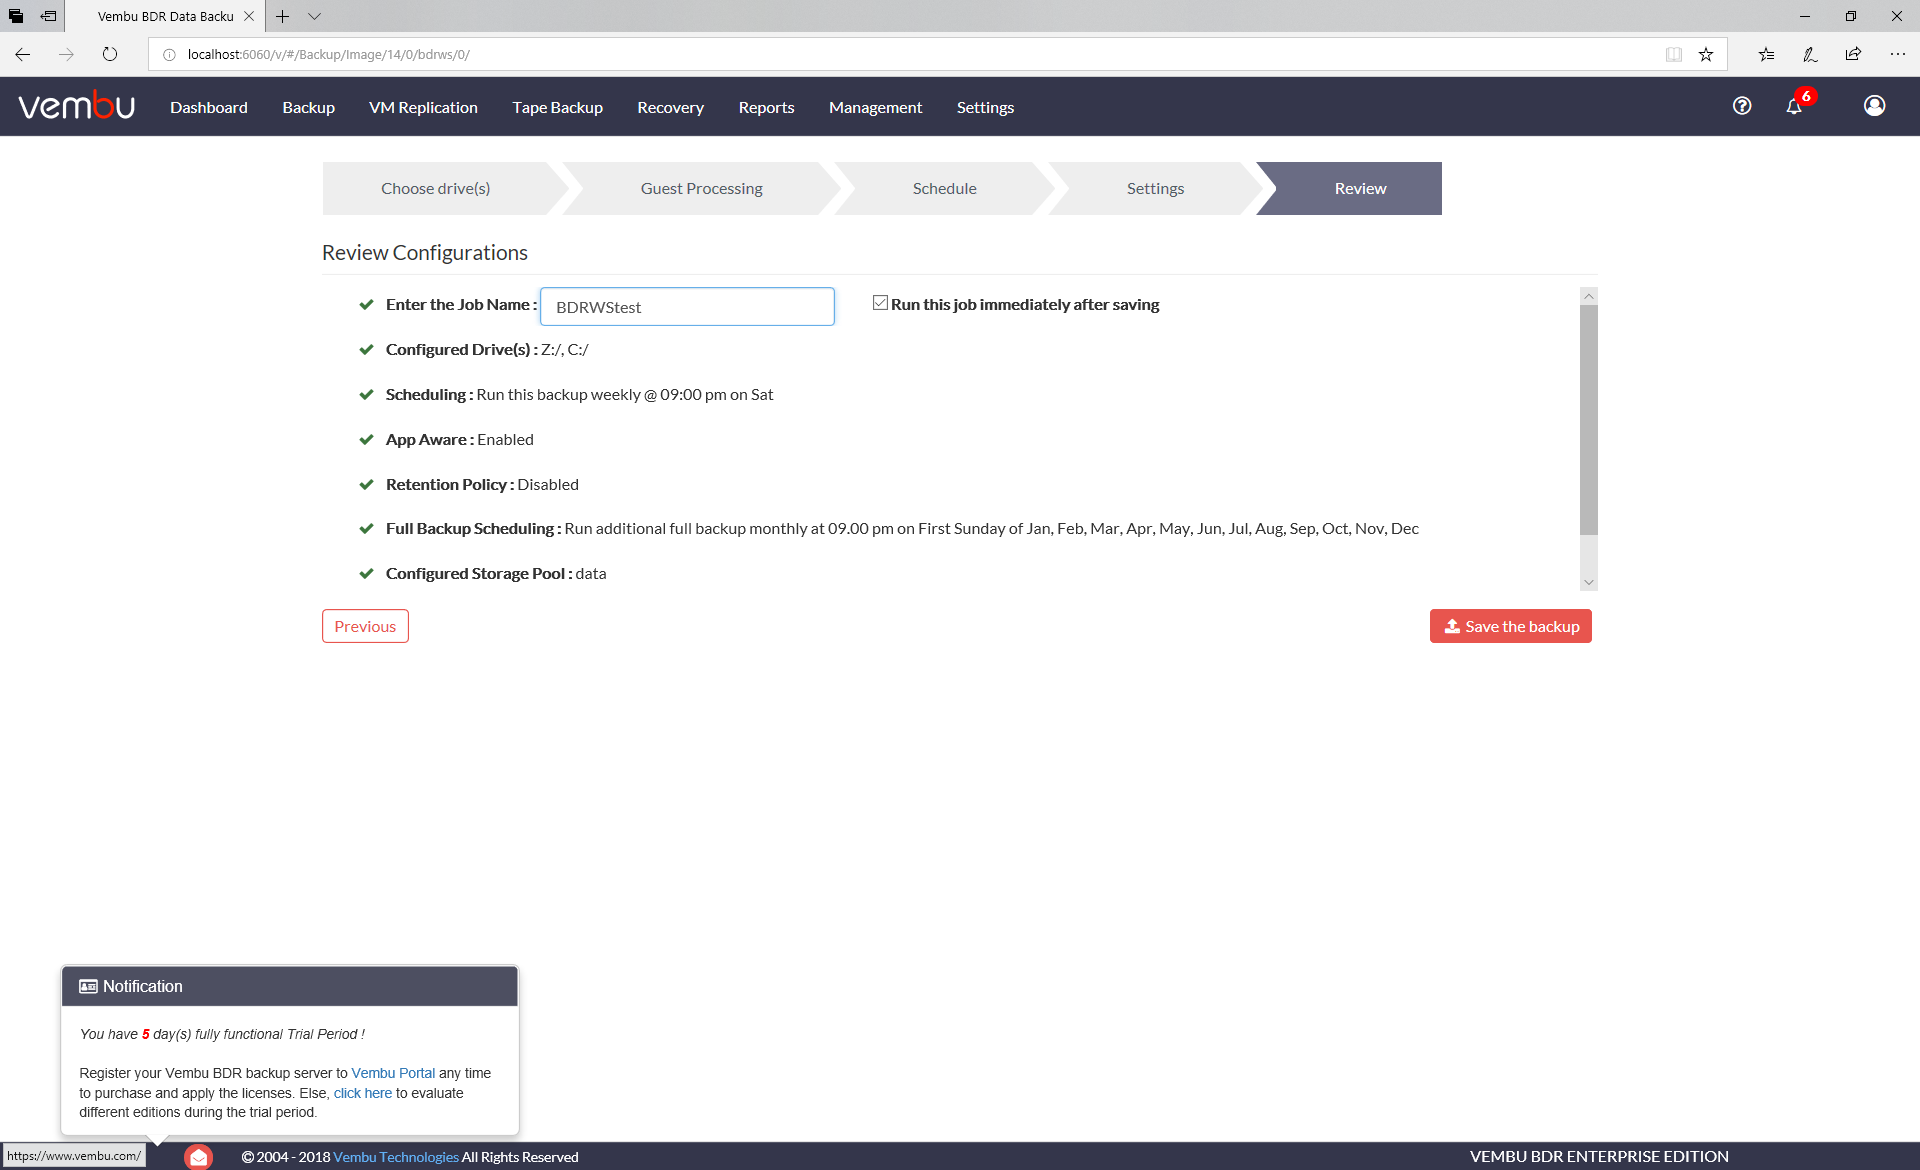
Moving on to the final screen, we can name the backup job and review and confirm settings, as well as configure the job to run immediately after saving.
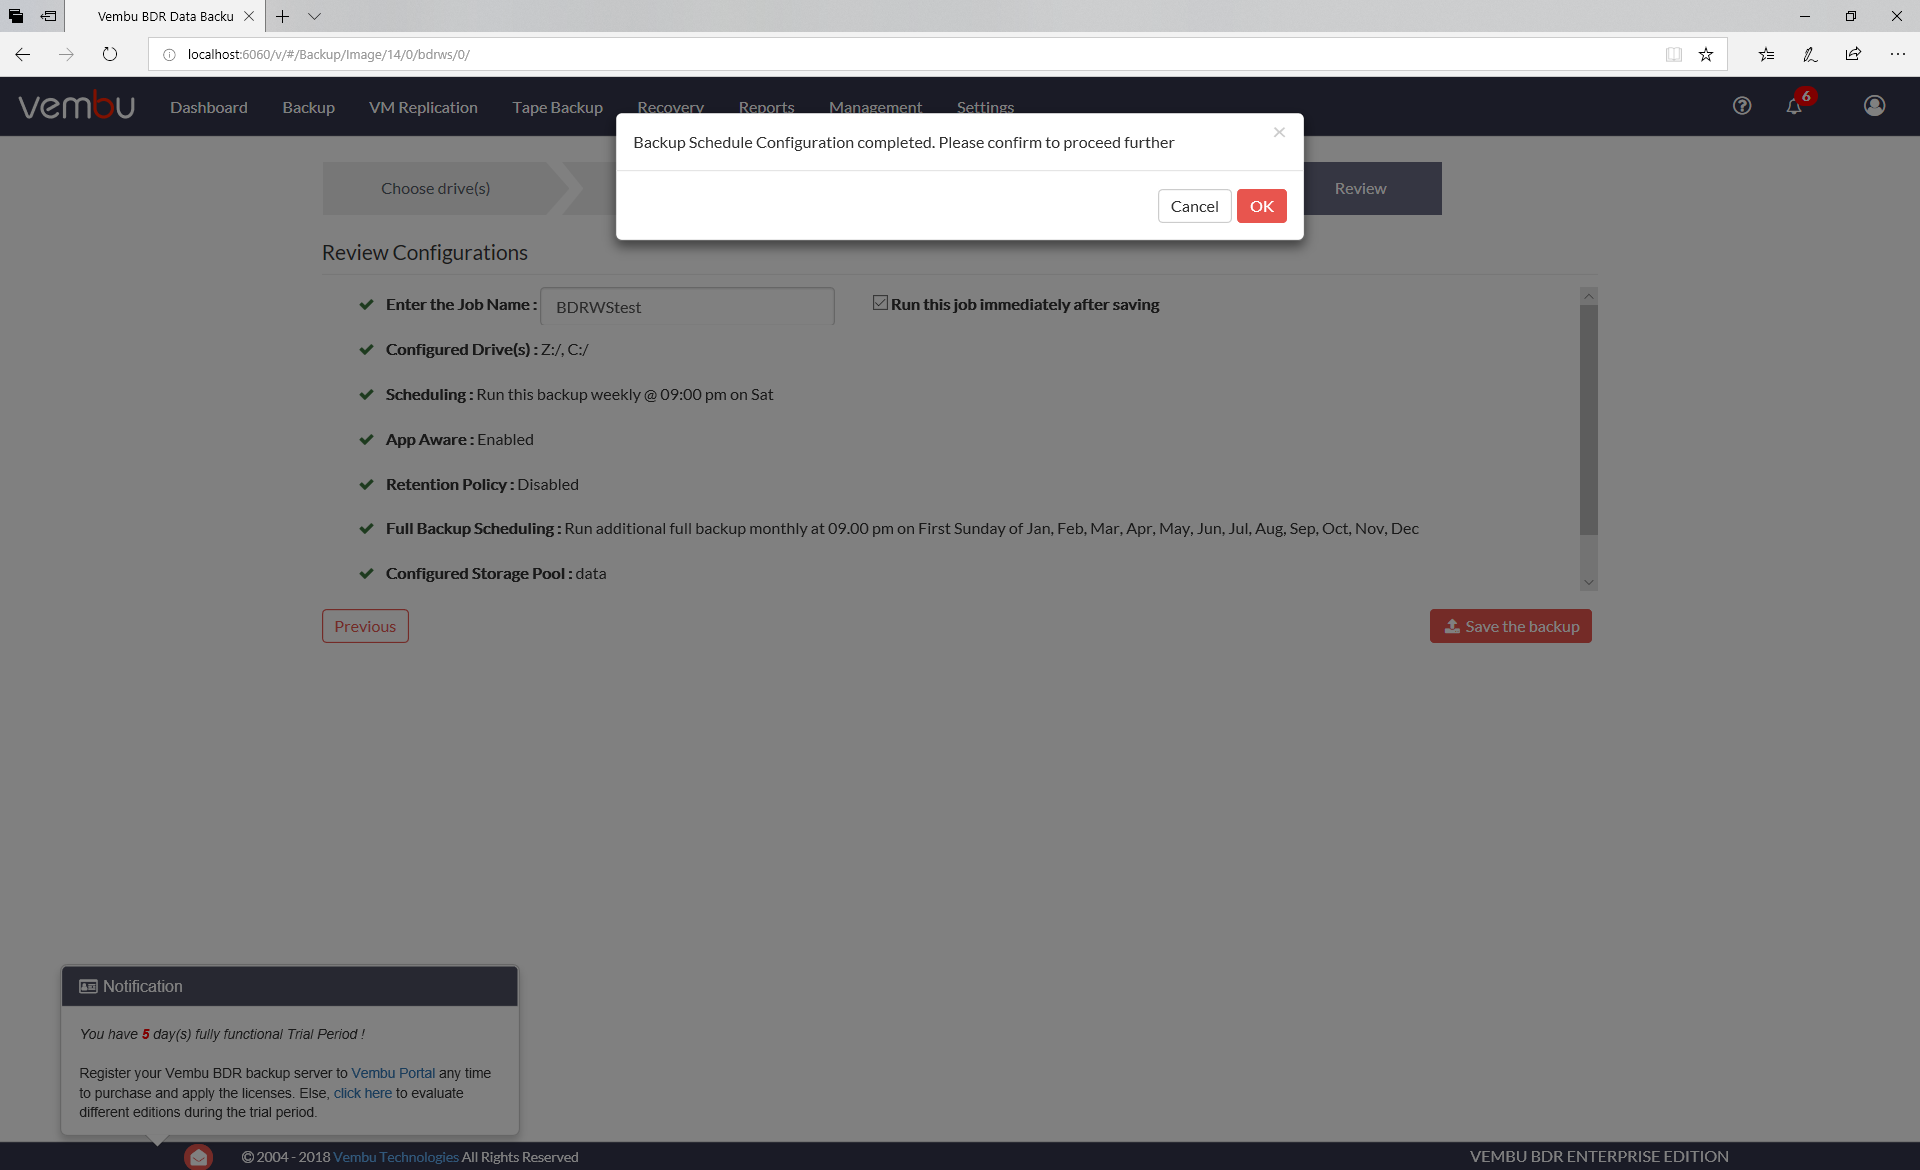
This gives an intermediary confirmation that the backup schedule has been saved, clicking ok, confirms and causes the backup to start running.
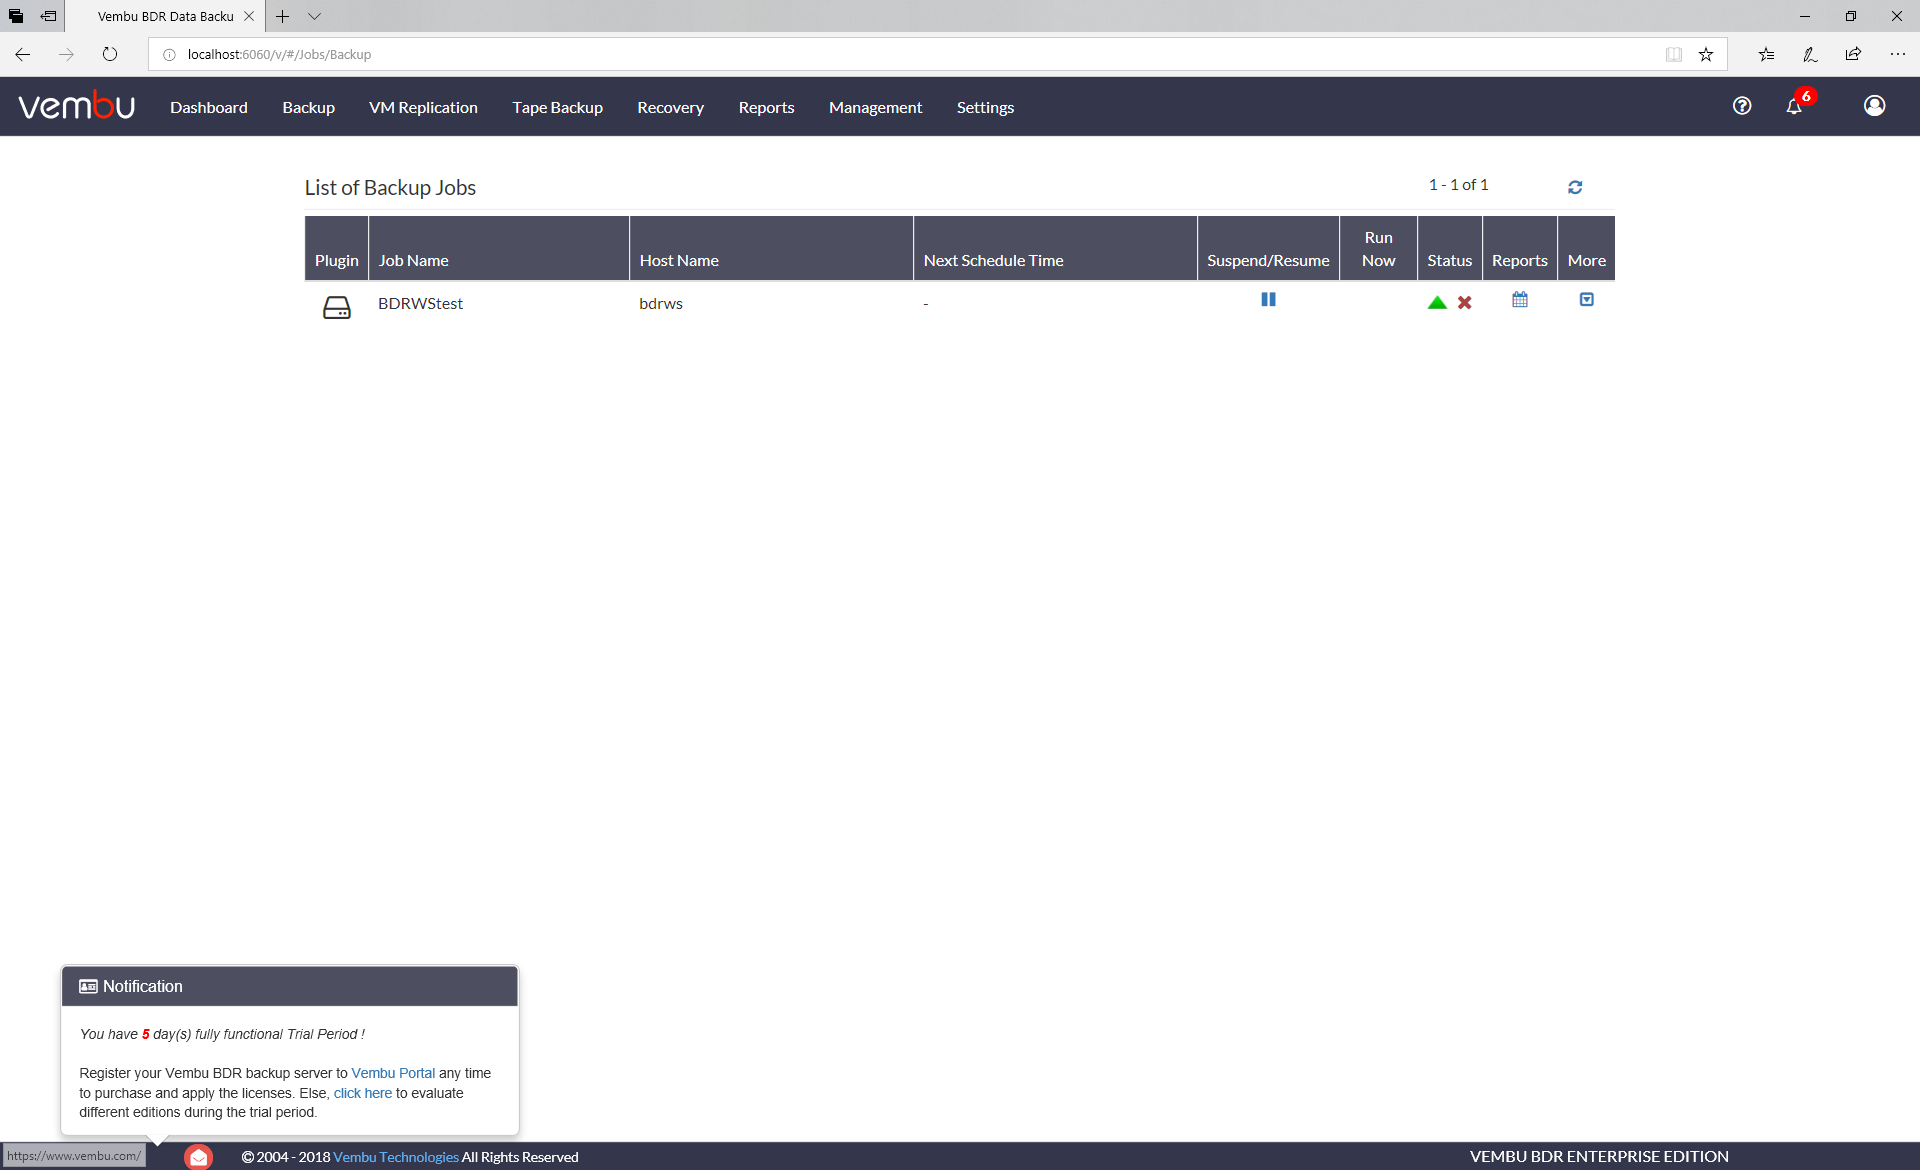
dropping back to the jobs screen, with a small green triangle to indicate the backup is running
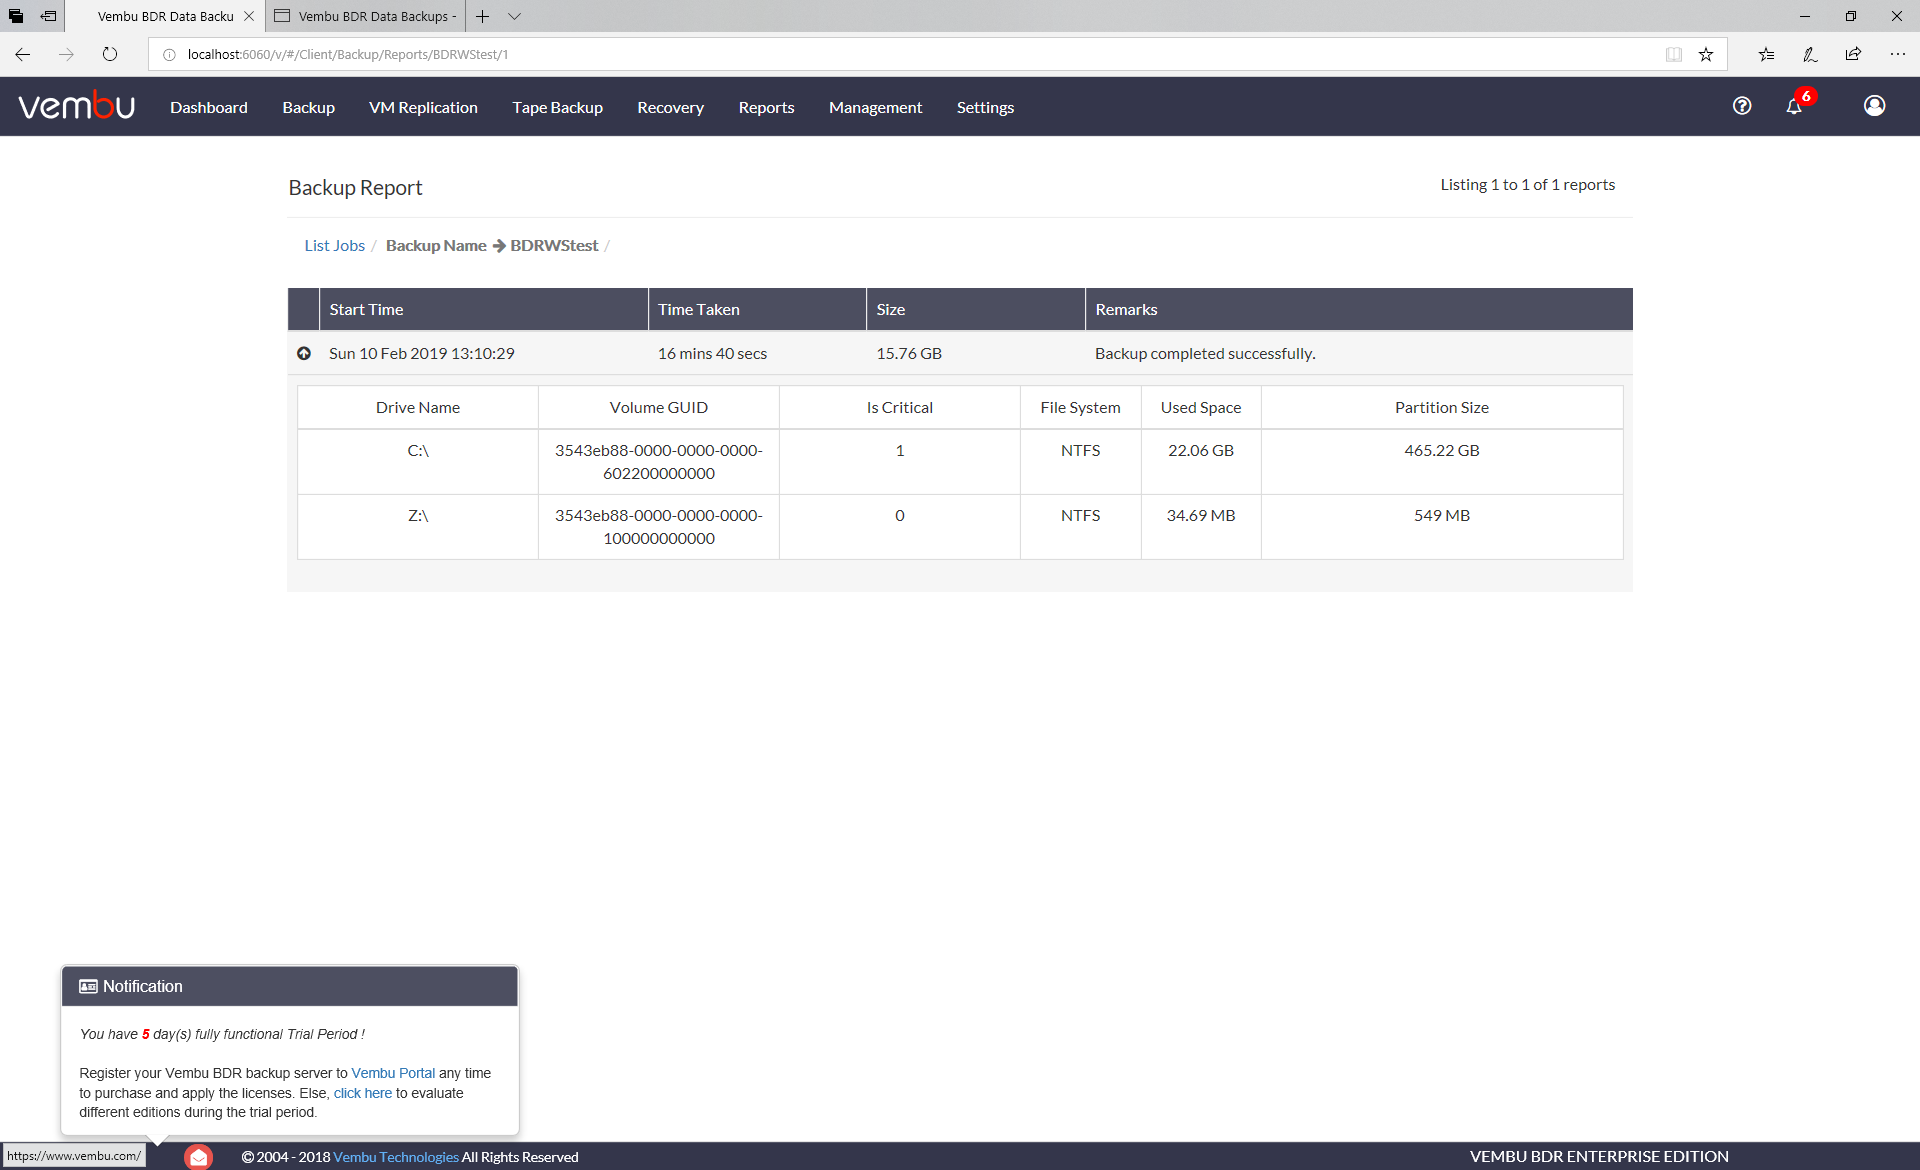
after a few minutes (depending on amount of data and network/storage speed) the job completes.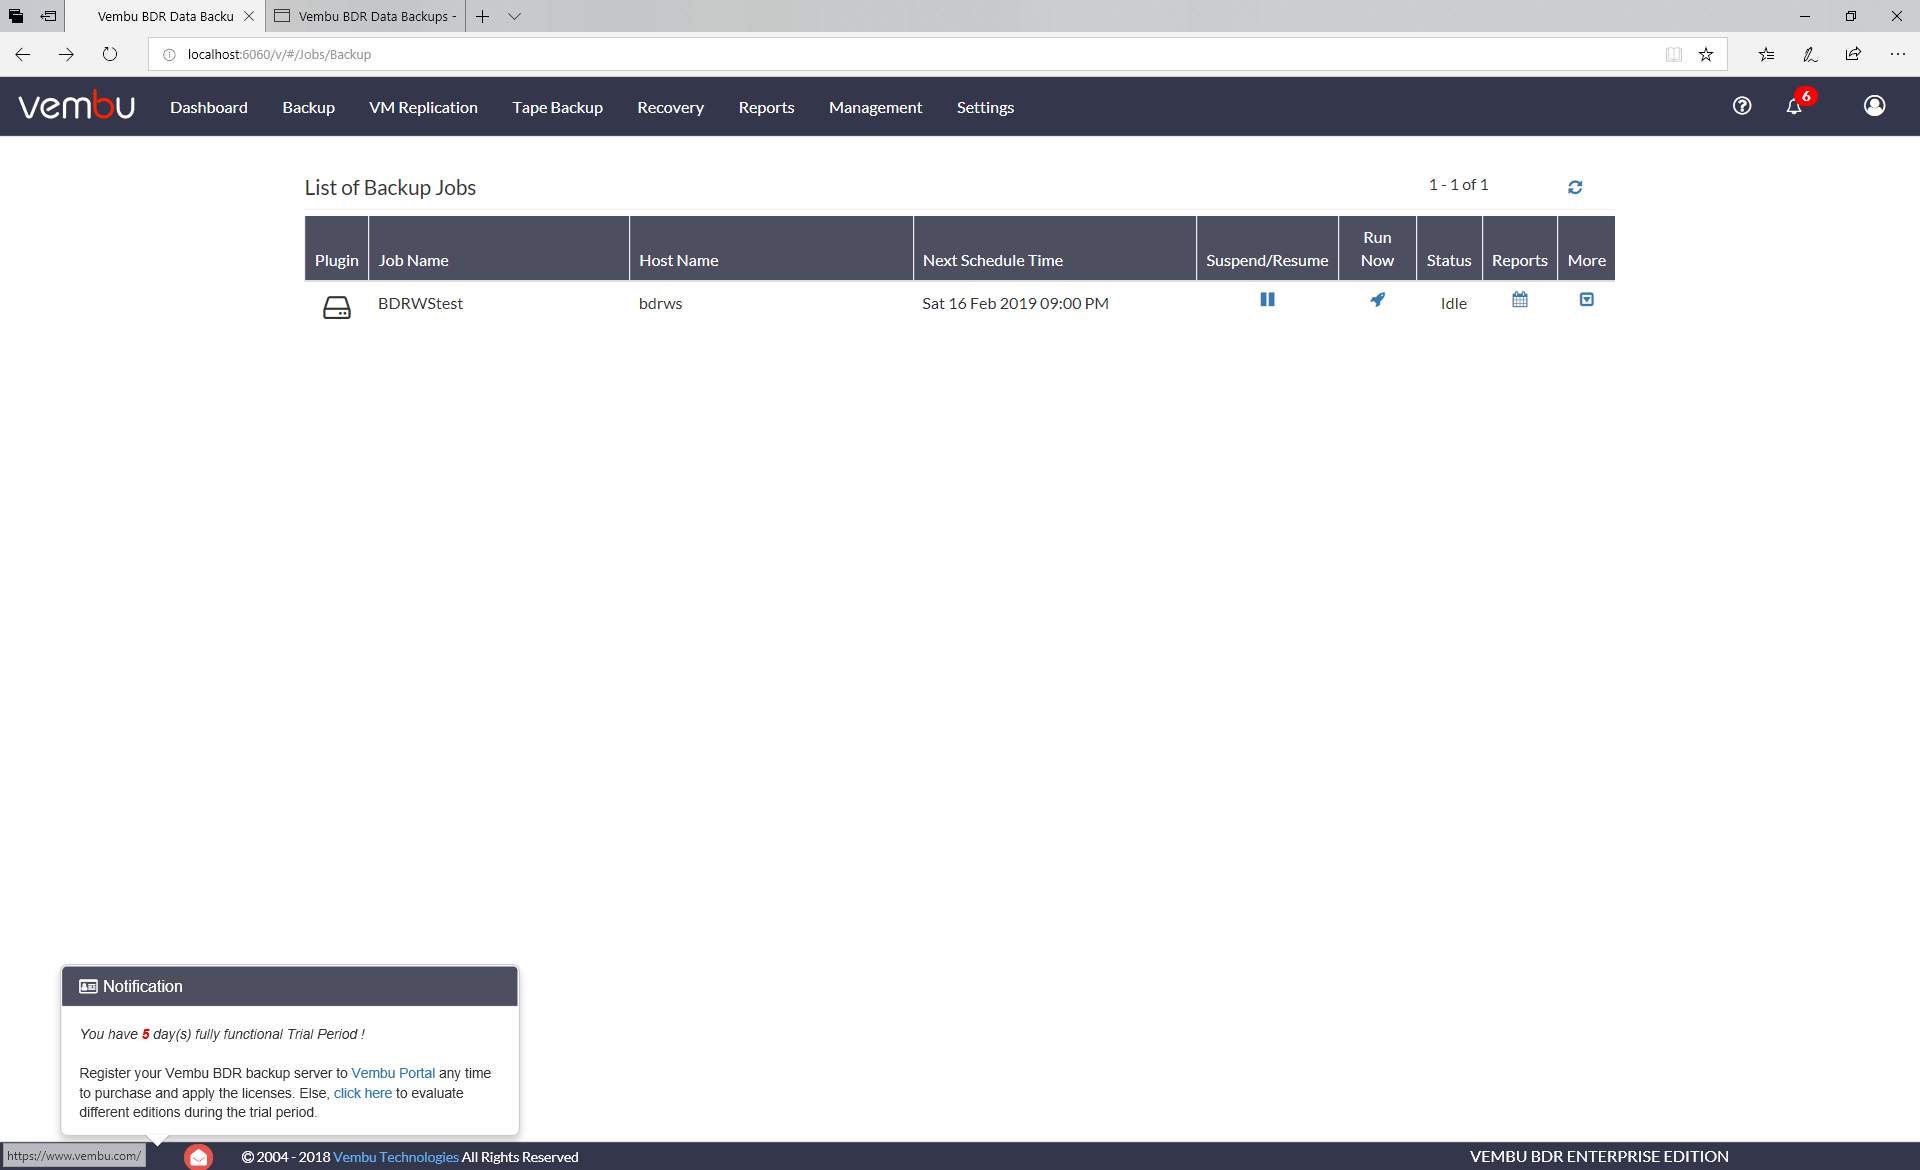
going into reports we can see the successful backup.
Now a backup is only as good as its restoration, and is useless if we can’t restore it. Lets look at a restore in part 2.
