Today I am installing SolarWinds Virtualization Manager v6.1.1 in our lab here at vBrainstorm. If you are not sure what Virtualization Manager is, here is a quick blurb from the Solarwinds website:
Virtualization Manager
Comprehensive Virtualization Management for VMware ® & Hyper-V ® – From VM to Storage
- Real-time dashboards simplify identification & troubleshooting of performance, capacity & configuration problems
- Identifies VM sprawl, helps you reclaim & optimize space, and reduces licensing costs
- Integration with Server & Application Monitor provides complete visibility of the application stack – from app to VM to datastore
- All the functionality & more of other leading virtualization management tools – at a fraction of the cost
- Easy to download, deploy & use – start monitoring your VMs in less than an hour
I will be installing this in a vSphere 5.x environment. This is installed as a virtual appliance download from the Solarwinds web site. The virtual appliance requirements are shown below:
CPU 2 GHz quad-core
Virtual CPUs 4 vCPUs
Memory 8 GB or more
Disk Space 200 GB or more
Virtual NIC 1 Gigabit vNIC
The download file for version 6.1.1 is approx 1479 MB. After the file is downloaded, extract the ZIP file and then open up your vSphere client and log into your Virtual Center server.
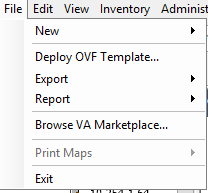
To install the virtual appliance click on File – Deploy OVF Template.
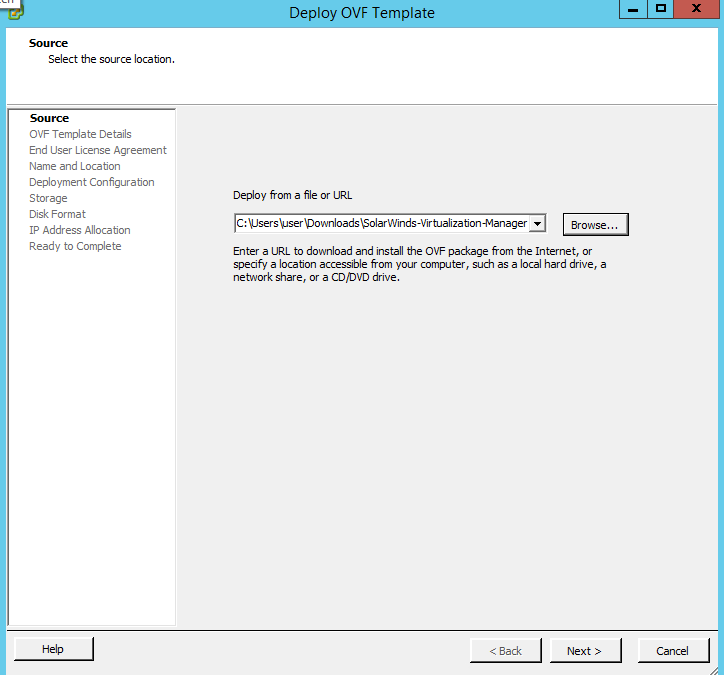
Choose the OVA file from the unzipped contents.
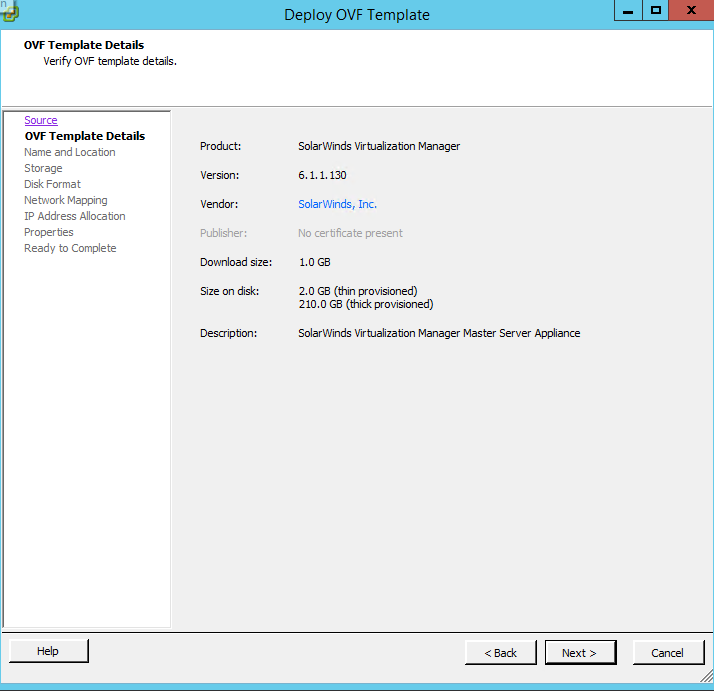
Review the template details and click Next.
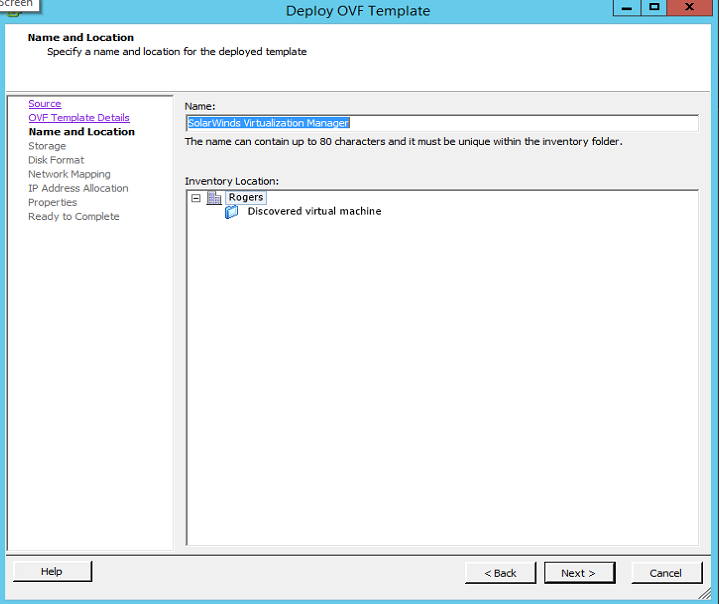
Give the appliance a name and choose its location in your inventory. Click Next.
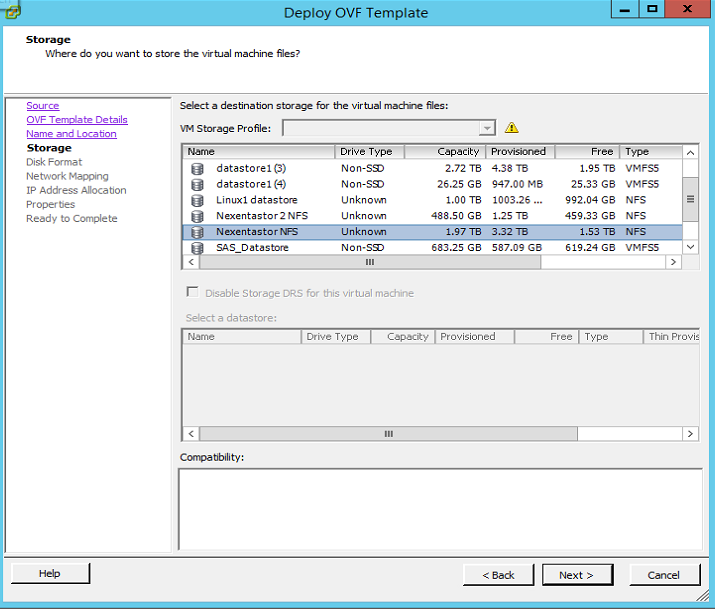
Choose the storage to place the appliance on. In our lab we are using Nexenta for the storage. Click Next.
Choose the disk format. In our lab Thin is the only choice so this screen is greyed out. Click Next.

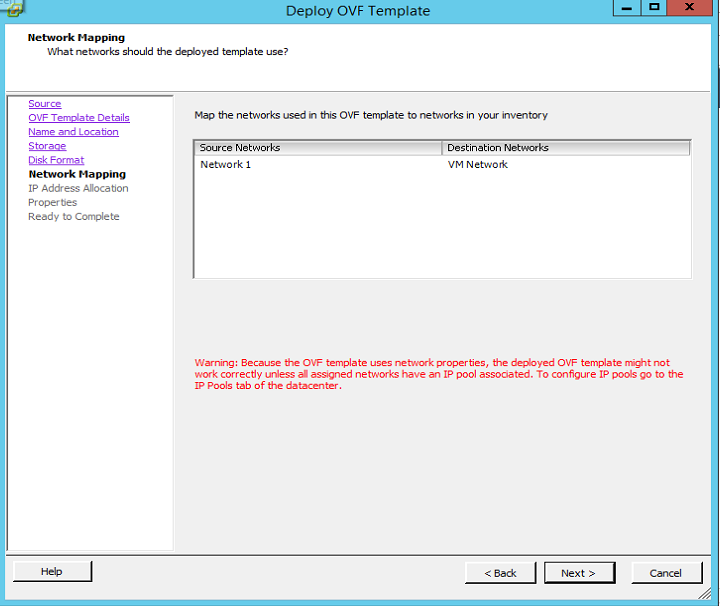
Choose the network mapping for the appliance and click Next.
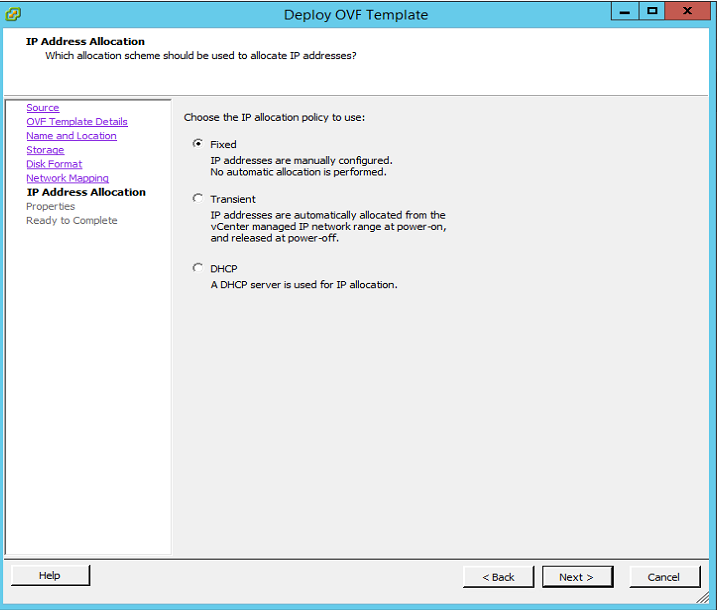
Choose how the appliance will get an IP address. In our lab we are using static IPs so I chose Fixed. Click Next.
(UPDATE: Choosing static gave me an error on starting up the VM. The error basically said “Cannot initialize property ‘vami.DNS0.SolarWinds_Virtualization_Manager’. Choose DHCP and the VM will boot up. You can change to a static IP via the console on the VM)
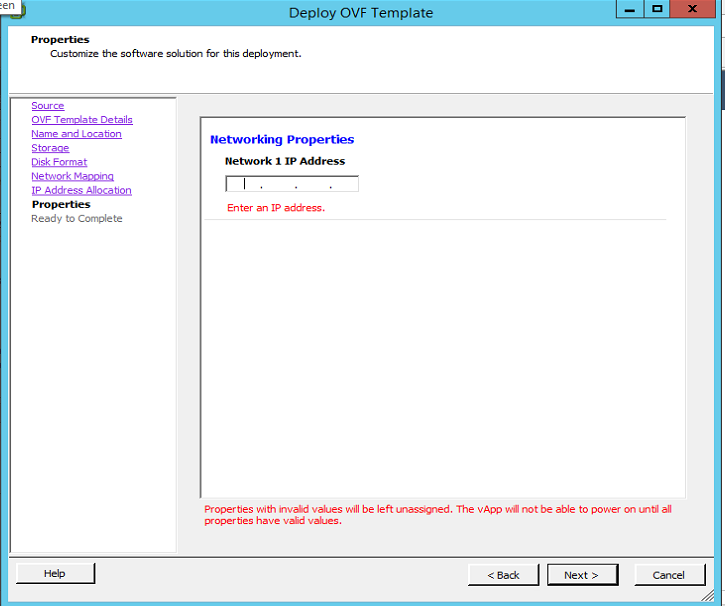
Since I chose fixed I need to enter a valid IP address on this screen and then click Next.
Finally I am presented with a summary screen. Review it to make sure everything is correct and then click Finish.

The appliance will be deployed.
Power it up and the appliance is installed! The next post will go into how to configure the appliance and connect it to your vCenter server.
