So now that the Virtualization Manager appliance is installed and powered on we need to configure it. The vBrainstorm lab has DHCP enabled but we are using static IP addresses so we need to change the appliance to use a static IP. To do this, just right-click on the appliance in vCenter and choose to Open Console. To configure a static IP, arrow down and hit enter on Configure Network.
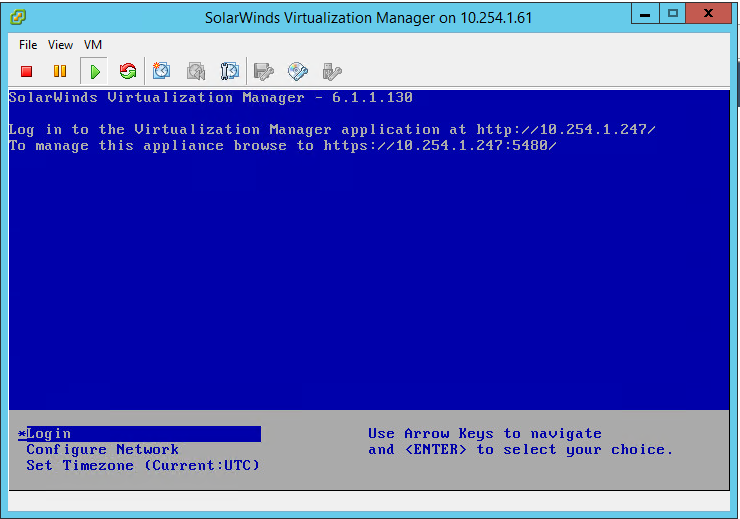
Enter the info as prompted.

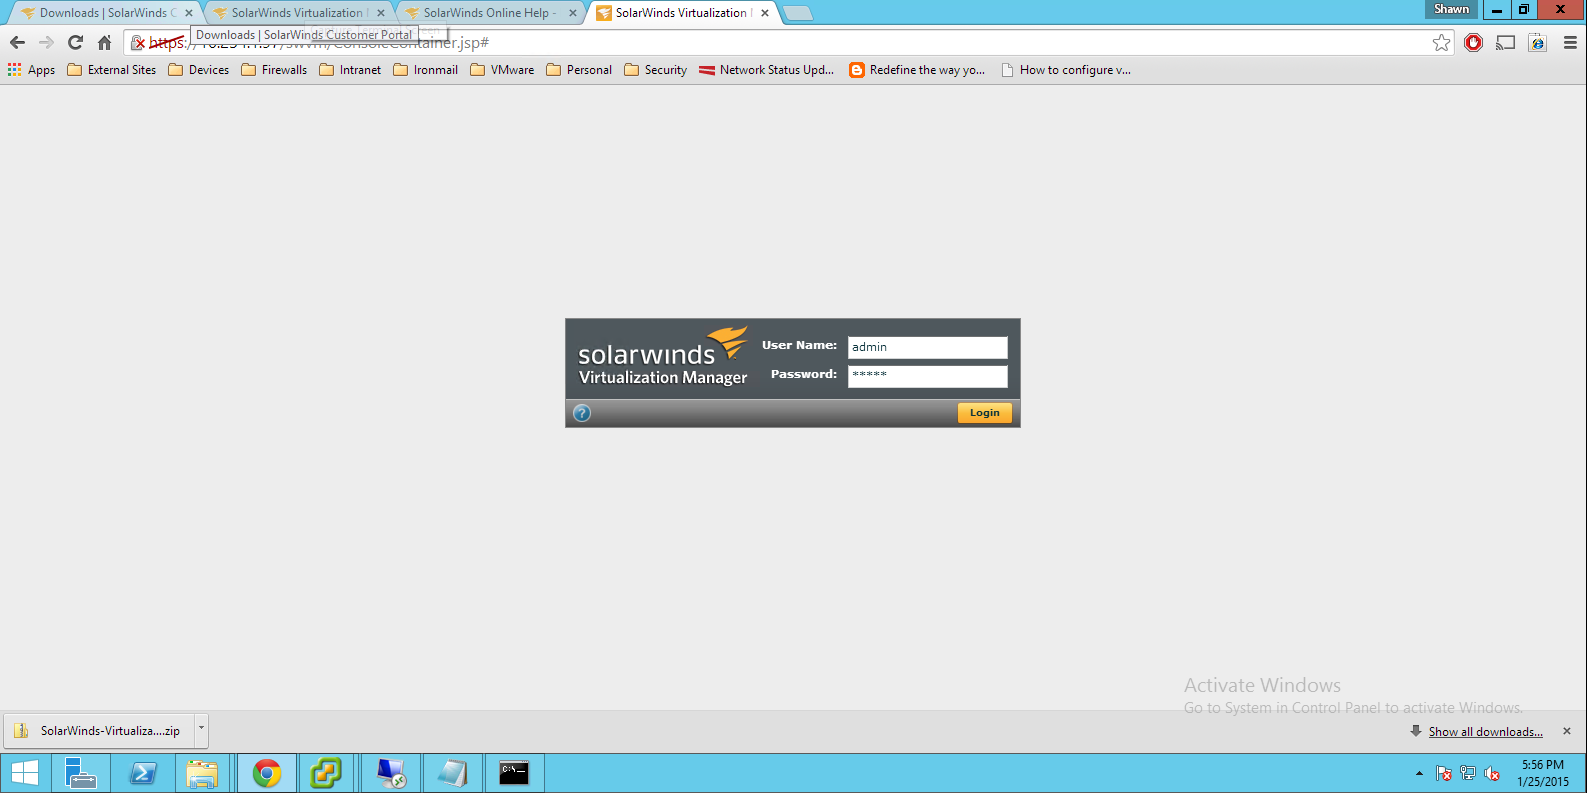
After the IP is set just open up a browser and go to the IP via HTTPS. The default username and password is admin.
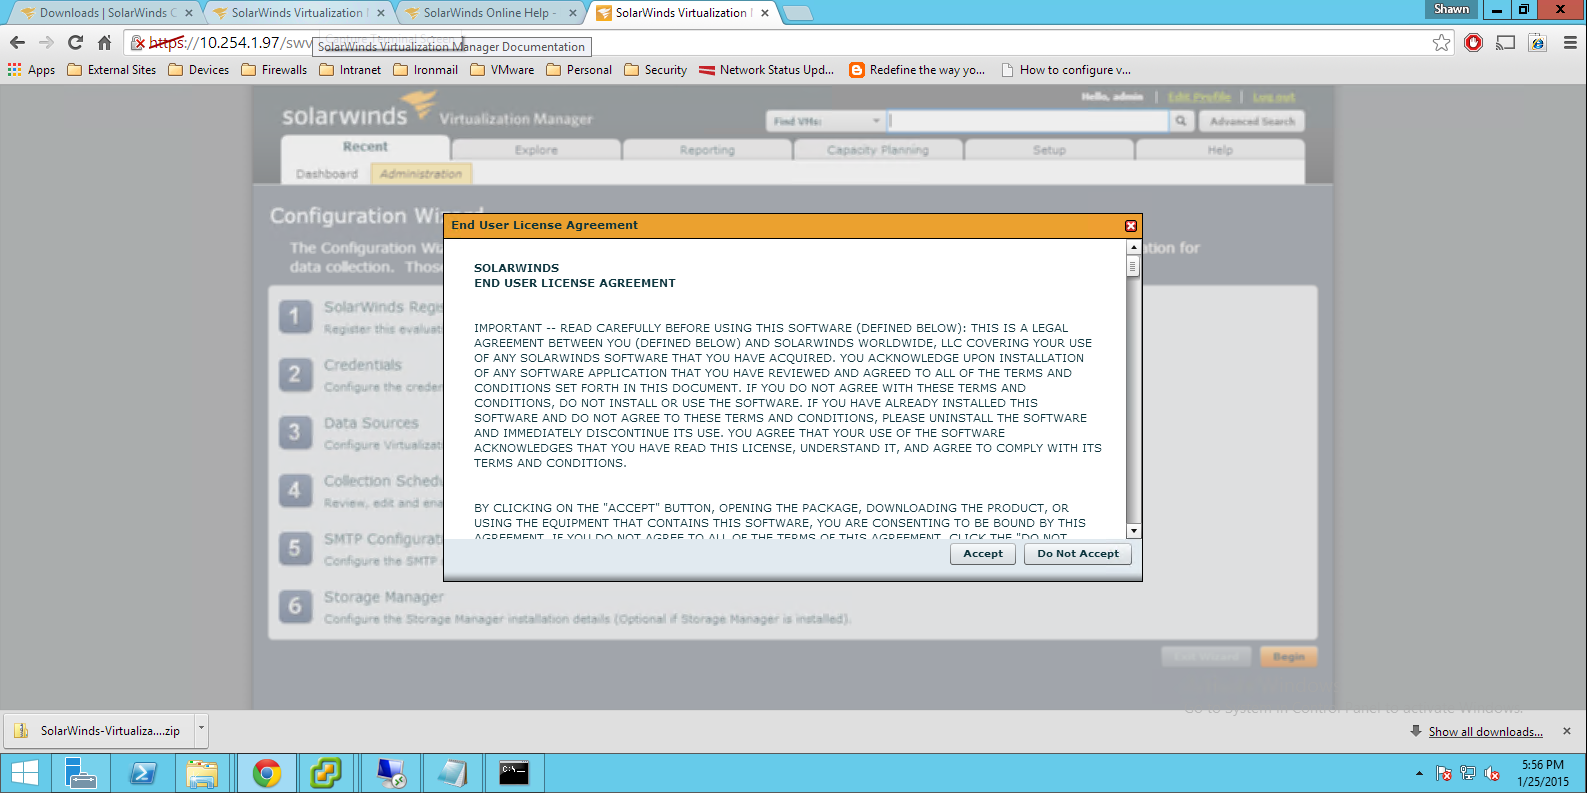
Once you are logged in you have to accept the license agreement (after you review it of course).
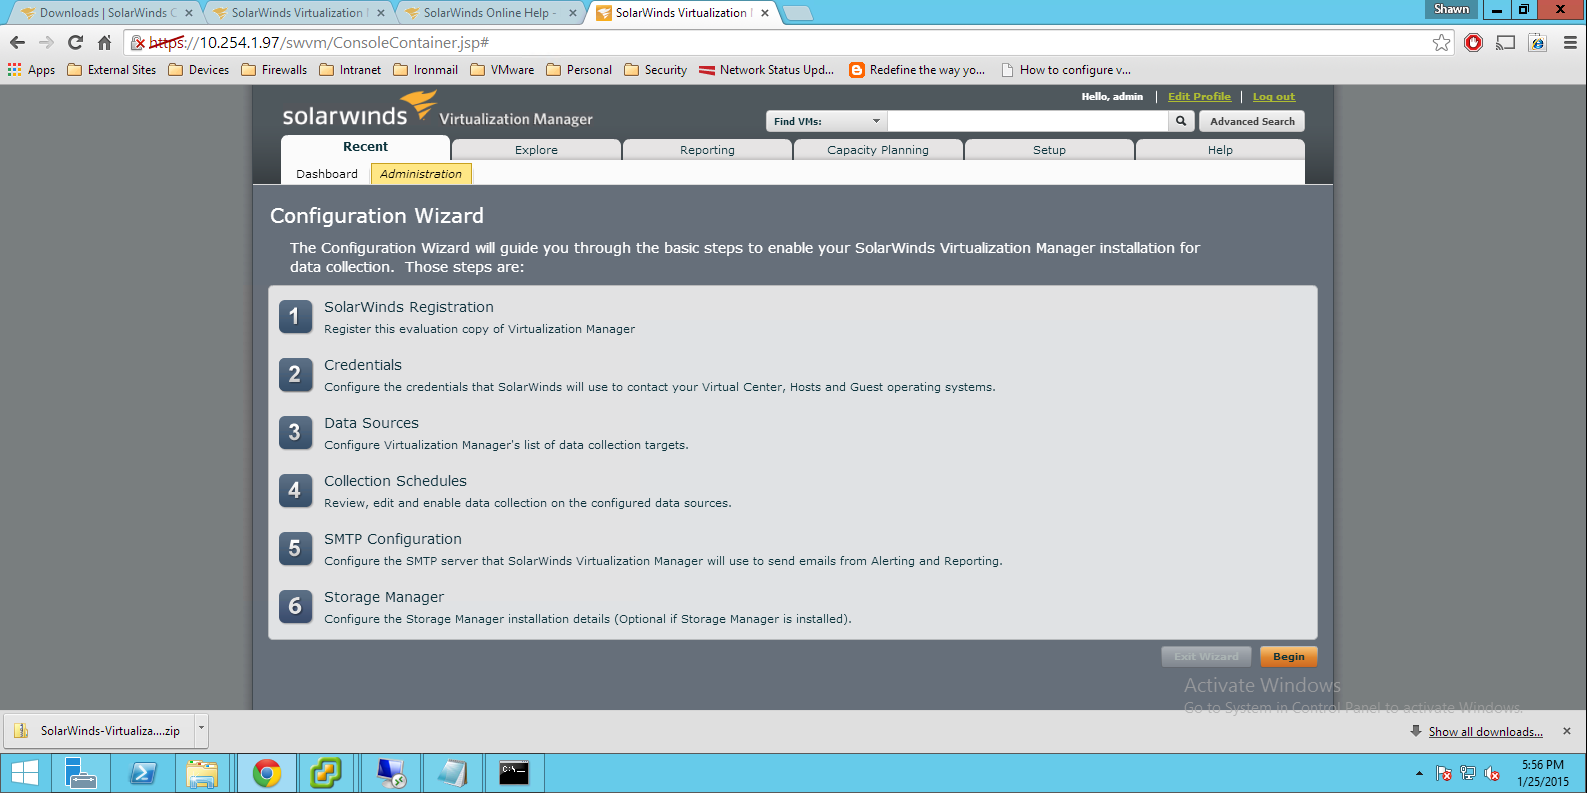
Next is the configuration wizard. Just click begin!
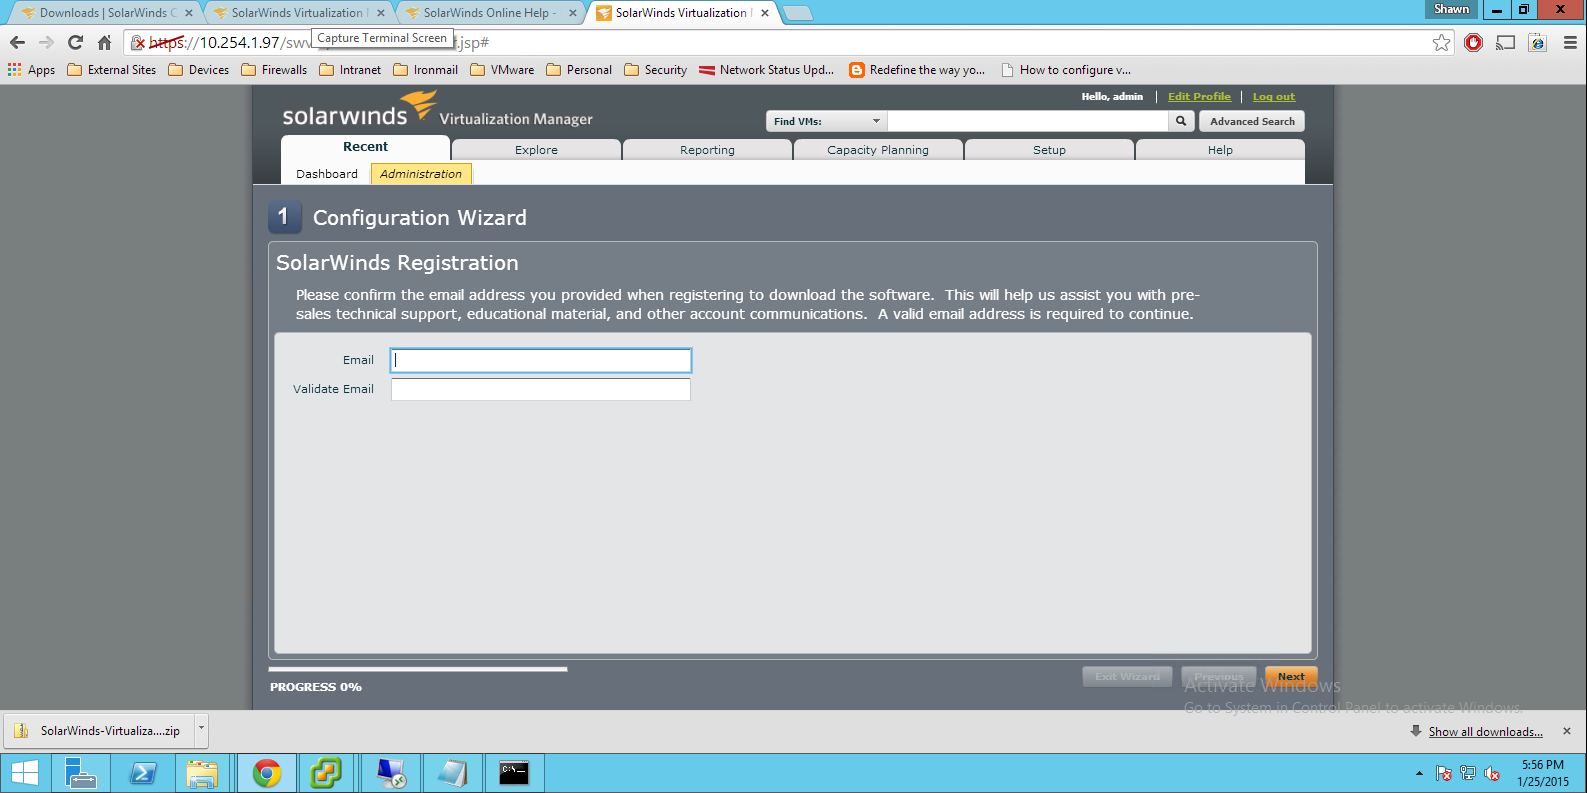
The first screen is going to ask you for your registration info. Enter that information and click Next.
The next screen is used to configure your credentials to access the server(s) you are going to access.
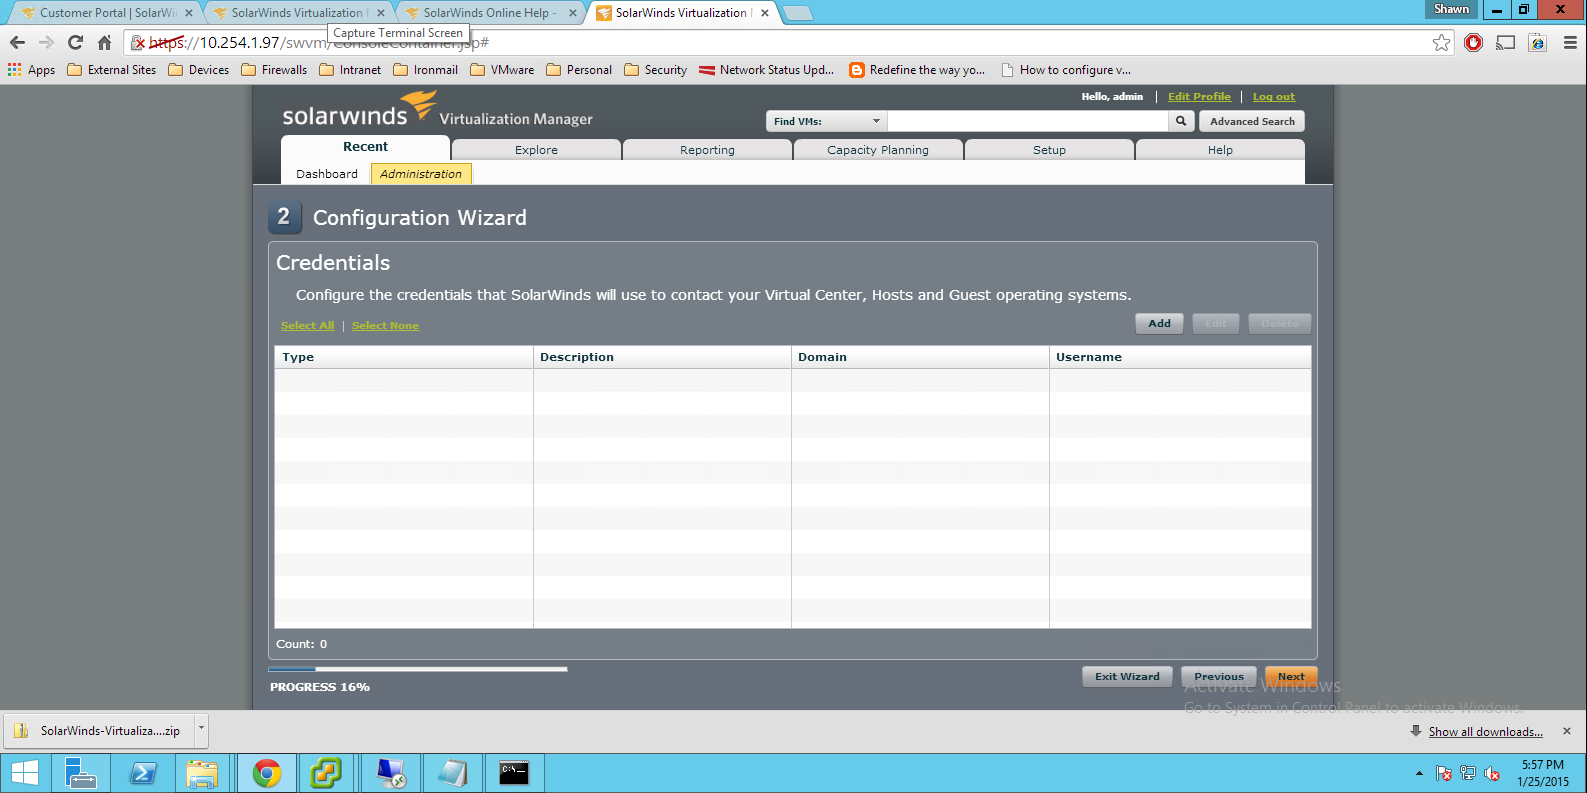
Click on the Add button to add the proper credentials. In our case we are connecting to a vCenter server. Enter the credentials and click Save. Click Next.

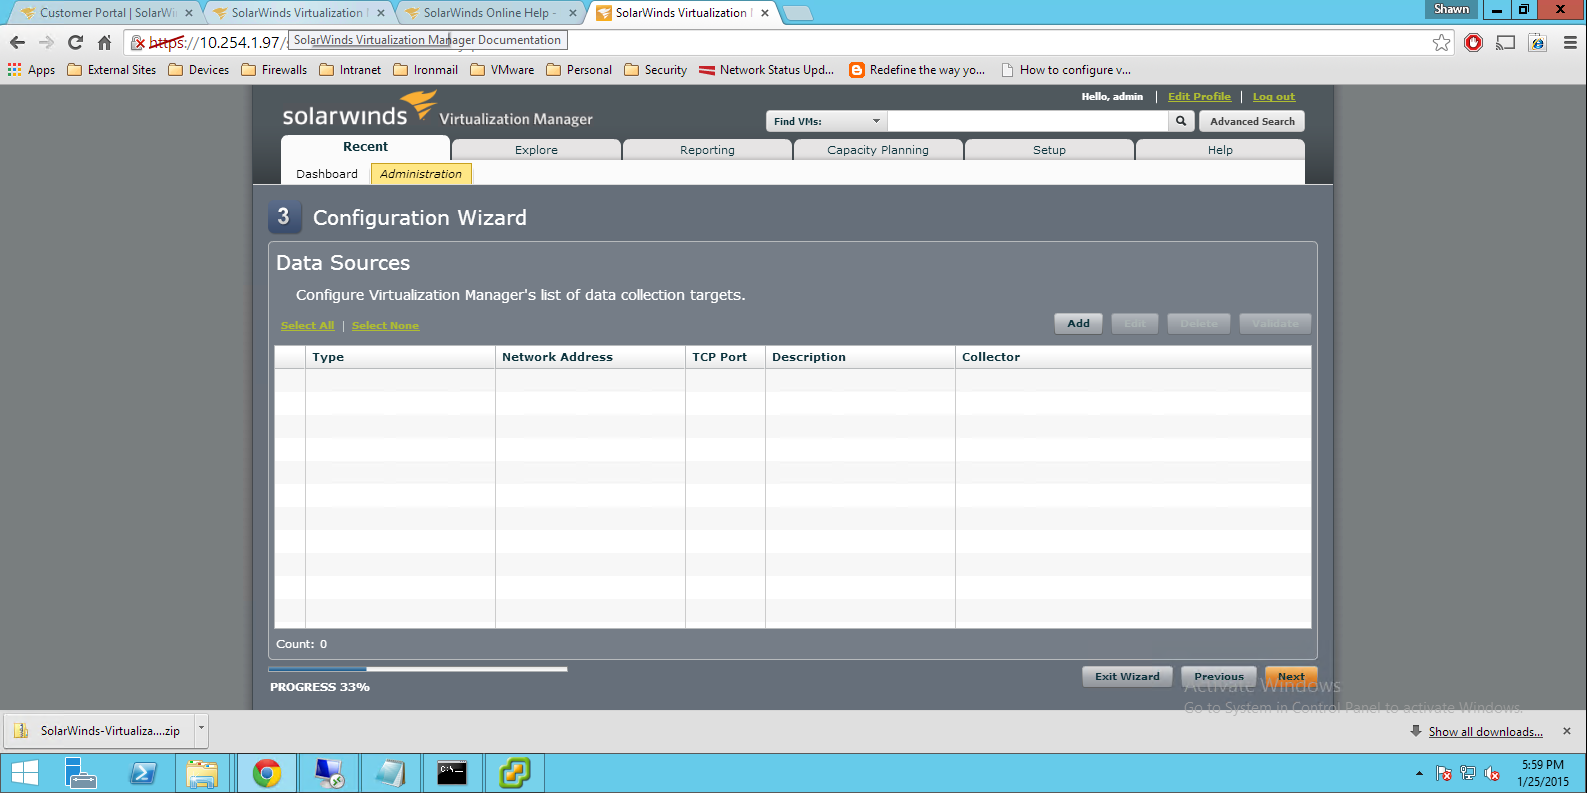
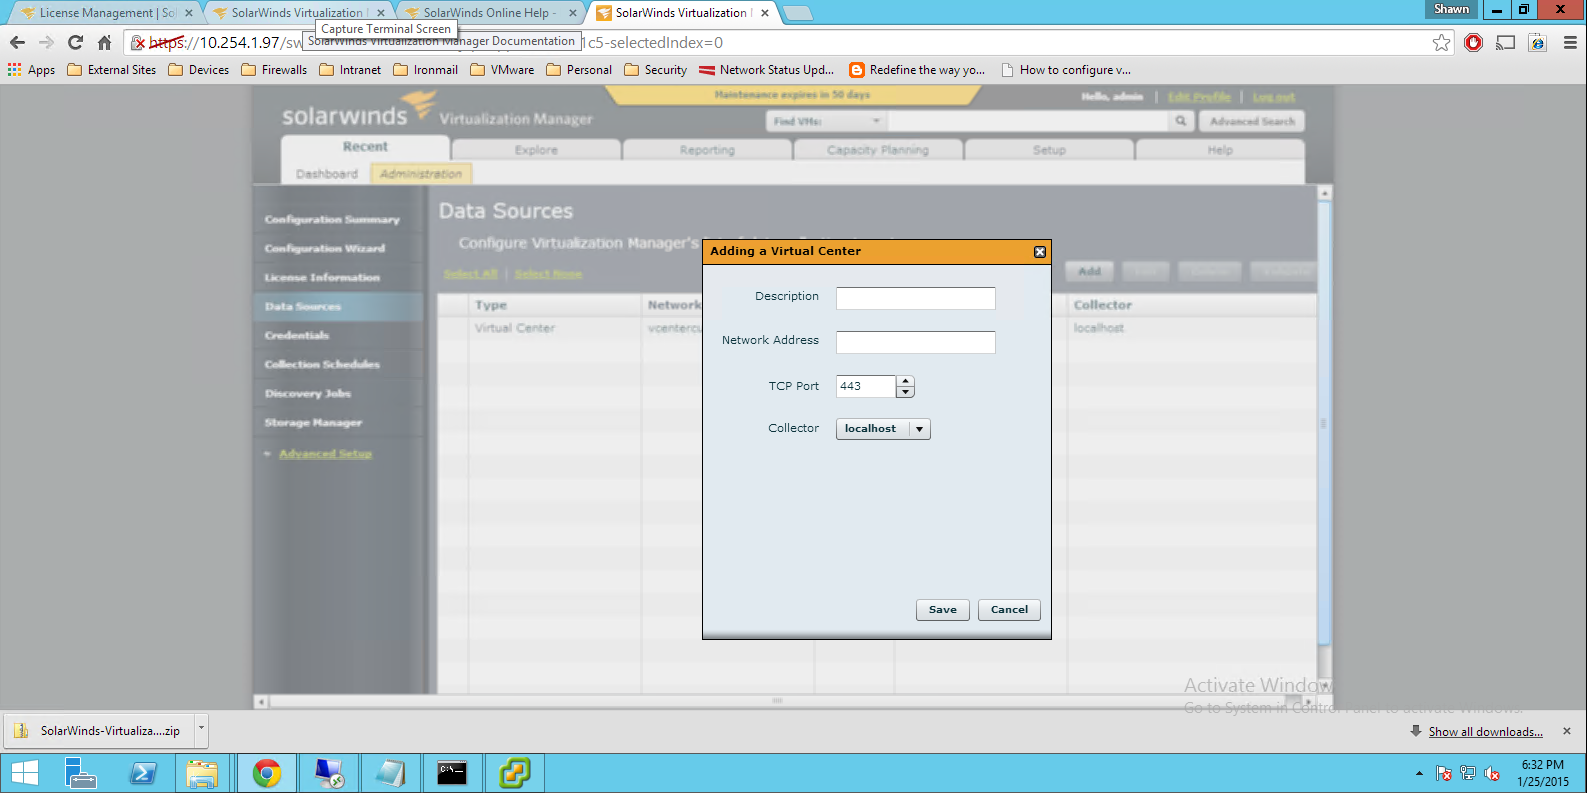
The next screen is the data sources screen. This is where you add your servers. Click the Add button.
Choose Virtual Center.
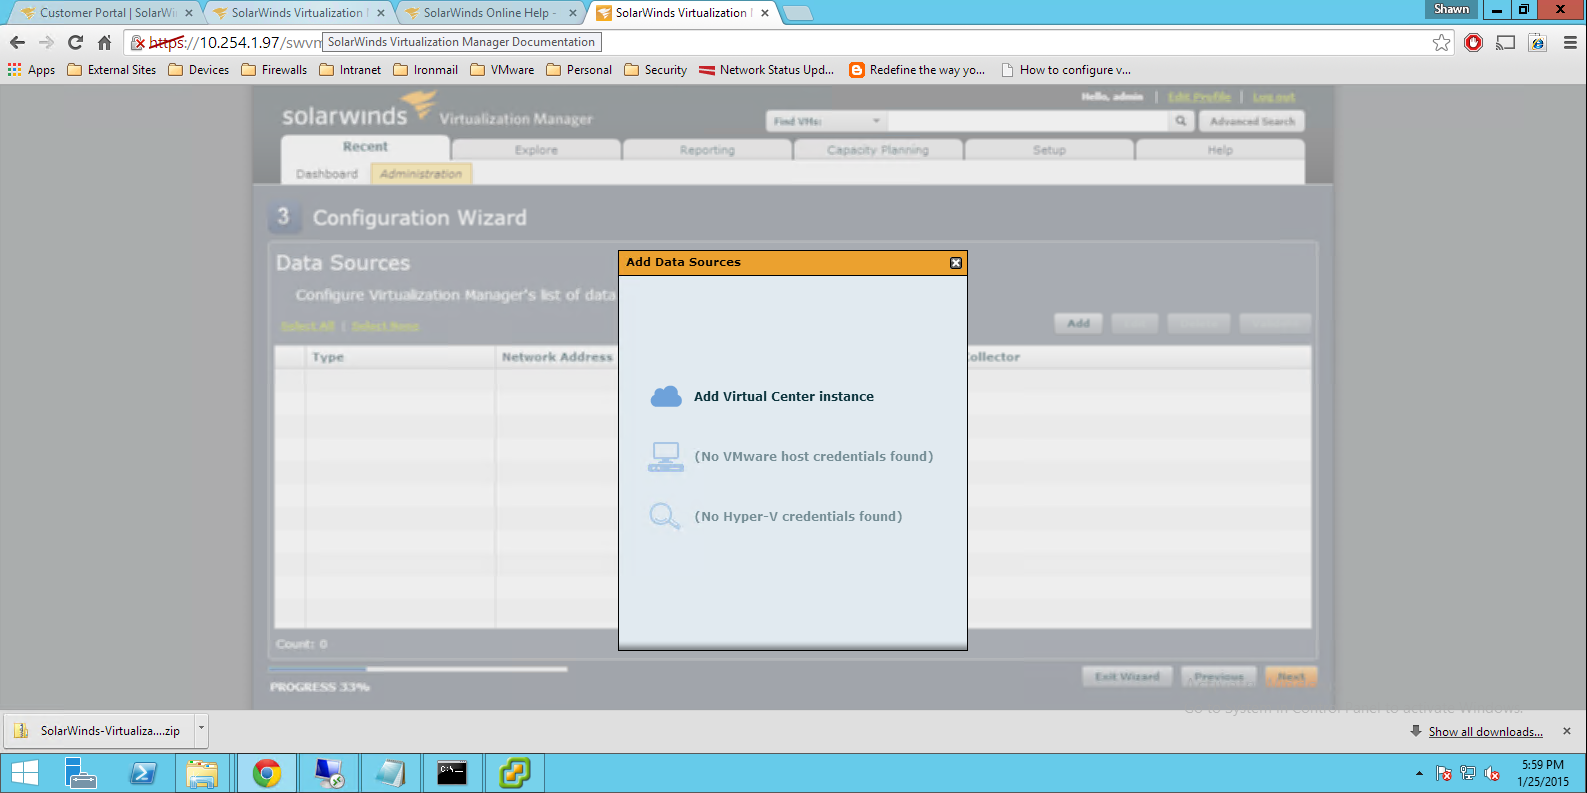
Enter your vCenter server information. Click Save. Click Next.
The next screen lets you select collection schedules. These are used to gather the data needed to populate Virtualization Manager. For this lab setup I enabled both of these tasks. You do that by highlighting the task and clicking thee Enable button. Click Next.

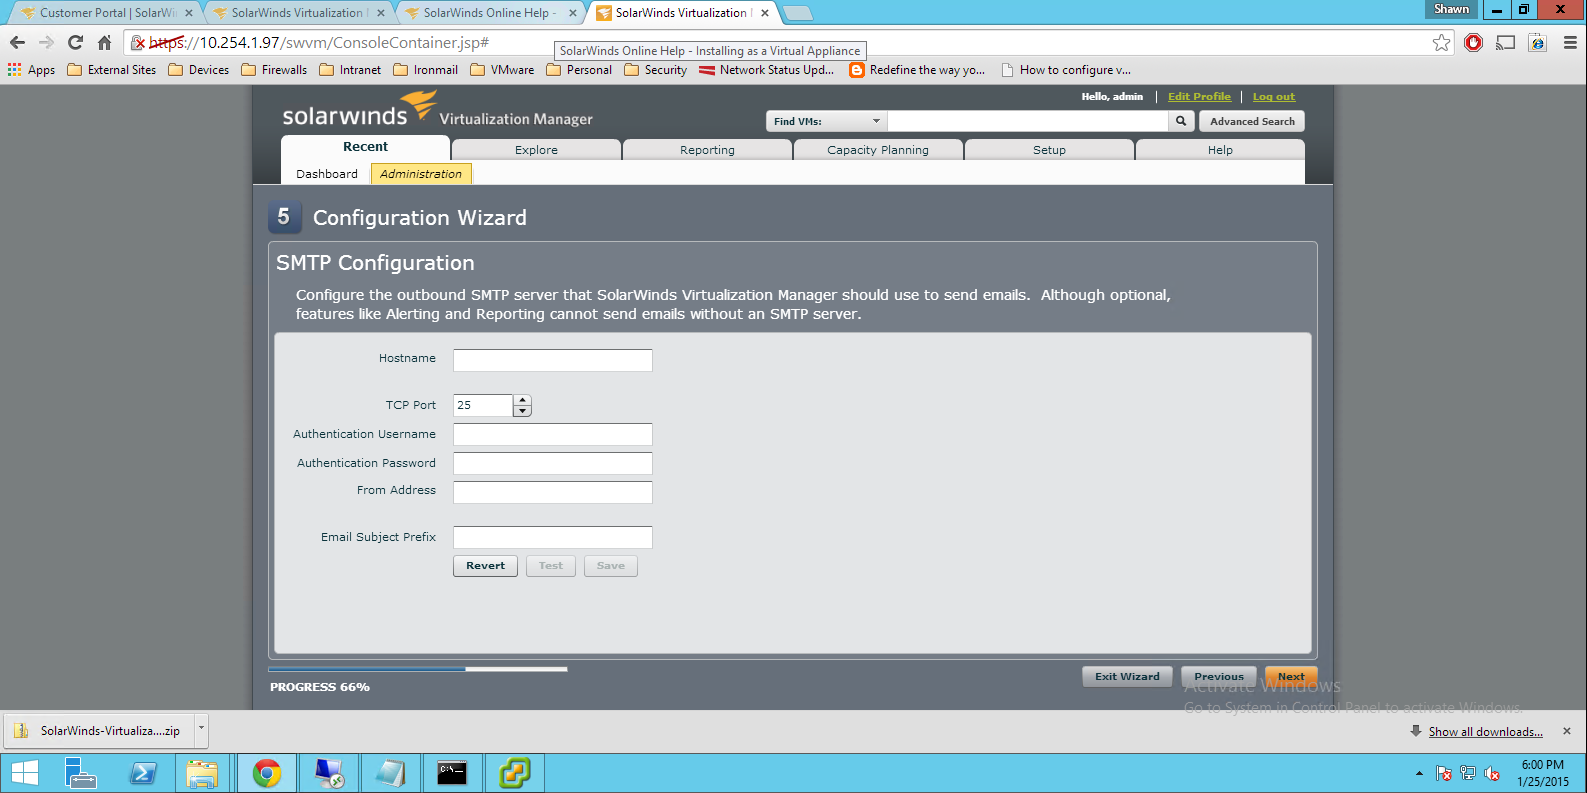
The next screen is where you configure your SMTP settings so that you can receive email alerts. After the info is entered click Next.
The final wizard screen is for integration with Storage Manager. In our lab we are not using Storage Manager at this time. Click Finish.

The Configuration Summary screen will appear. A configuration status bar will show in the middle of the screen under Active Data Collection Jobs.

That’s it! Virtualization Manager has been configured for the vCenter instance in our lab! The next blog post will go over the different screens in the software after data has been collected for a few days.
