
In the previous post in this series, I described how to setup an app for deploying HEC to multiple heavy forwarders. The best way to do this is via a deployment server. This is not a “deployer server”; a deployer is used to push apps to search head clusters. A deployment server is used to push apps to Splunk Universal Forwarders (UFs) and non clustered Splunk servers, like heavy forwarders. All Splunk Enterprise instances can be a deployment server. A universal forwarder cannot be a deployment server. To make a Splunk Enterprise server a deployment server, change into the /opt/splunk/etc/delpoyment-apps folder. In this folder, copy in the app you want to deploy out to servers. Here are the steps to create an app. I am going to show you the method of using the GUI so you can then see the resulting folder structure for a Splunk app.
On the server that will be the deployment server, go to Manage Apps. If you are on the launcher page, that will be the gear icon.
This will take you to the apps screen. Once there, click on the Create App button at the right.
![]()
The following screen will appear.
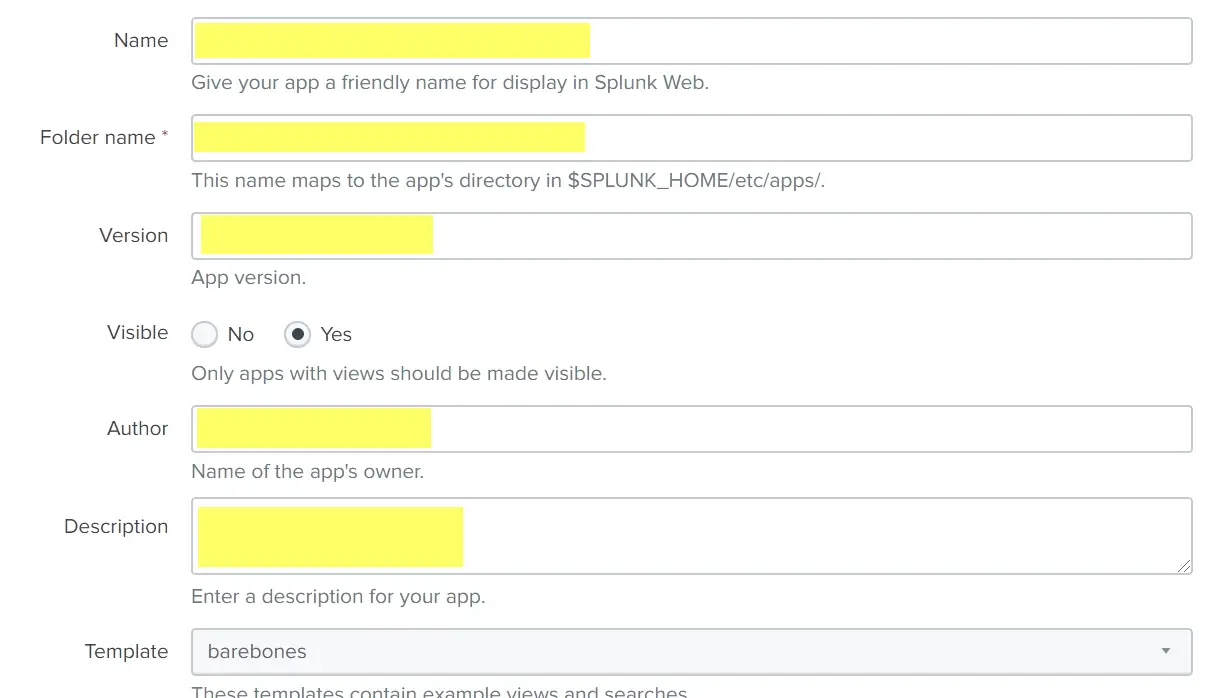
Enter a name for the app (Ex: Splunk HEC)
Enter a folder name (Note: cannot use spaces. Ex: splunk_hec)
Enter a version number (Ex: 1.0.0) – this is optional
Mark the app as visible or not. If there is going to be dashboards and such for your app, make it visible, otherwise set this to No.
Enter an author name – this is optional
Enter a description – this is optional
Leave the template at Barebones and click Save at the bottom.
Now lets check out the app folder structure. Go to the CLI and go into /opt/splunk/etc/apps (this is where new apps default to). Change into the folder of the app you just created.
![]()
As you can see, 4 folders are created. The Splunk best practice when creating a new app is to add your settings into the default folder so lets change into that folder. In this scenario, we are going to create an inputs.conf file and paste in the HEC settings from the previous post.
Once the inputs.conf file is saved, move the app folder into the deployment-apps folder.
mv /opt/splunk/etc/apps/splunk_hec /opt/splunk/etc/deployment-apps
Now we will go into the Splunk GUI again on the server that will be the deployment server. Click on Settings – Forwarder Management
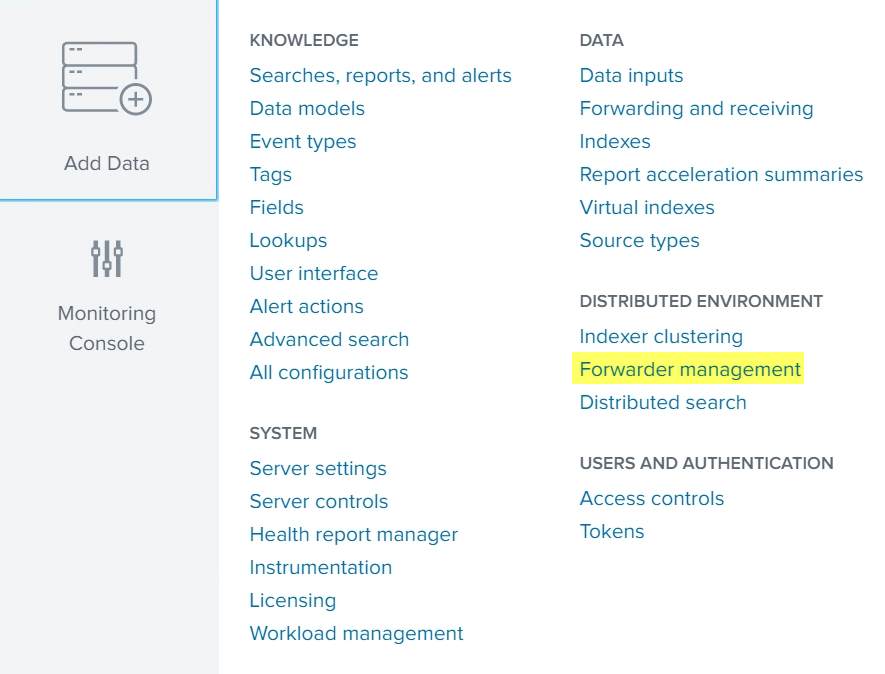
Now you will get a screen similar to below.
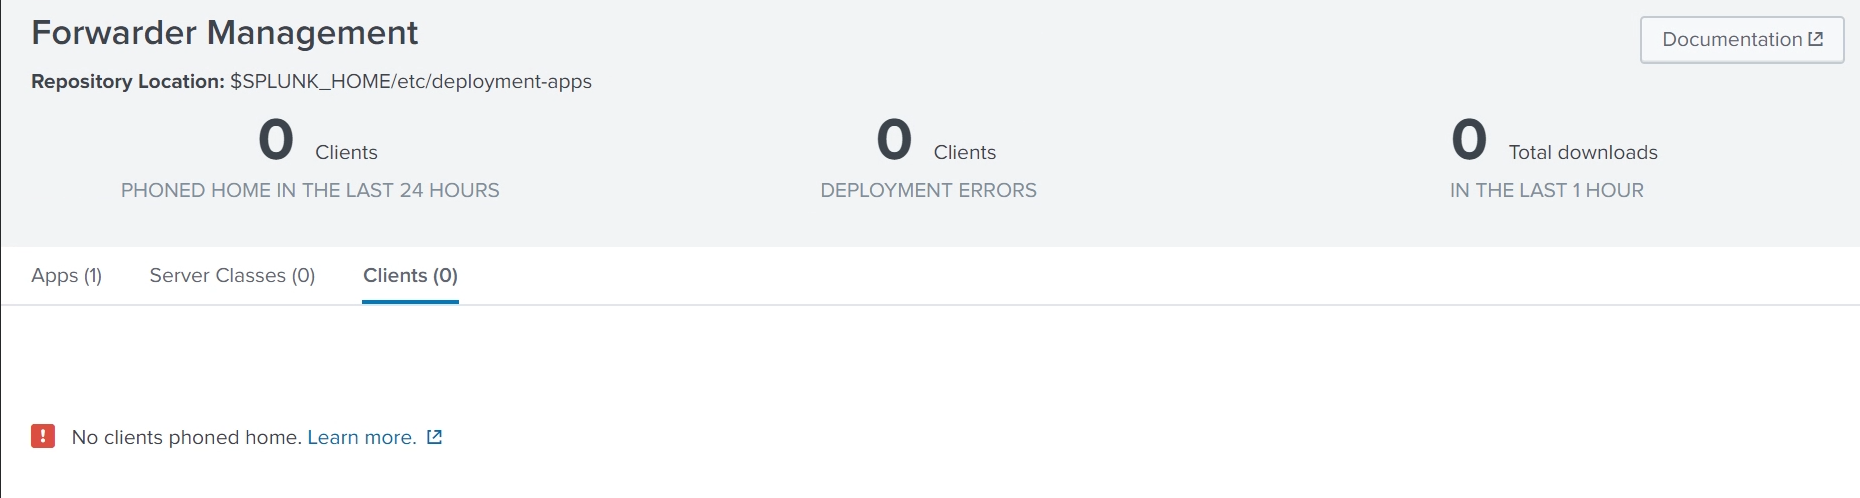
Before moving that app into deployment-apps, this screen would have been blank. As you can see, there is 1 app [Apps (1)]. There are no clients though. Easy! We need to tell the server we want to push the app to how to find the deployment server. Normally you would set this in a template build of a new Splunk server (to automate it) but for this example you can run the following command:
/opt/splunk/bin/splunk set deploy-poll <deployment server name or IP>:8089
You are likely to be prompted for a username and password. Enter a Splunk username/pass that has admin rights. Once the command is complete, restart splunk.
/opt/splunk/bin/splunk restart
Once Splunk comes back up, in the Deployment Server page, this server should show up within a few minutes.

And there it is! But we are not done! There is another piece to this. We need to create a server class. A server class is how you assign clients to apps. Click on Server Classes.

This server does not have any server classes yet to click create one.
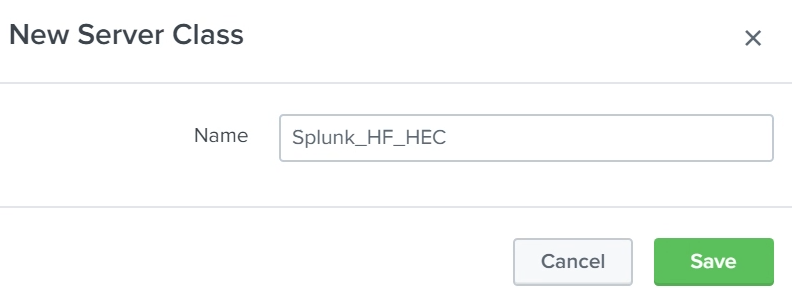
Choose a name for the server class. In this case, I used Splunk, HF for heavy forwarder and HEC since this will be for the new HEC app. Click Save.
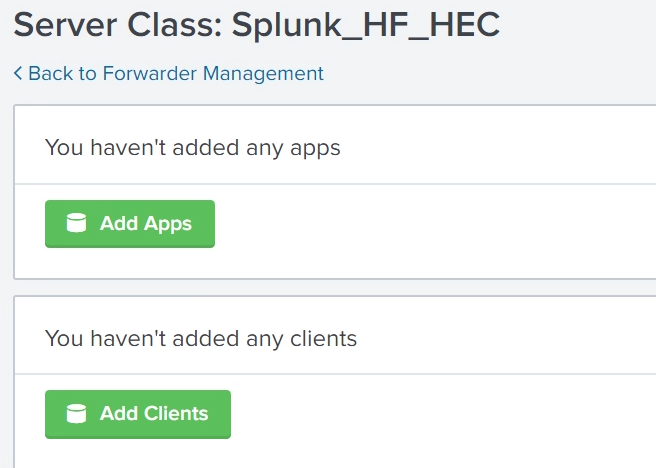
Lets add the server into Clients. Click Add Clients.

Under the include section, you type in the server names that you want to be in this server class. Once the servers are there, click Save.
Don’t add the app yet as we may want to make sure that Splunkd restarts are part of the app deploy. Click on apps and Edit the app.

Check the box Restart Splunkd if you want Splunk to restart on deploy. I recommend checking this since this app will not go into effect without a restart of Splunk. Under server classes, pick the server class we just created. Click Save.
That’s it! The app will deploy on the next poll from the client that was added into the server class.
You can force the client to check in and pull the app by using the command below.
/opt/splunk/bin/splunk reload deploy-server -class <server class name>
Oh, let’s check the server to see if the app now shows up

There it is! You have successfully deployed an app using the deployment server!
